I was standing in the middle of Hobby Lobby at 9:15 PM with a toddler who’d just eaten a Fruit Snack that was not supposed to be fruit, clutching a bag of hot-fix crystals and wondering what I was doing with my life. The denim jacket in my cart had cost $14. The rhinestones in my hand had cost $22.
That’s the thing nobody tells you about bedazzling: it’s either going to look like a middle school craft fair explosion or like something you’d actually wear in public. I’ve learned the difference the hard way, and I’m going to save you the bad Pinterest experiments—starting with the most profitable bedazzling ideas to sell.
How to Pick Rhinestones Without Losing Your Mind
You’ve got options, and most of them are garbage. Here’s how to tell what you’re buying without needing a gemologist degree.
Look at the back. If it’s flat and smooth, it’s plastic. If it has a foil backing that catches light evenly, it’s glass. If you’re holding it up to the light and it looks like a melted crayon, put it down and walk away.
The back also tells you about the cut. A quality stone has 12 or 13 facets on top. Cheap ones have maybe 5 or 6, which means they reflect light about as well as a bathroom mirror in a gas station.
Real talk: you don’t need Swarovski crystals for everything. But you do need something that won’t turn cloudy after one wash or start looking like crushed ice after three wears.
There are four levels of stone:
- Plastic/acrylic: Fine for kids’ crafts or a costume you’ll wear once. Will not survive a washing machine. $3-5 for a pack of 50.
- Glass (Lucia or similar): Your sweet spot. These have good shine and decent faceting without bankrupting you. $8-15 for a pack of 100.
- Preciosa/Czech glass: Next level up. Cleaner cuts, better foil backing, more consistent size. Worth it for something you’re going to wear regularly. $15-25 for a pack of 100.
- Swarovski (or the new high-end crystal brands): These are the real deal. Perfect faceting, brilliant shine, will outlast the garment they’re on. $30+ for a pack of 100.
Here’s my rule: use Swarovski for the main flower motif on the back of your jean jacket, then fill in the gaps with Estella or a quality glass stone. You’ll get the high-impact center without paying $200 for what is essentially a craft project.
How to Actually Apply Rhinestones (Without Losing Your Bleeping Mind)
I’m going to save you the three hours I wasted watching YouTube tutorials that assume you have a soldering station and a degree in textile engineering. Here’s the short version:
For stretchy fabrics (t-shirts, leggings, anything with spandex): you need a flexible glue. Gem-Tac or Beacon Fabri-Tac will move with the fabric. E6000 will work, but it dries rigid and will crack when you stretch.
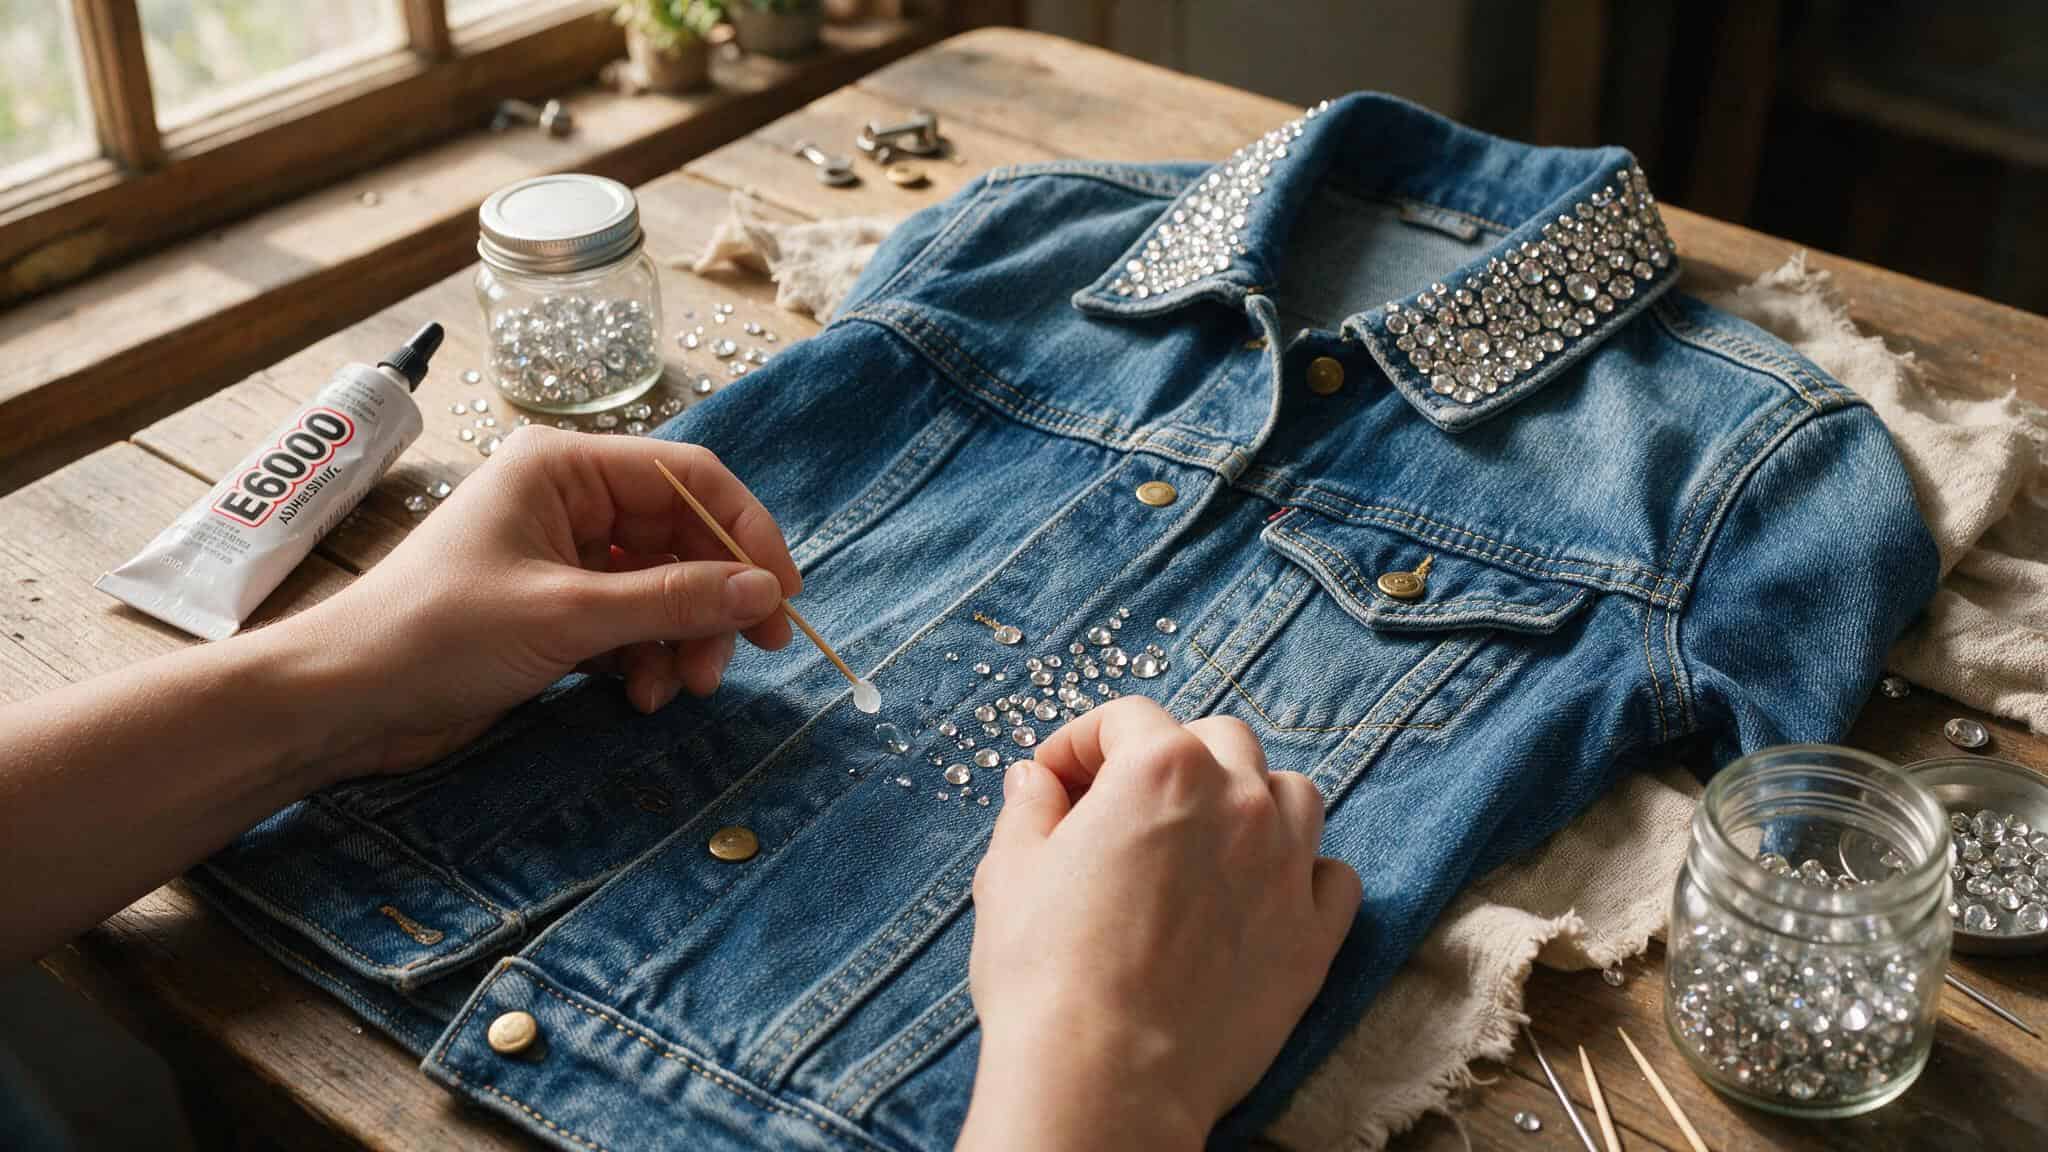
For non-stretchy fabrics (denim, canvas, leather): E6000 is your friend. It bonds better, it’s stronger, and it won’t go anywhere once it’s cured.
Hot-fix crystals (the ones with the glue already on the back): you need a hot-fix applicator tool or a crafting iron. I use an applicator tool for precision work and a regular iron for big areas. The iron works fine, just don’t press too hard or you’ll melt the glue before it’s where you want it.
Here’s the step-by-step that actually works:
- Lay your garment flat on a hard surface. Not on a towel. Towels cause the stones to sink in and look crooked.
- Plan your layout before you glue. I learned this one the expensive way after creating a design that looked like a drunk spider had wandered through a craft store.
- Apply glue sparingly—you’re not frosting a cake, so a toothpick-sized dab is plenty.
- Place the stone without pushing it down; let the glue do the work.
- Wait 20 seconds, then check if it’s straight—you can still adjust it.
- Don’t touch it for 24 hours.
One more thing about E6000: it’s noxious. Work in a well-ventilated area or plan to live with a headache. The fumes are real and they’re not polite about it.
Projects That Actually Look Good (and Won’t Embarrass You)
These are the projects I’ve actually tried, the ones that got compliments instead of confused stares, and the ones that won’t make you want to hide the finished piece in a drawer.
The Denim Jacket Heart
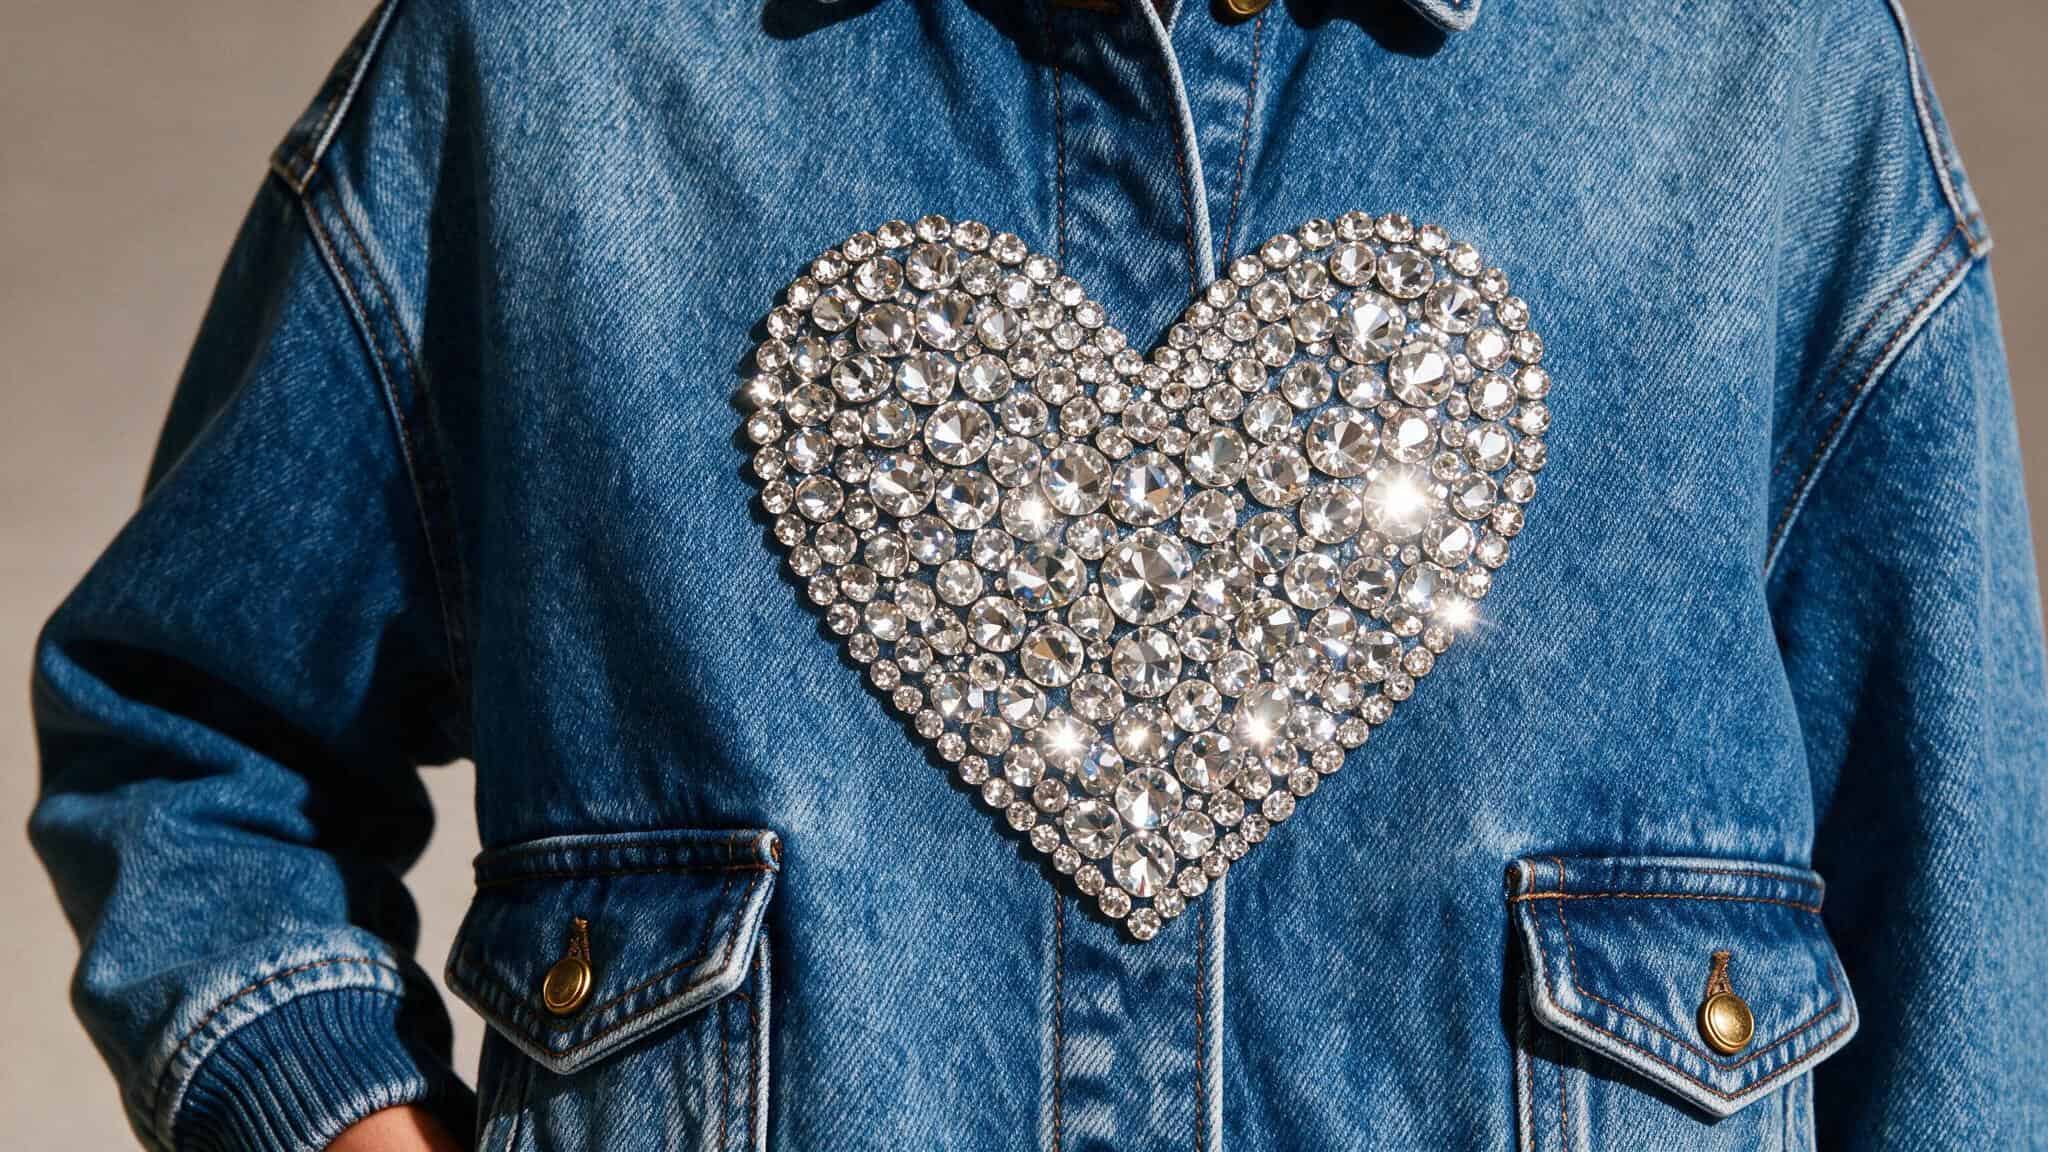
This is the gateway drug of bedazzling and it’s popular for a reason. Take a plain denim jacket from any thrift store or the kids’ section at Target. Cut a heart shape out of cardboard. Trace it lightly with chalk. Then fill it in with stones starting from the outside edge and working inward; for more inspiration, explore these bedazzling ideas.
What you’ll need: one pack of quality stones (size SS16 or SS20 works best), E6000, a denim jacket, and 45 minutes of real focus.
The trick: use larger stones (SS20) for the outline and smaller ones (SS12) for the inside. It creates dimension without any actual skill required.
Sneaker Swoosh Revival
If you’ve got a pair of plain white sneakers that look tired, this is your move. Trace the swoosh or brand logo with a thin line of stones. One row only. Two rows starts to look like a party in the late 90s.
What you’ll need: SS10 or SS12 stones (smaller is better for curves), Gem-Tac (needs to flex with the shoe), tweezers for placement, and a solid 30 minutes per shoe.
The trick: use a contrasting color. Silver on white looks clean, gold on white looks fancy, and clear on white looks unfinished—but with a few bedazzling ideas at home, you can transform any surface from unfinished to dazzling.
The Statement Collar
This one sounds intimidating but it’s the easiest on the list. Take a basic button-up or a simple crewneck sweater. Outline the collar with stones. That’s it. Just one neat line following the edge.
What you’ll need: SS16 stones in one color, fabric glue, 20 minutes of focused work.
The trick: turn the collar up while you work so the stones sit on the outside edge. If you glue them with the collar flat, they’ll disappear when you wear it normally.
Pockets That Pop
Pick one pocket on a shirt, jacket, or pair of jeans. Outline the pocket edge. Fill in a small design in the corner — a star, a heart, a simple geometric shape.
What you’ll need: SS20 stones for the outline, SS12 or smaller for the design, fabric glue, and about 30 minutes.
The trick: don’t cover the whole pocket. You want the pocket to be the frame, not the stones. A third of the pocket surface in stones is the max. Beyond that and it starts to look like you’re trying too hard.
The Baby Onesie (That Won’t Get Laughed At)
Make a simple (SIMPLE) design — a single initial, a small flower, a little lightning bolt, on the front of a white onesie. Use pastel or neutral stones—no rainbows, no cartoon characters, just clean, minimal, and intentional.
What you’ll need: SS10 or SS12 stones in one or two colors, Gem-Tac (needs to survive the washing machine), and 15 minutes.
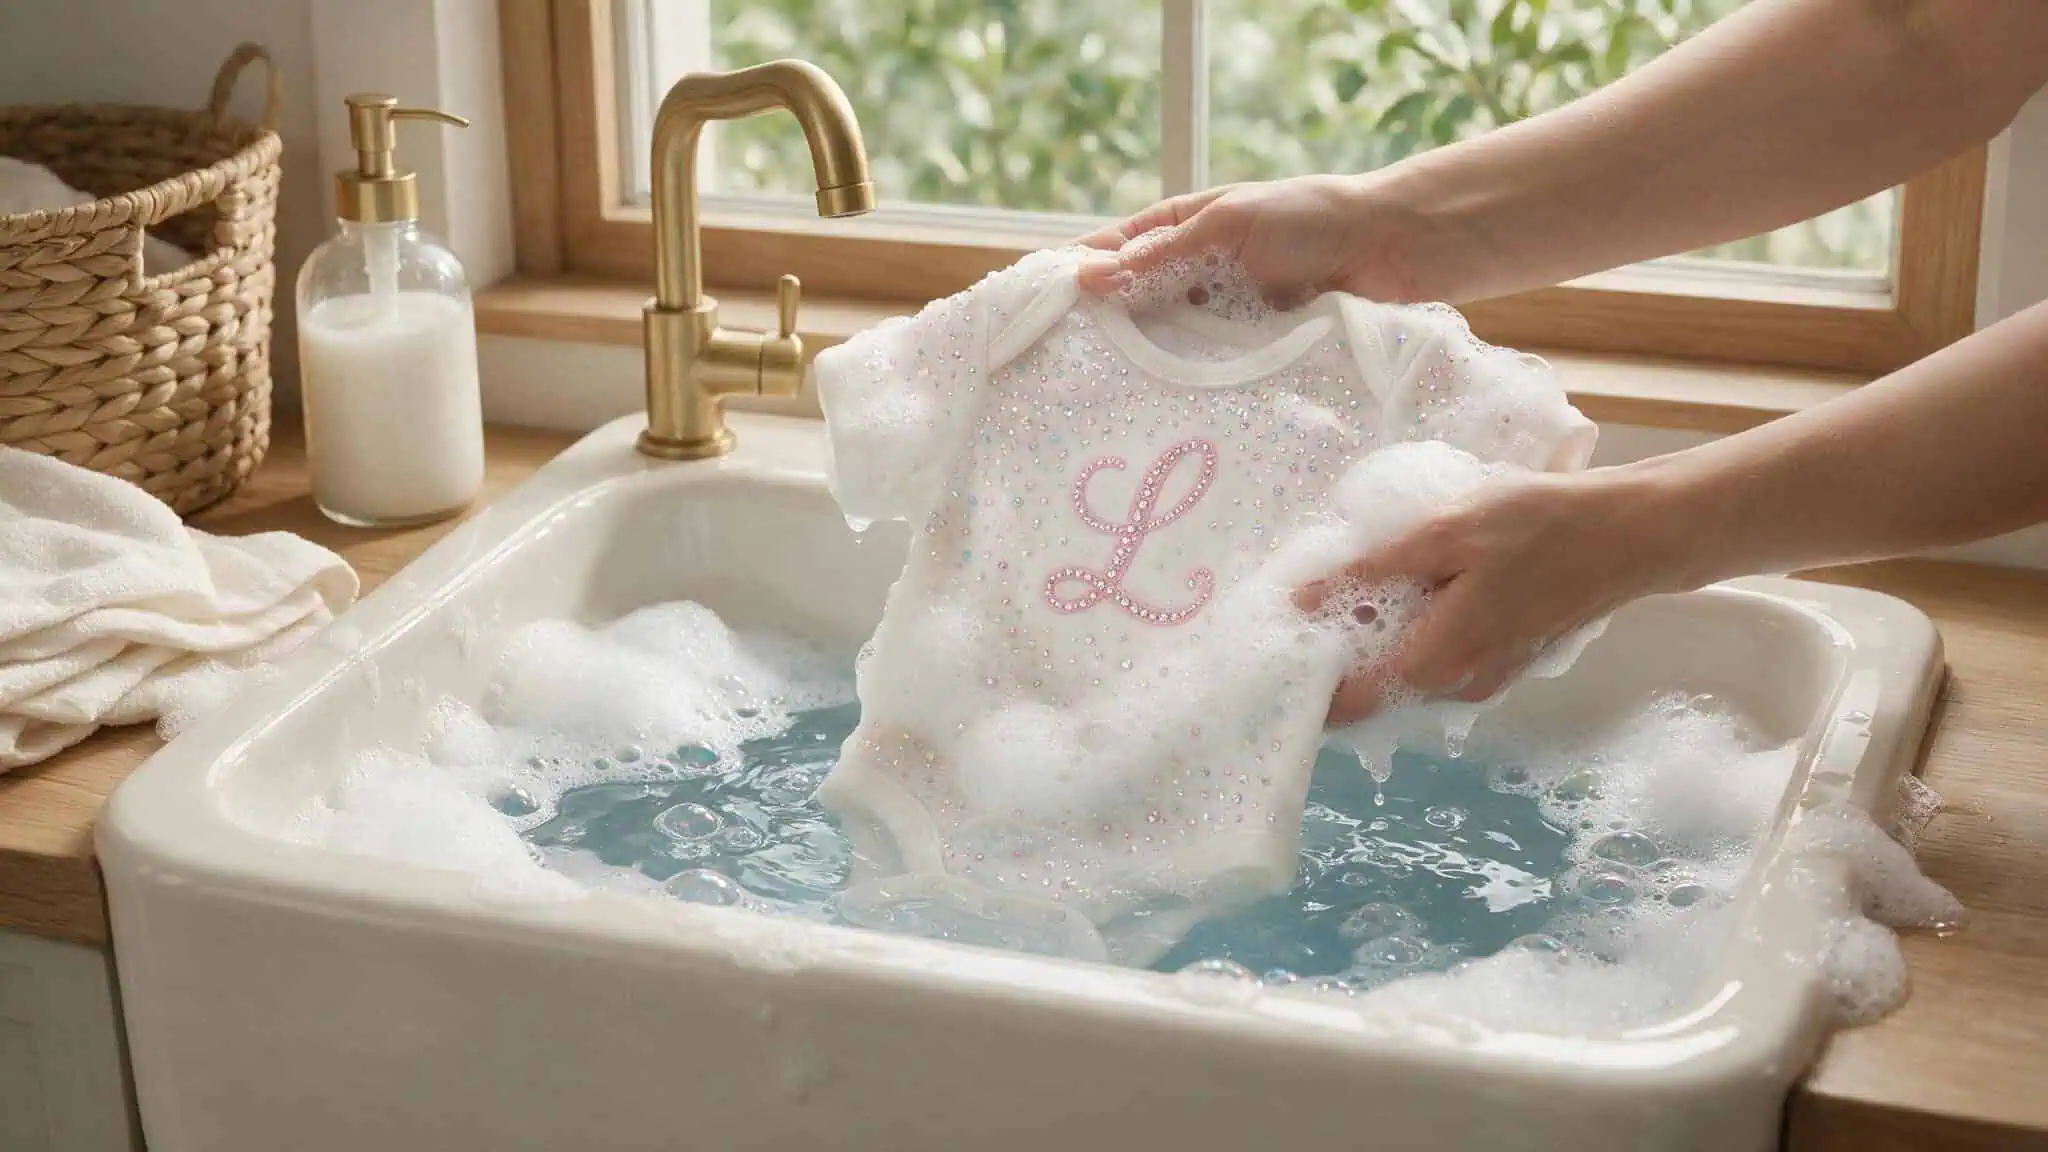
Important: hand wash this one. The machine will eat these stones eventually. You’ve been warned.
How to Not Cry When You Make a Mistake
You will glue something on crooked. You will spill glue on a part of the fabric you didn’t mean to. You will drop a $2 stone on a carpet that hasn’t been vacuumed since the Bush administration.
For wet glue mistakes: a toothpick dipped in rubbing alcohol will dissolve the glue before it sets. Dab, don’t scrub.
For dried glue: freeze the garment overnight. The glue becomes brittle and you can chip it off with a fingernail. This works about 70% of the time.
For the crooked stone: if it’s still wet, gently slide it into place with a toothpick. If it’s dry, use the freezing method above.
For the spilled glue on fabric: soak the spot in rubbing alcohol for 10 minutes, then gently scrape. Test on a hidden spot first because some fabrics will lose color.
The Honest Truth About Washing Things
Nothing you bedazzle will survive a washing machine indefinitely. Some things will last months; others will last one cycle. Here’s what I’ve found works best:
- Hand wash anything you actually care about. Cold water, mild soap, gentle squeeze.
- Turn inside out if you must machine wash. Use cold water and a gentle cycle.
- Air dry only. The dryer is the enemy of rhinestones.
- Don’t iron over the stones. You’ll melt the glue. Iron around them or on the reverse side.
If that sounds like too much work, stick to items you don’t wash often — jean jackets, bags, shoes, barrettes. Bedazzled t-shirts are a one-wash-and-done situation unless you’re willing to hand wash them every time.
I’m not going to tell you that bedazzling is a skill you’ll master on the first try.
The worst that happens is you spend $15 on stones and end up with something your dog could have designed. The best that happens is you create something that feels like you, only sparklier.
For the price of one decent necklace at Target, you can cover a whole jacket in crystals and have enough left over to do your kid’s backpack too.
That’s a win in my book.
People Also Ask
How do I wash bedazzled clothes without losing the stones?
Hand wash in cold water with mild soap and air dry—that’s the only way to guarantee longevity. If you must machine wash, turn the garment inside out, use cold water on a gentle cycle, and never put it in the dryer. The dryer is the enemy of rhinestones. Also, never iron directly over the stones or you’ll melt the glue.
What size rhinestones should I use for a denim jacket?
SS16 or SS20 works best for denim jackets. For a heart design, use larger SS20 stones for the outline and smaller SS12 stones to fill the inside—it creates dimension without requiring any real skill. Smaller stones like SS10 or SS12 are better for curved designs like sneaker logos or baby onesies.
Why do my rhinestones look cloudy after a few wears?
You’re probably using cheap plastic or acrylic stones. Plastic has a flat, smooth back and only 5 or 6 facets, so it reflects light poorly and degrades quickly. Quality glass stones have foil backing and 12 to 13 facets for proper shine. Even mid-range glass like Lucia will stay clear far longer than anything plastic.