The first time I tried bedazzling, I used whatever glue I found in the junk drawer and dumped a handful of cheap rhinestones onto an old phone case. They popped off within a week, and I spent more time finding them on the floor than I did making the thing. It was a mess. But something about placing those stones, one by one, stuck with me.
Turns out, that’s not unusual. Many crafters find the process relaxing — there’s something about the rhythm of picking up a stone, dabbing glue, and setting it down that quiets your brain. It’s like adult coloring, but you end up with something sparkly at the end.
And here’s the part that surprised me: crafters make money doing this. Selling bedazzled items at markets or on Etsy is a small business, not just a hobby. The term “jewellerification” (courtesy of the folks at Aleene’s) captures the idea — turning everyday objects into something that looks like jewelry. A stapler becomes a gift. A pair of Crocs becomes a conversation starter.
So whether you’re looking for a creative outlet, a way to unwind, or a side hustle that fits around nap schedules, bedazzling delivers. And unlike some crafts, it doesn’t require a ton of skill or expensive tools to get started. You just need the right glue, the right stones, and a few honest answers about what actually works.
Key Takeaways
Four rhinestone brands exist for different budgets and projects: Swarovski (luxury, highest sparkle), Preciosa (mid-range, excellent durability), Zodiac (exclusive to Crystal Parade, good quality for the price), and Luna (budget-friendly for large projects).
Matching glue to surface prevents rhinestones from popping off — E6000+ for rubber and flexible items, Gem Tac for paper and glass, and different Aleene’s adhesives for fabric, metal, and mixed materials.
The quickest way to apply a large number of rhinestones is with pre-made transfers, while techniques like honeycomb (full grid coverage) and scatter (random placement) create different looks depending on the project.
Table of Contents
Choosing Your Rhinestones — Swarovski, Preciosa, Zodiac, and Luna
The biggest mistake beginners make isn’t the glue — it’s buying the wrong stones for the project. Rhinestones aren’t one-size-fits-all, and the brand you choose affects both how your project looks and how much it costs.
Swarovski is the name everyone knows, and for good reason. They’re precision-cut, which means they catch light better than any other option. They’re also the most expensive. Save these for projects that matter — a wedding gift, a special occasion piece, something you want to look high-end.
Preciosa is the middle ground a lot of people don’t know about. More affordable than Swarovski, but still excellent quality. They come in a wide range of colors, cuts, and finishes, and they hold up well over time.
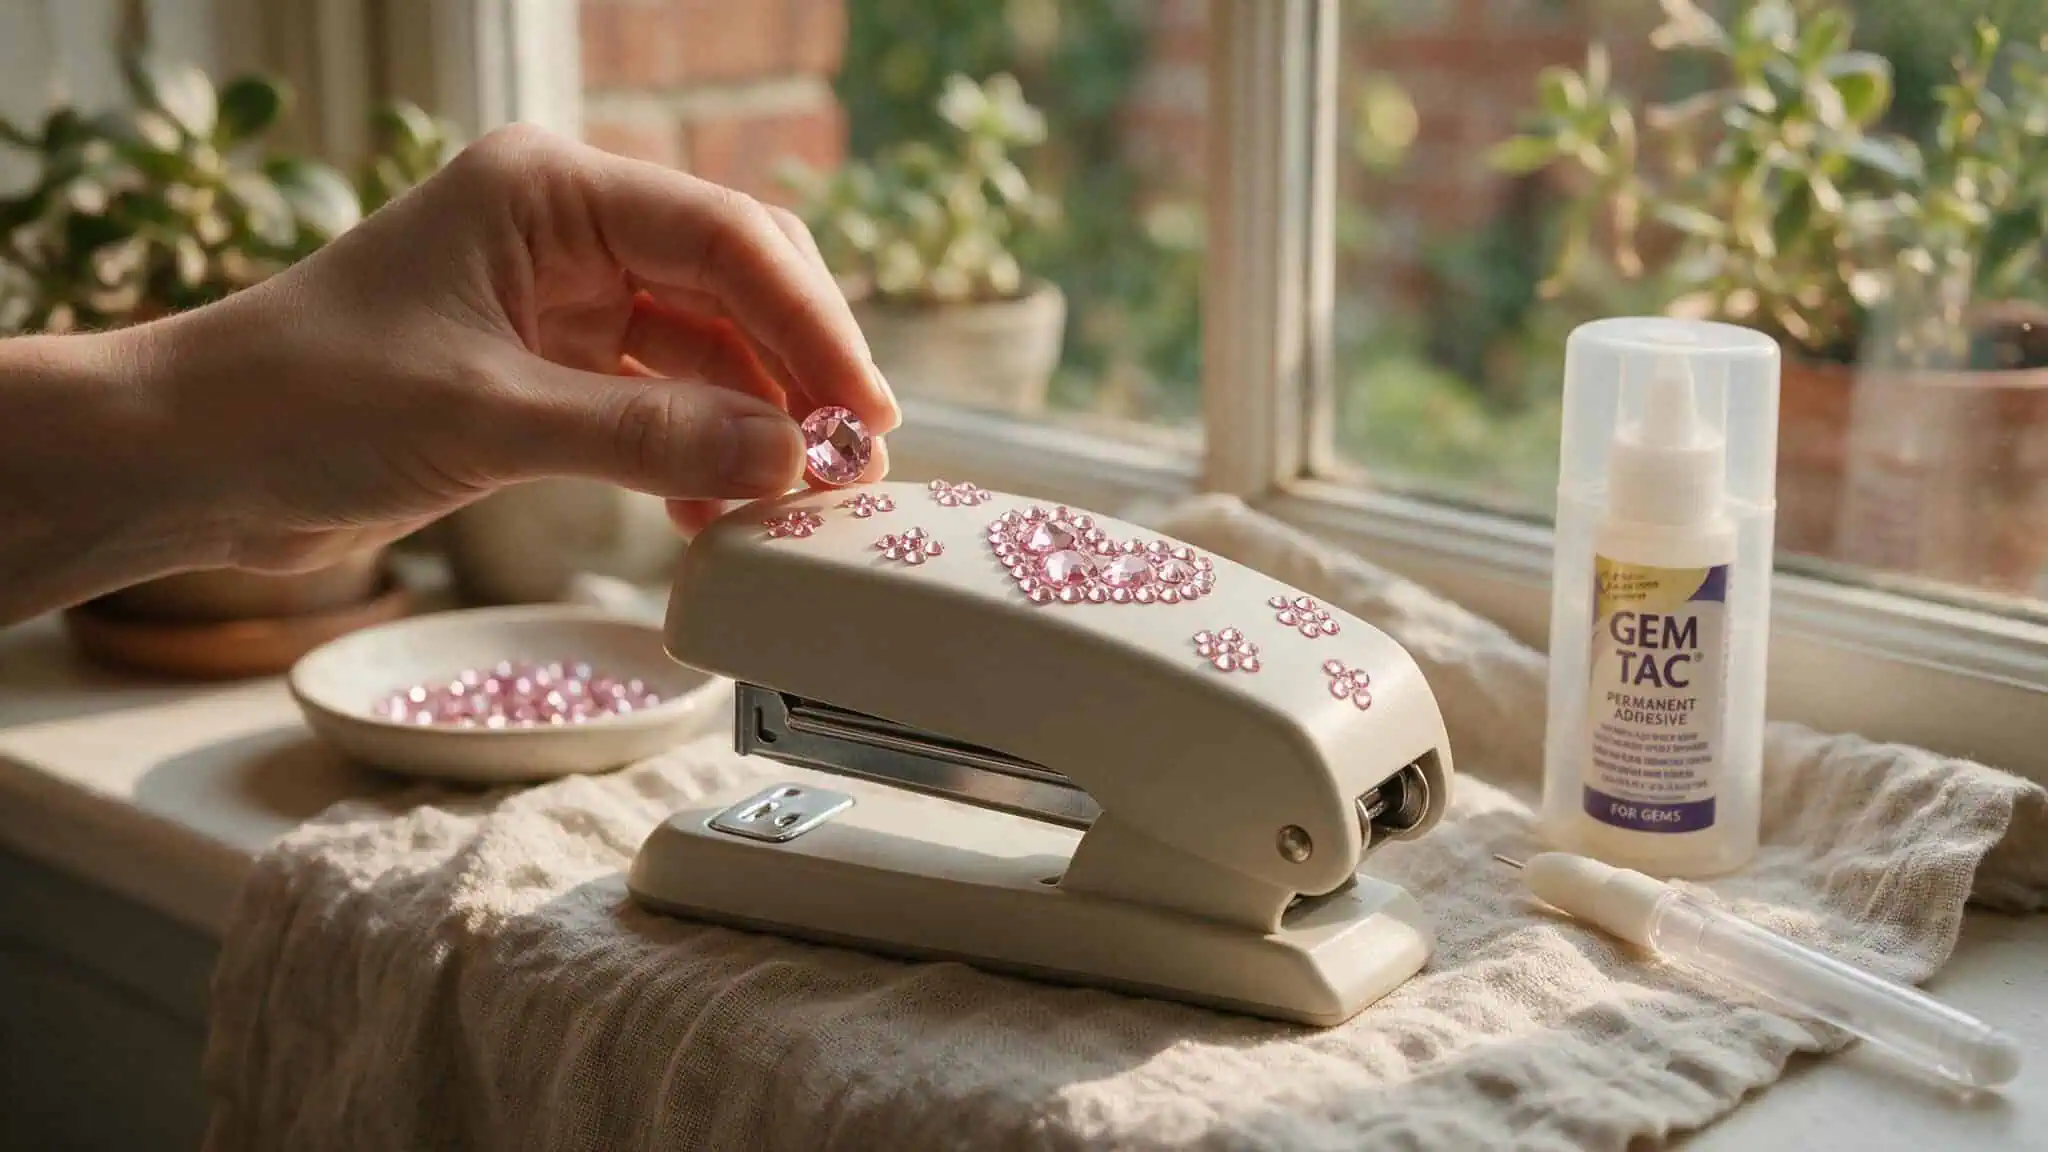
Zodiac is Crystal Parade’s own brand. It sits between budget and premium — strong foil backing, good sparkle, and a solid choice for most everyday projects. We used Zodiac Light Pink AB crystals on a stapler (project 17 in the list below), and it looked better than a $5 office supply has any right to.
Luna is the budget-friendly option. Perfect for large projects, costumes, dancewear, school crafts, or just practicing a new technique. You can buy a lot of Luna stones without feeling guilty, which makes them ideal for covering big surfaces or experimenting.
The rule of thumb: if you’re bedazzling something your kid will drop on the playground, go with Luna or Preciosa. If it’s a gift for someone who appreciates craftsmanship, spring for Swarovski. And for everything in between, Zodiac gives you the look without the sting.
Essential Tools and the Glue That Will Save You
Most rhinestone failures come down to the wrong glue. The secret is matching the adhesive to what you’re decorating.
For rubber and flexible surfaces — E6000+
Slides, Crocs, jelly shoes, rain boots — anything that bends and might get wet needs E6000+. It’s flexible and waterproof, so when the rubber stretches, the glue stretches with it. Stones won’t pop off the first time your kid jumps in a puddle.
For paper and glass — Gem Tac
Greeting cards, glassware, office supplies like staplers — Gem Tac dries clear and holds tight on smooth, non-flexible surfaces. It’s also what we recommend for the stapler project with Zodiac Light Pink crystals. The glue disappears, and the stones do the talking.
For fabric — Aleene’s Super Fabric Adhesive
Regular craft glue turns stiff on fabric, which means it cracks and stones fall off. Aleene’s Super Fabric Adhesive stays flexible. Use it for clutches, tops with logos, and any project where the fabric moves.
For metal, transparent materials, and mixed surfaces
Aleene’s makes a whole line of adhesives, and each one has a specific job. Jewelry & Metal Glue works for upcycled charms and transparent purses. DIY Craft Heavy Duty Adhesive handles appliqués on hats. Insta-Fuse Fabric Fusion lets you attach embellishments without sewing.
Tacky Glue is fine for sequins on wooden hangers. Liquid Fusion dries crystal clear and strong — perfect for sunglasses and anything see-through.
The tools you actually need
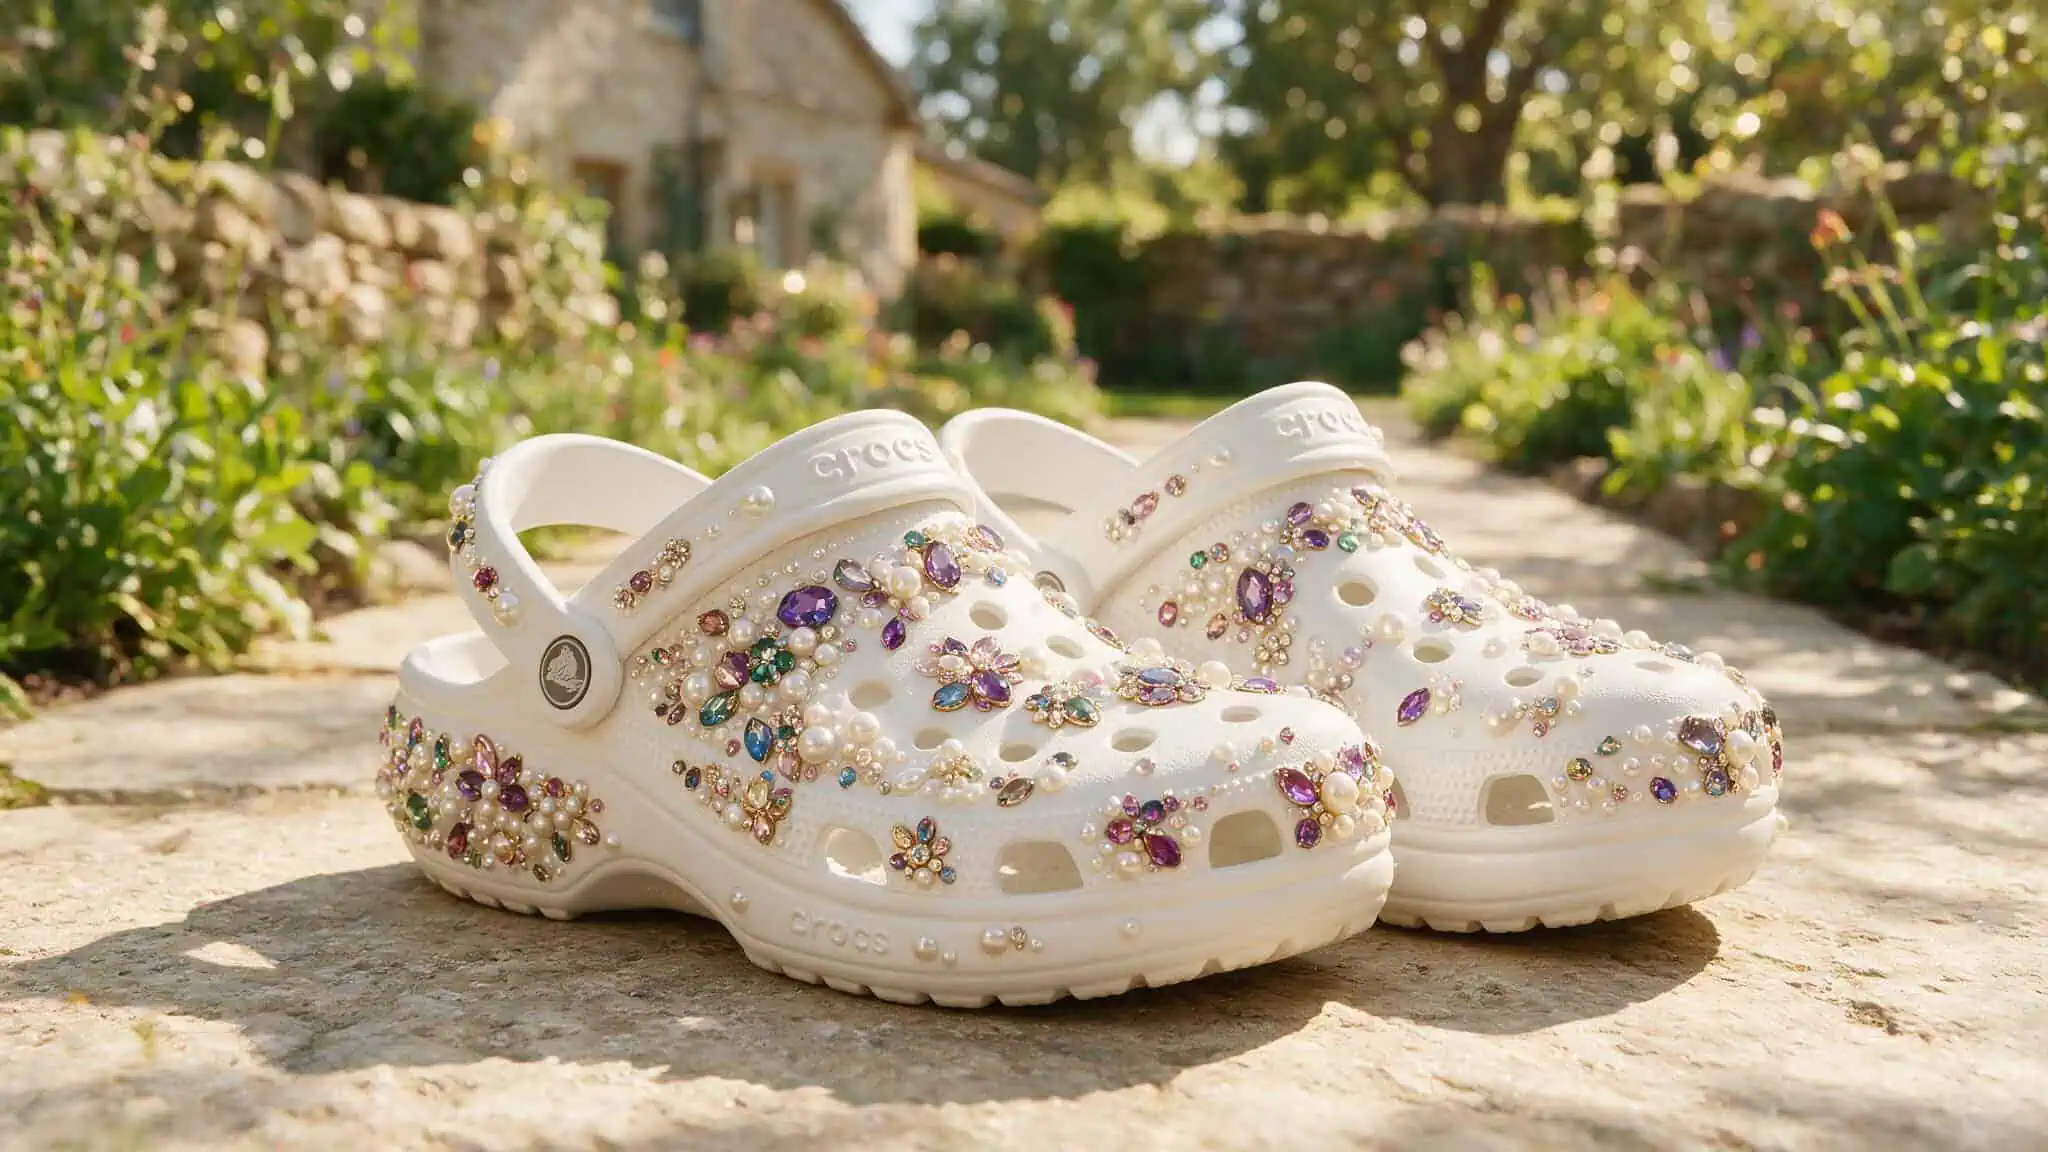
You don’t need a lot. A pickup tool (wax pencil or tweezers) saves your fingernails and keeps the stones clean. Syringe applicators let you place glue dots precisely instead of squeezing out a blob. And dressmakers chalk lets you sketch your design on fabric first — if you change your mind, it wipes right off.
Techniques That Make Your Projects Look Professional
There are basically four ways to place rhinestones, and each gives a completely different look.
Honeycomb is full coverage — stones placed edge-to-edge in a grid pattern. It’s time-consuming but the result is stunning. Use this for handbags or larger items where you want every inch covered.
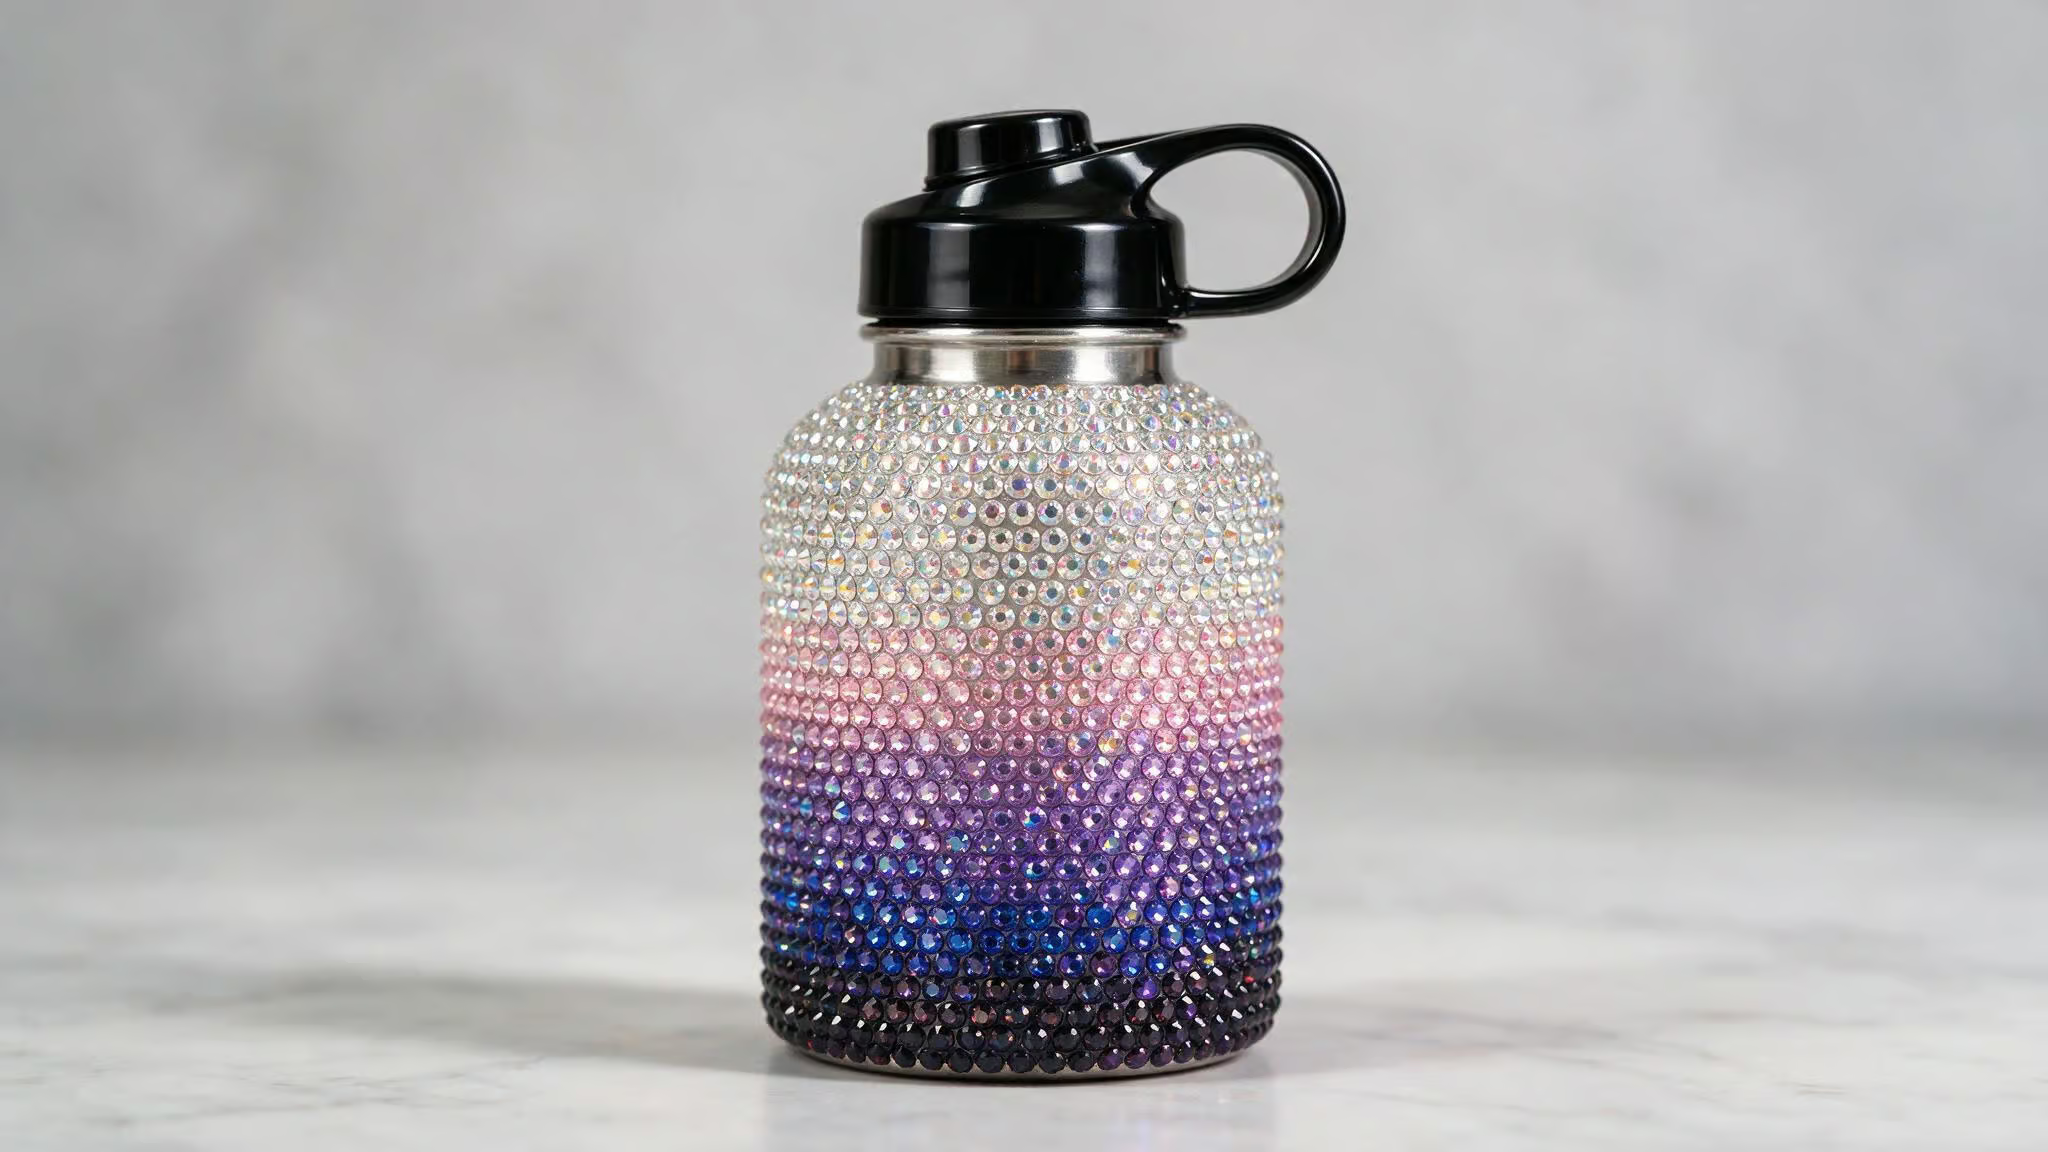
Rockery is the opposite: stones clustered in natural-looking groups, like a collection of pebbles. It creates a 3D layered effect. We used it on the sliders in project 1 below, and it’s a good choice when you want sparkle without covering the whole surface.
Scatter is random placement. It’s fast, budget-friendly, and works well for novelty items or when you just want a little glitz. No precision required.
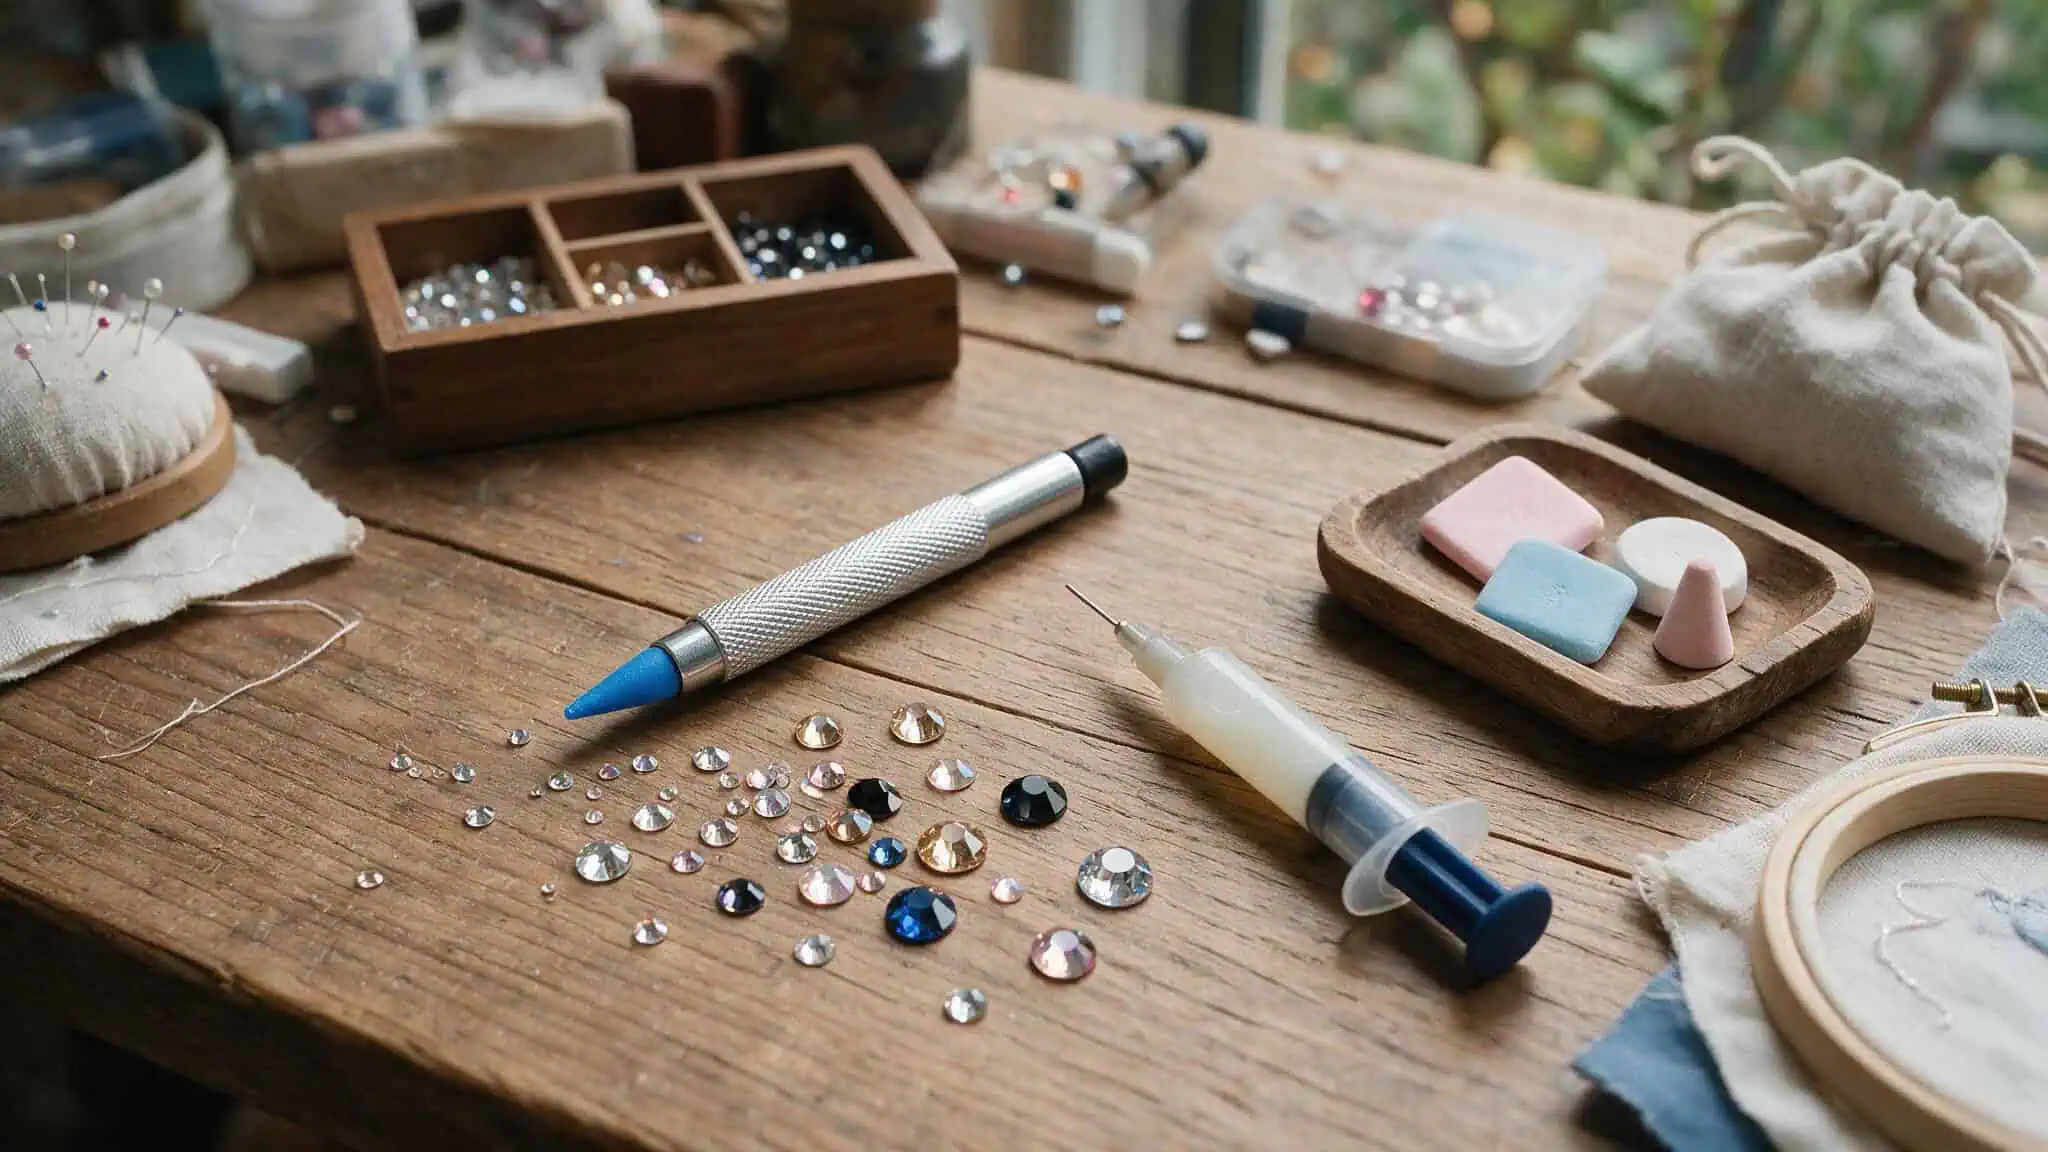
Ombre is a gradient from light to dark. It’s trendy for water bottles and smooth surfaces, and clear diamante rhinestones go with any color.
Rhinestone transfers are pre-arranged designs on a sheet — you iron or press them on and you’re done. They’re the quickest and cheapest way to apply a large number of rhinestones at once. Great for when you want the look without the time investment.
Things to Bedazzle (Crystal Parade Projects)
Each of these is a real project with specific materials and techniques. No vague inspiration — just what works.
Sliders or Crocs
Use E6000+ glue, flatback rhinestones and pearls, and arrange them using the rockery effect — clusters that look natural. The glue stretches with the rubber, so they stay on through playground trips and puddles. Perfect beginner project.
Greeting cards
Low commitment, high payoff. Use Gem Tac and small rhinestones, mix up colors and shapes, and pick plain areas of the design to embellish. You don’t need to cover every inch — just the spots that feel empty. For simple, low-cost bedazzling ideas for beginners, a single card takes maybe 20 minutes.
Sunglasses
One of our team members, Zoe, bedazzled a pair of Harry Styles sunglasses for his concert. She received many comments. Use Liquid Fusion glue (dries clear and strong) with iridescent rhinestones and maybe some flower embellishments. The transparent frames let the light through.
Pet collar and accessories
Collars, leads, food bowls, even a little coat — just glue stones on and make sure they’re secure so nothing gets swallowed. It’s a quick way to make your pet stand out at the dog park.
Bottle
Water bottles, perfume bottles, lamp bases — anything smooth and cylindrical. Cover in rhinestones for a novelty item, or use the ombre technique for a gradient effect. For a deeper understanding of stone selection and placement, check out this guide on bedazzling ideas rhinestones, which covers types, sizes, colors, and placement patterns to help you choose the right stones for any project. Clear diamante stones work with any color bottle.
Champagne glass
Personalized flute for a bridal shower or birthday gift.
Phone case
Everyone has one, and they take a beating. Use Swarovski or Preciosa if you want top-tier sparkle, and pair it with strong glue — E6000+ or Aleene’s Rhinestone Adhesive. When building your own bedazzling kit, different shaped and colored crystals let you create a pattern or just go wild with random scatter.
Jelly shoes
They’re back, and they look amazing with big gems set into those little gaps. Use 3D crystals and larger gems from the vintage range. Set them into the gaps with E6000+ — it’s flexible and waterproof for rubber.
Makeup items
Lipstick tubes, mascara, brush handles — tiny and easy to bling in one go. Wrap cylindrical items in a rhinestone sheet (pre-arranged on a flexible backing, just cut and stick). No glue mess.
Rhinestone transfers
Pre-arranged designs on a sheet, applied in seconds. You can send in your own design or buy pre-made. Great for when you want a lot of bling without individual placement.
Crystal buttons on garments
These are actual buttons you sew on, not glue-on rhinestones. They stay put through washing and wearing. Popular for bridal gowns, but also an easy way to jazz up a coat or jacket — swap out plain buttons and it looks like a whole new piece.
Nail art
Start simple — one stone per nail or a tiny cluster. It’s an instant upgrade to a basic manicure. There’s a separate guide for more advanced nail art, but the beginner approach is just stick a few stones on and call it done.
Plain top with logo
Draw the design with dressmakers chalk first. Apply glue in small dots along the chalk lines (don’t squeeze out a whole line at once). Place stones with tweezers. You can bling just the logo or outline it for a subtle pop.
Wellies (rain boots)
Kids love these, and they hold up in real rain with the right glue. Draw your design using a template to keep it even on both boots. Apply with E6000+ — flexible and waterproof. They’ll survive puddles.
Handbag
Full coverage with flatback crystals using the honeycomb method. It takes patience but the result is stunning. Bold, simple block color patterns work really well — one color for the main area, another for accents.
Novelty item
A retro phone, a quirky figurine — find rhinestone colors that match the item or go for contrast. Cover it completely for the full bling effect. No bare spots left.
Office items (stapler)
We did one with Gem Tac glue and Zodiac Light Pink AB crystals. Made a $5 stapler look like a gift.
Novelty kitsch items
Things that are already a little silly are perfect for going all-out with bling. Use Luna rhinestones (budget-friendly so you can use a lot without guilt) and apply with Gem Tac. If you’re on a tight budget, try the scatter effect — just a handful of stones placed randomly for unique bedazzling ideas to sell.
Rhinestone appliqué on a hat
Pre-made patches with rhinestones already arranged in a pattern. Attach with Aleene’s DIY Craft Heavy Duty Adhesive. Customize for any season — holiday motifs, summer sun, just because.
Jewelry items (hardware)
Wallets, keychains, belts — small wins that don’t take much time. Use Aleene’s Rhinestone Adhesive for super-strong hold on various surfaces. Quick way to make your everyday stuff feel special.
Quick Jewellerification Ideas (Aleene’s Projects)
“Jewellerification” is a goofy name, but it basically means turning stuff you already own into something that looks like jewelry. These projects come from Aleene’s adhesive line and include some unique items.
Bedazzled hat with rhinestone appliqué
Use Aleene’s DIY Craft Heavy Duty Adhesive and pre-made appliqué patches. Quick, no sewing, and you can customize for any occasion.
Upcycled jewelry with DIY necklace charms
Turn old trinkets into necklace charms using pendant bails and Aleene’s Jewelry & Metal Glue. Old earrings, vintage rings, loose crystals — anything small and pretty can become a charm.
Minimalist upcycled jewelry with vintage buttons
Transform vintage buttons into dainty necklaces. Just add a bail and a chain. They can be layered or worn alone — versatile enough for everyday.
Bedazzled sunglasses with iridescent rhinestones and flower embellishments
Festival vibes. Use Liquid Fusion — it dries crystal clear and strong, perfect for plastic frames.
Transparent purse with pearl cluster embellishments
If your stadium or concert venue requires clear bags, you might as well make yours stand out. Pearl clusters look elegant against clear plastic. Use Aleene’s Jewelry & Metal Glue.
Bedazzled clutch with metallic studs and crystal embellishments
Mix textures — metallic studs for edge, sparkly crystals for glam. Use Aleene’s Super Fabric Adhesive, which stays flexible on fabric.
Crystal heart shoes with pink rhinestones
Sketch a heart design on plain shoes with chalk if needed. Use pink crystals and The Ultimate Multi-Surface Adhesive — it works on leather, plastic, rubber.
Bedazzled accessories (belts, hair clips, keychains)
Small surface, big impact. Aleene’s Rhinestone Adhesive gives a super-strong hold. Bling out all your accessories in one afternoon.
Winter blazer with snowflake embellishments
Perfect for holiday parties. Use Aleene’s Insta-Fuse Fabric Fusion — no-sew bonding, iron-on or glue. Snowflakes on a black jacket look striking.
Bedazzled hangers with sequin embellishments
Glamorous way to display clothes, especially in a kid’s room. Use Tacky Glue — sequins are lighter than rhinestones, so they stay put. Makes hanging up laundry feel a little less boring.
Bedazzling Mistakes That Will Ruin Your Project (and How to Skip Them)
Let’s be honest about what goes wrong, so you don’t waste time and rhinestones.
Wrong glue for the surface. Rigid glue on flexible surfaces (like rubber or fabric) causes stones to pop off the first time the material bends. Match the glue to what you’re decorating — E6000+ for rubber, fabric-specific adhesive for clothes, Gem Tac for paper and glass.
Skipping the design layout. Stones drift off your intended shape or end up uneven. Spend two minutes with dressmakers chalk sketching your design first. It brushes off if you change your mind.
Overcrowding without planning. More stones doesn’t automatically look better. Use scatter or honeycomb deliberately — decide on the effect before you start gluing.
Not using transfers for large areas. If you need to cover a big surface, transfers save hours. Don’t hand-place hundreds of individual stones when a sheet does it in minutes.
Not testing on scrap material. This is especially important for new glues or tricky surfaces. Grab a scrap piece of the same material and test your glue first.
Problematic surfaces. Very flexible rubber, oily plastics, and porous materials (unfinished wood, raw fabric) can be difficult. Glue may not stick well or may bleed. Test first, and consider sealing porous surfaces before you start.
Safe removal. If you mess up, you can remove stones. For hotfix rhinestones, apply heat with a tool or iron to soften the glue. For glued stones, use acetone or a glue remover carefully — test on a hidden area first, especially on fabric or plastic.
Turning Bedazzling into a Small Business
But you need to price your time and materials honestly.
The rhinestone brand you use affects your pricing. A handbag covered in Swarovski costs more to make than one with Luna stones, and you need to charge accordingly. The time investment matters too — full honeycomb coverage takes much longer than scatter effect. Don’t sell a five-hour project for the same price as a one-hour one.
What sells well? Jewellerification items (everyday objects that look like jewelry), custom pet accessories, and festival gear like transparent purses.
Start small — a few items at a local market or on Etsy. See what gets attention. Then scale up.
Start Small, Sparkle Big
Start with something simple — a greeting card, a pair of sliders, a stapler. Get a feel for the glue and the stones. Then try a bigger project.
And if you find yourself relaxing while you place stones one by one, the glow of a finished piece in your hand? That’s the real payoff.
People Also Ask
What is a good thing to bedazzle?
Slides or Crocs are a great starting point because the rubber surface holds stones well with the right glue, and they’re forgiving for beginners. Greeting cards, phone cases, and sunglasses also work well — they’re small, low-commitment projects that still look impressive when finished.
What can I bedazzle and sell?
Everyday objects that look like jewelry — called ‘jewellerification’ items — tend to sell well, like custom pet accessories, festival-ready transparent purses, and bedazzled clutches. People pay a premium for one-of-a-kind personalized items, so focus on things that feel unique rather than mass-produced.
How do I keep rhinestones from falling off Crocs or rubber shoes?
Use E6000+ glue, which is flexible and waterproof — when the rubber stretches, the glue stretches with it so stones stay put through playground trips and puddles. Arrange stones in clusters using the rockery technique for a natural look that doesn’t require full coverage.