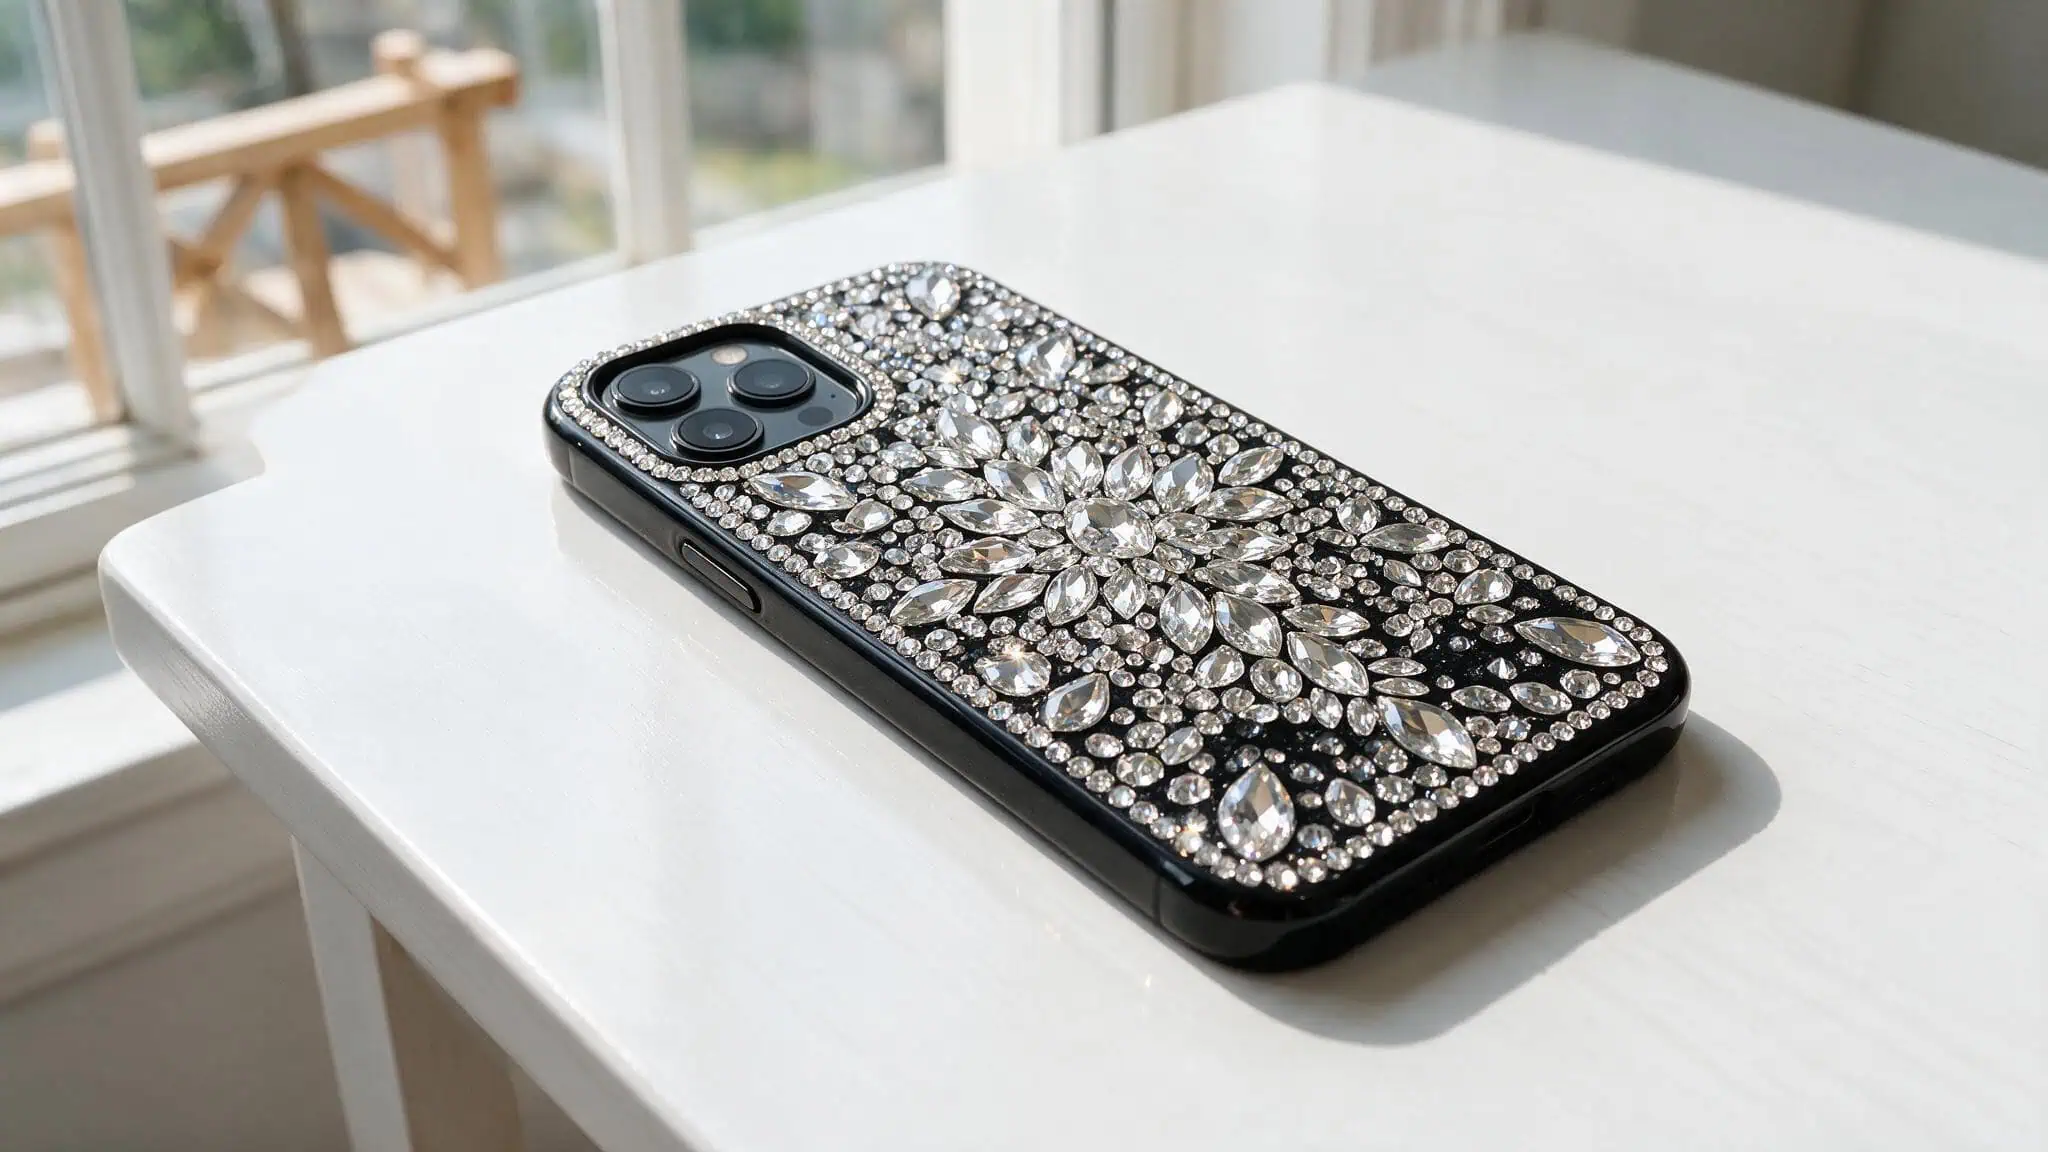
I’ll be honest: the first time I tried to bedazzle a phone case, I ended up with more glitter stuck to my kitchen table than on the actual case. My then-4-year-old “helped” by dumping an entire bag of rhinestones onto the floor, and the glue I used dried so fast I basically glued my fingers together before I placed the second stone.
So when I tell you I’ve figured out what works, I mean it in the most trial-and-error way possible.
The good news? People are into this. Rhinestone Guy — a company that pretty much lives and breathes rhinestones, gets about 10 calls a day from people trying to cover their phones with sparkly things. And there are millions of bedazzled phone case videos trending on Snapchat.
The bad news? Most tutorials online are vague or straight-up wrong about the glue. And using the wrong glue is the #1 reason this project turns into a sticky disaster.
Here’s the actual guide I wish I’d had — covering the specific glue and stone sizes that keep your rhinestones from falling off in a week.
Key Takeaways
Skip the E6000 glue everyone recommends — it dries way too fast and creates a mess. Use GemTac instead, which gives you time to work and actually stays put.
Smaller stones (9SS or 10SS) are surprisingly more durable than larger ones because they experience less abrasion in your pocket or bag.
Start your design on a flat, square area of the case, not a curved edge — and never paint the phone itself. A black case underneath makes rhinestones pop without the overspray headache.
Table of Contents
Materials and Tools: What You’ll Actually Need
Let’s start with the glue, because this is where most people screw up.
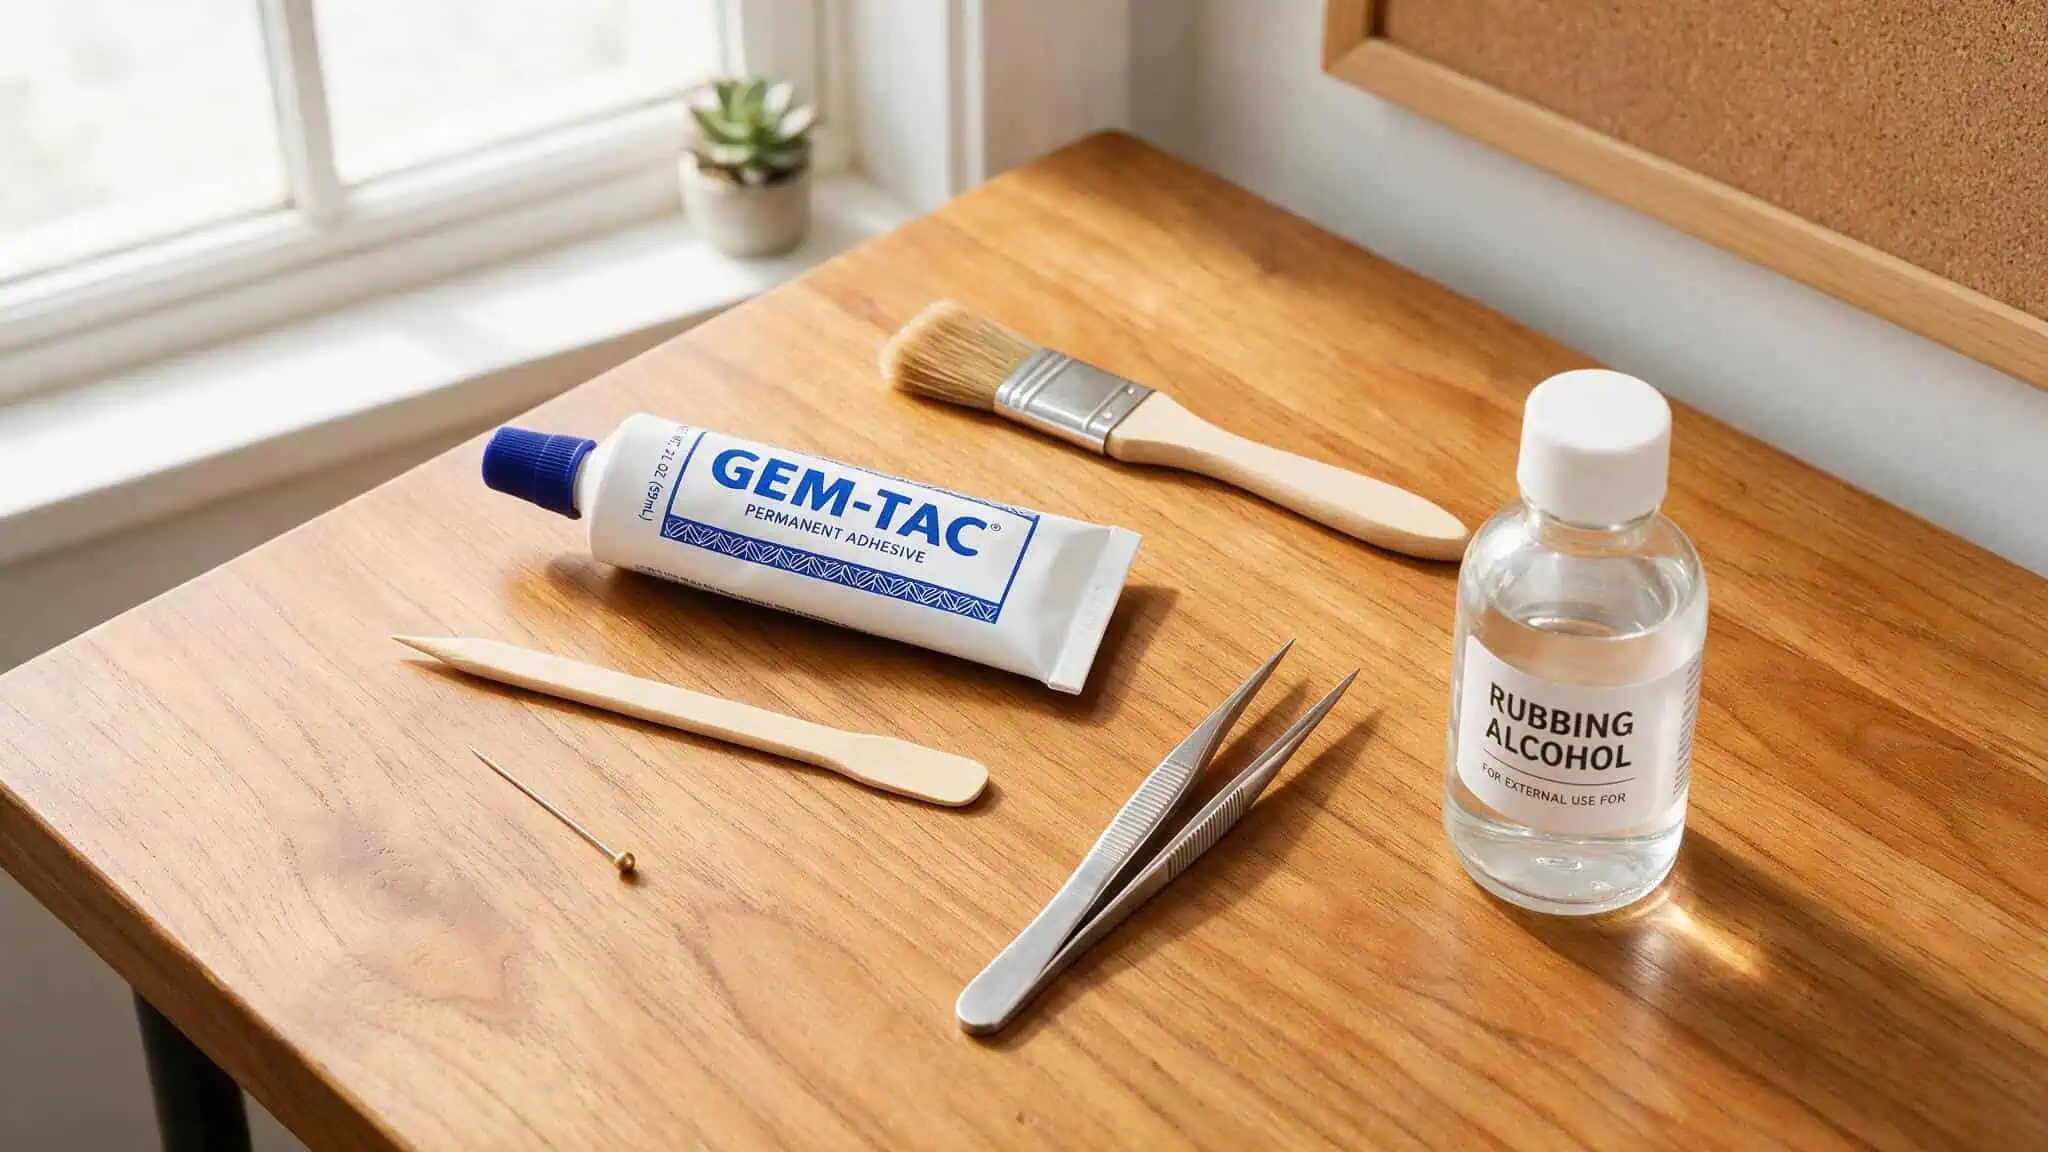
The glue you should use: GemTac. It’s specifically made for rhinestones. It’s easy to work with, and most importantly, it gives you time to actually place your stones before it sets.
The glue to avoid: E6000. I know, I know — every generic tutorial on the internet recommends E6000 as a strong adhesive. And it is strong. But it dries so fast that you’ll have glue everywhere except where you want it.
You won’t have time to adjust a crooked stone. You’ll panic and make a mess, so just skip it.
Other options exist if you’re in a pinch:
- Liquid Nails — spread a thin layer across a small section of the case. Works fine, but takes 24 hours to fully set.
- Super glue — use with tweezers for tiny stones, like in the CBC Life tutorial method. Not ideal for large areas.
The rest of your shopping list:
- An applicator stick — about $1.10 from Rhinestone Guy. Roll it between your fingers to create a pointed wax tip for picking up stones. Worth every penny.
- A sewing pin — run it into the glue nozzle to clear clogs. Simple, but you’ll thank me later.
- A short-nap artist’s paint brush — for spreading glue in a thin, even layer. Put it in water immediately after use or you’ll be buying a new one.
- Tweezers — for charms and larger gems.
- Rubbing alcohol — clean the surface with an alcohol-dampened lint-free cloth before you start. It removes oils so the glue actually sticks.
- Rhinestone Estimator — a tool that calculates how many stones you need based on the area and stone size.
If you’re going the CBC Life route, you’ll also want a clear phone case, a card cut out for layout, charms, and gems.
Choosing Your Rhinestone Size
Rhinestones come in SS sizes, and the number matters a lot more than you’d think.
For durability (the counterintuitive choice): 9SS or 10SS. These are the sweet spot for durability: they’re actually less likely to fall off than bigger stones because they experience less abrasion in your pocket or bag.
For fastest full coverage: 12SS. If you want to cover the whole phone in one color and you’re impatient, this is your pick.
For intricate designs: 5SS or 6SS. These give a detailed look, and one very prominent purse maker uses these sizes exclusively. But be warned — it takes longer and requires patience.
For most coverage per dollar: 20SS. Good for large areas, but bigger stones are more likely to get torn off. Tradeoff worth knowing.
One hard rule: don’t mix stone sizes within a single design. I know it’s tempting to use different sizes for visual interest, but the fit will fall apart quickly. The stones won’t sit right next to each other, and you’ll end up with gaps and loose pieces. Keep it consistent within each section.
Preparing Your Phone Case: Surface and Background
Two things most tutorials skip that make a huge difference:
First: clean the surface. Wipe your case down with rubbing alcohol on a lint-free cloth. It removes the oils from your hands and any manufacturing residue. The glue won’t stick to a greasy surface, and it’s a bummer to lose stones because you skipped the wipe-down.
Second: use a black case. Rhinestones look better on a black surface. The contrast makes them pop. A clear or white case can work, but the stones won’t have that same sparkly punch.
Do not paint your phone. Overspray will get into your phone’s ports, buttons, and seams. Just don’t. Get a black case instead.
⚠️ Warranty warning: Bedazzling your phone case will void your phone’s warranty in most cases. Check with your provider before you go all-in — it’s a pain to find out after the fact. Skipping this check could cost you hundreds of dollars in unrepairable damage.
Planning Your Design
With the right bedazzling ideas at home, you can turn ordinary household items into sparkling treasures.
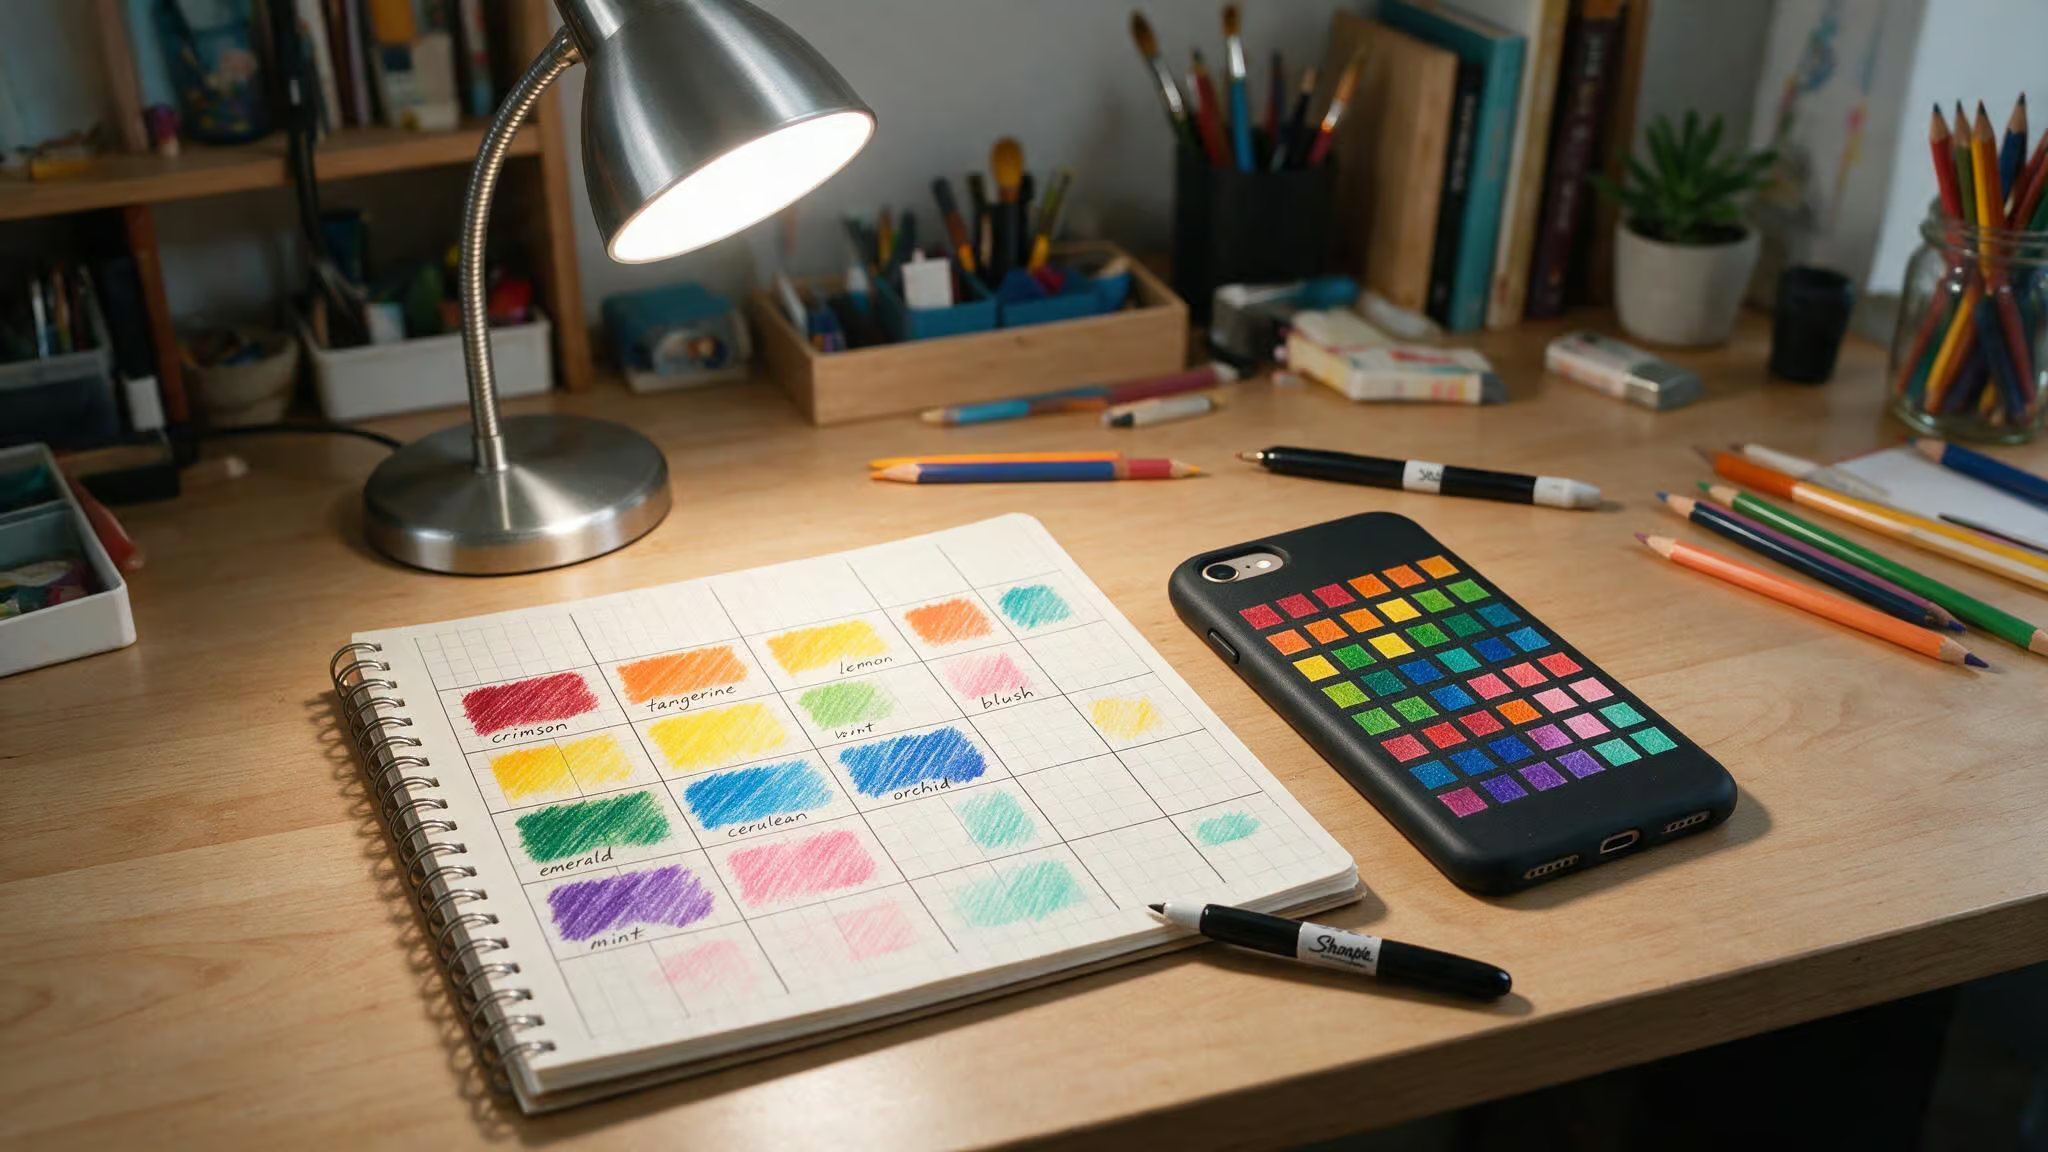
Use graph paper and colored pencils. Treat it like cross-stitch planning — each square on the paper represents one stone. Color in your pattern, note which colors go where, and you’ll have a roadmap that keeps you from making it up as you go. Use a Sharpie pen to outline your design on the case before placing stones.
Divide your project area into four quadrants. Draw perpendicular center lines across your case (in your mind, not on the actual case). Work one quadrant at a time. It keeps the pattern symmetrical and prevents you from getting overwhelmed.
Always start on a flat area, not a curve. Fill in the flat sections first. Save the outside edges and curved parts for last. If you start on a curve, your whole design will go sideways — literally. The stones won’t line up, you’ll have weird gaps, and you’ll spend the whole time trying to fix it.
People have used graph paper patterns to create a large eagle design in rhinestones on the back of a motorcycle. Same principle, just bigger.
Applying the Rhinestones: Step-by-Step
Okay, here’s the actual process. It’s simpler than you think, but the details matter.
Step 1: Dump your rhinestones into a saucer. At least 50% of them will land right side up. Work with those first, and don’t waste time flipping every single one until you’re ready to plan your bedazzling ideas.
Step 2: Prepare your applicator stick. Roll it between your fingers to create a sharp wax point. This picks up stones cleanly without glue on your fingers.
Step 3: Spread glue in a small area. Only squeeze out as much as you can use within about one minute. After that, it starts to set and gets tacky. You can work in larger areas once you develop a rhythm, but start small.
Step 4: Pick up a stone. Lightly touch the wax tip to a right-side-up stone. It should grab it easily.
Step 5: Place the stone. Gently roll the stick between your fingers as you pull back to release the stone. The rolling motion helps it seat properly without smearing glue.
Step 6: Repeat. Small sections at a time. Don’t rush.
Alternative method (CBC Life style): If you’re using charms or pre-made stone cards, place them on a card cutout to plan your layout, then glue the whole charm directly onto a clear case using super glue and tweezers. For more simple, low-cost projects and essential tips, check out these bedazzling ideas for beginners to get started. Fill remaining space with gems, using smaller ones on the sides and in gaps.
Alternative method (user-submitted, very extra): One brave soul described using an old iPhone case, rhinestones in various sizes, and Liquid Nails. They spread a thin layer of glue over a small portion, placed stones like a puzzle, and let it dry for 24 hours. Their description: “not for the faint of heart.” They took it out on New Year’s Eve and has been giving it a break ever since. Respect.
Drying and Care Tips
Drying time depends on which glue you chose:
- GemTac or other acrylic glue: 4-5 hours to fully set.
- Liquid Nails or super glue: 24 hours. No shortcuts.
You’ll know it’s dry when the glue turns clear. White or cloudy glue means it’s still setting. Wait for glue to dry completely before handling the case.
A note on glue thickness: Too thick a layer will cover the stone and dull its sparkle. Too little glue, and the stone will fall off. You want a thin, even layer — enough to hold, not so much that it oozes up around the edges.
Remember: smaller stones (9SS or 10SS) are less likely to tear off than larger ones. If you’re worried about durability, sizing down is the move.
Removal and Safety Precautions
Maybe you want to change the design, or maybe you’re selling the phone.
Goof Off or Acetone can dissolve most acrylic glues if you give them enough time. But these chemicals can damage plastic, so test on an inconspicuous area first.
Important safety warning: Goof Off and Acetone contain chemicals that can penetrate your skin and damage your kidneys. Wear rubber gloves. Seriously.
And bedazzling may void your phone’s warranty, so removal won’t help if you’ve already done damage.
Beyond Phone Cases: Other Bedazzling Projects
The same technique works on tons of other items. An iPod lends itself to this treatment, as do MP3 players and CD players. Here’s what goes with what stone size:
- Laptop covers — same method as phones. Design on paper, cut it out, reassemble on the cover, outline with Sharpie, note colors, then stone. Bonus: someone joked that rhinestones won’t hurt a laptop’s resale value much, since there’s not much value left to worry about.
- Sunglasses — 5SS and/or 7SS for the frames.
- Comb — 5SS or 7SS.
- Compact — 5SS, 7SS, or 9SS. Make sure it’s refillable first.
- Lipstick case — 7SS or 5SS on a sleeve that fits your brand.
For an MP3 player, 5SS or 7SS stones work best. For a CD player, use 5SS or 7SS stones as well.
Design Inspiration and Ideas
You’ve got options. Here are a few distinct approaches:
The one-color coverage look: Grab 12SS stones in your favorite color and cover the whole case. Fastest route to a finished project.
The mixed-color pattern: Use graph paper and colored pencils to plan a design — hearts, stars, geometric patterns, whatever. Each color gets its own section.
The charm-and-gem mixed-media look (CBC Life method): Start with charms arranged on a card cutout. Glue them onto a clear case. Then fill all the empty space with gems, using smaller ones on the sides and gaps.
The puzzle method: Apply a thin coat of Liquid Nails to a small section. Fit stones together like puzzle pieces, fitting them together as tightly as possible. Let it dry 24 hours.
The goal, as someone put it, is to set a precedent, not follow one. Make something that’s yours.
Troubleshooting and Common Mistakes
Here are the things that go wrong, and how to avoid them:
Mistake: Using E6000 glue. The fix: use GemTac instead. E6000 dries too fast and creates a mess you can’t fix.
Mistake: Starting on a curve. The fix: always start on a square or flat area. Fill in curves last. Your design will stay aligned.
Mistake: Mixing stone sizes in the same design. The fix: keep sizes consistent within each section. Mixing them causes the fit to fall apart.
Mistake: Too much or too little glue. The fix is a thin, even layer — too thick dulls the stones and too thin means they fall off.
Mistake: Painting the phone itself. The fix: don’t. Use a black case instead. No overspray, no ruined phone.
Go Make Something
The specific glue (GemTac, not E6000), the right stone size (9SS or 10SS for durability), the design method (graph paper, start on a square), and the patience to let it dry (4-5 hours minimum, 24 hours for certain glues).
It takes time and a steady hand, but the result — a phone case that’s yours, that no one else has, is worth the effort.
Now go dump some rhinestones into a saucer and make something sparkly.
People Also ask
Is it okay to bedazzle my phone case?
Yes, it’s perfectly fine to bedazzle a phone case, but check your phone’s warranty first since it may void it. Use a black case underneath for the best sparkle contrast, and never paint the phone itself to avoid damaging ports and seams.
How to bling your phone case?
Start by cleaning the case with rubbing alcohol, then use GemTac glue and an applicator stick with a wax tip to place rhinestones. Work in small sections, starting on a flat area, and let the glue dry for 4-5 hours before handling.
What is the best glue to bedazzle a phone case?
GemTac is the best glue for bedazzling because it gives you time to place and adjust stones before it sets. Avoid E6000, which dries too fast and creates a messy disaster.
How long does it take for rhinestone glue to dry on a phone case?
GemTac or other acrylic glues take about 4-5 hours to fully set, while Liquid Nails or super glue require 24 hours. The glue is dry when it turns clear — white or cloudy means it’s still setting.
Why do my rhinestones keep falling off my phone case?
The most common reasons are using the wrong glue like E6000, not cleaning the case with rubbing alcohol first, or applying too little glue. Stick with GemTac, clean the surface thoroughly, and use a thin even layer of glue for stones that stay put.