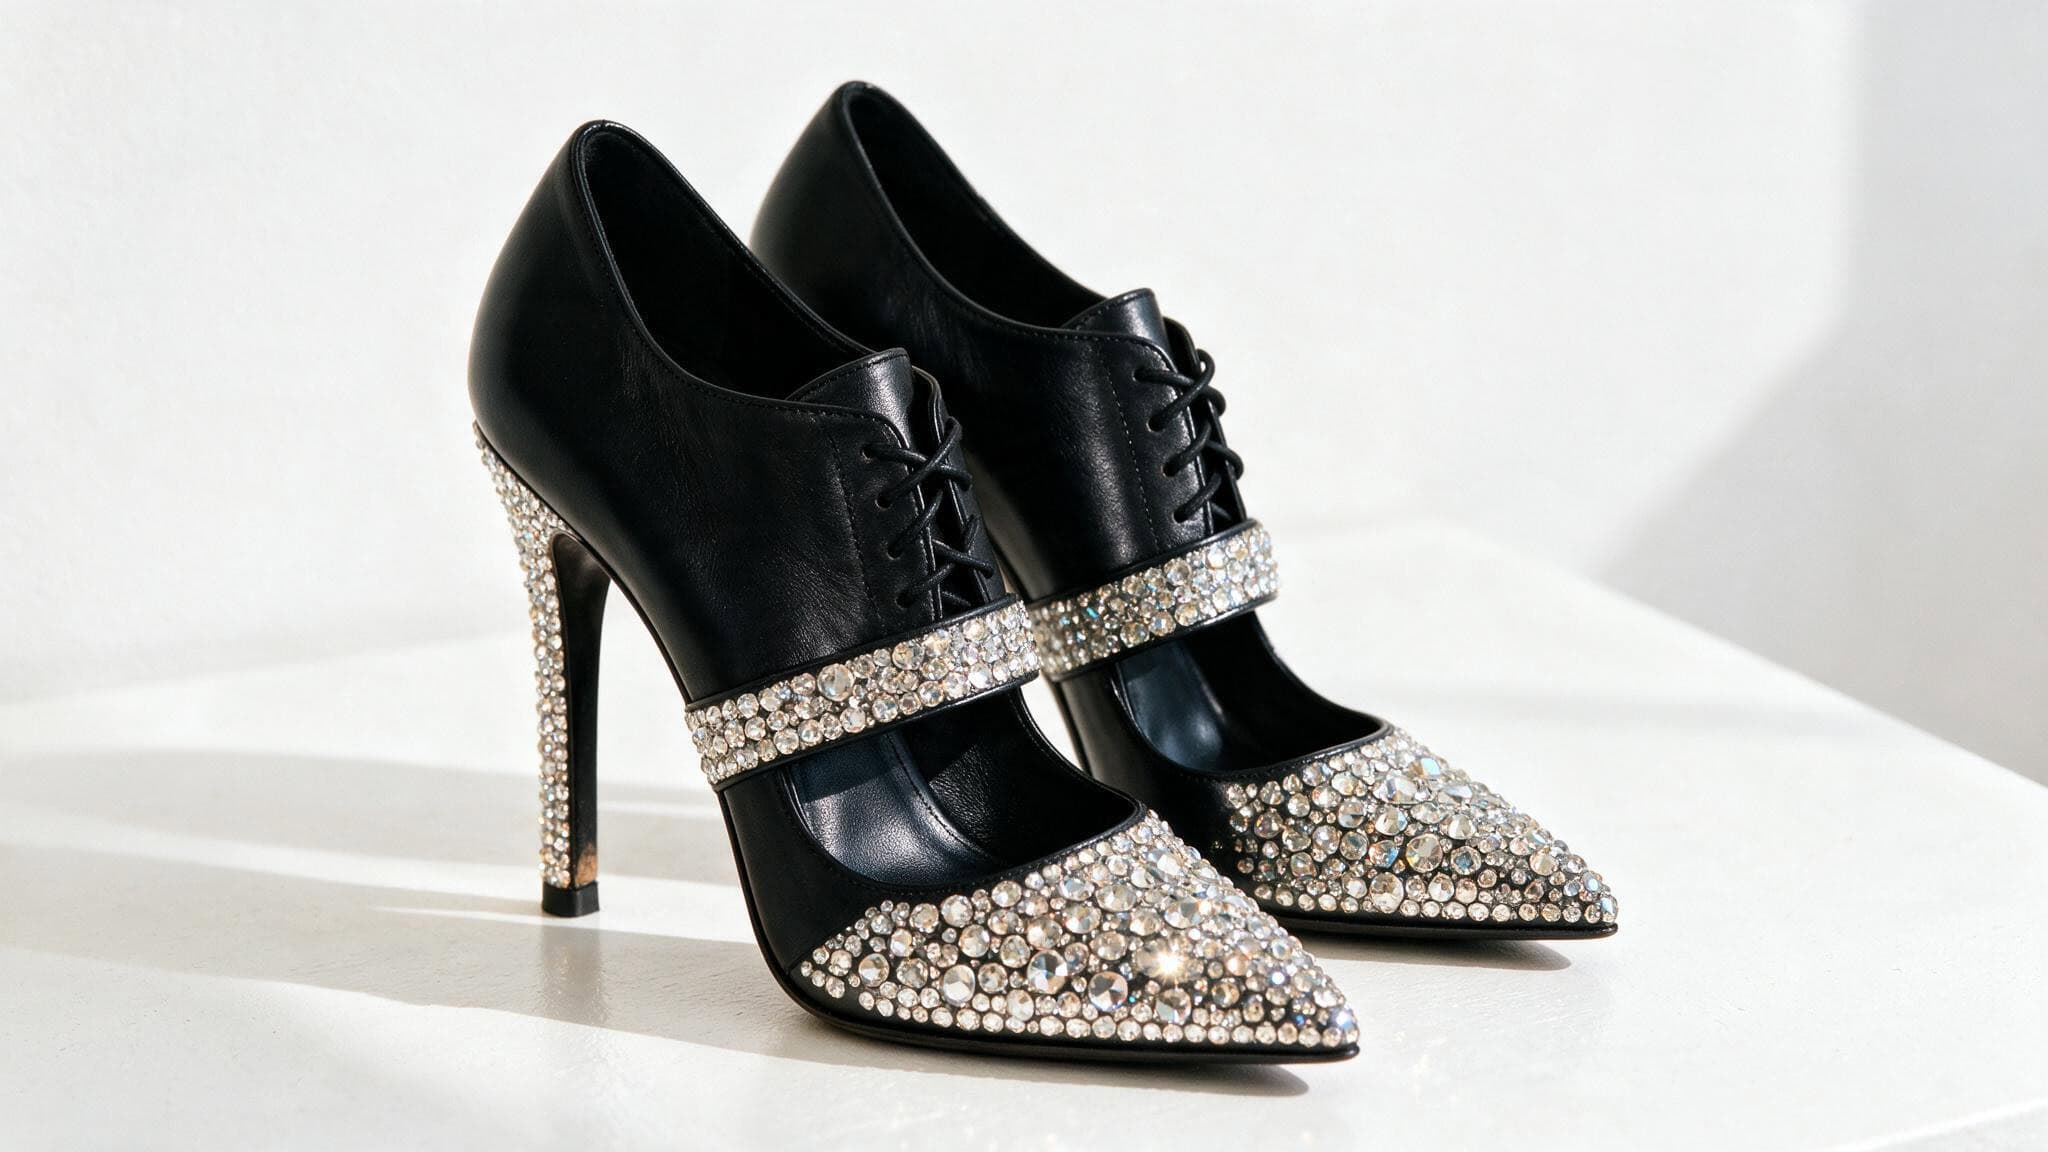
You’ve seen the prices. A pair of custom bedazzled shoes online runs $100 or more, sometimes way more. And for that you get someone else’s idea of sparkly, on a shoe you didn’t pick, in a color you’re not sure about.
Here’s what nobody tells you: you can do it yourself for $20 to $50 in supplies. I’ve been down this road — bought the wrong glue, ran out of crystals in the middle of a project, tried to salvage a color mismatch by hiding bad stones on the inside of the shoe. I made the mistakes so you don’t have to.
Bedazzling is not expensive, not hard, and you don’t need special skills. What you need is the right glue, a few basic tools, and a project small enough that you’ll finish it. This article will walk you through what to buy, what to avoid, and which projects to start with — and which ones to save for later.
Key Takeaways
Custom bedazzled shoes cost $100+, but a DIY pair runs $20-50 in supplies — your main expense will be crystals and glue, not labor.
GemTac glue works indoors without a mask; E6000 is stronger for rubber and outdoor items but requires ventilation because of cancer-linked fumes.
A phone case takes 30-60 minutes to finish; a pair of heels with 2mm crystals takes around 30 hours — choose your project based on how much time you actually have.
Table of Contents
Essential Supplies: What You Actually Need
The most important decision is the glue. Most beginners grab whatever’s available, and that often means E6000 because it’s well-known. Don’t do that without reading the label first.
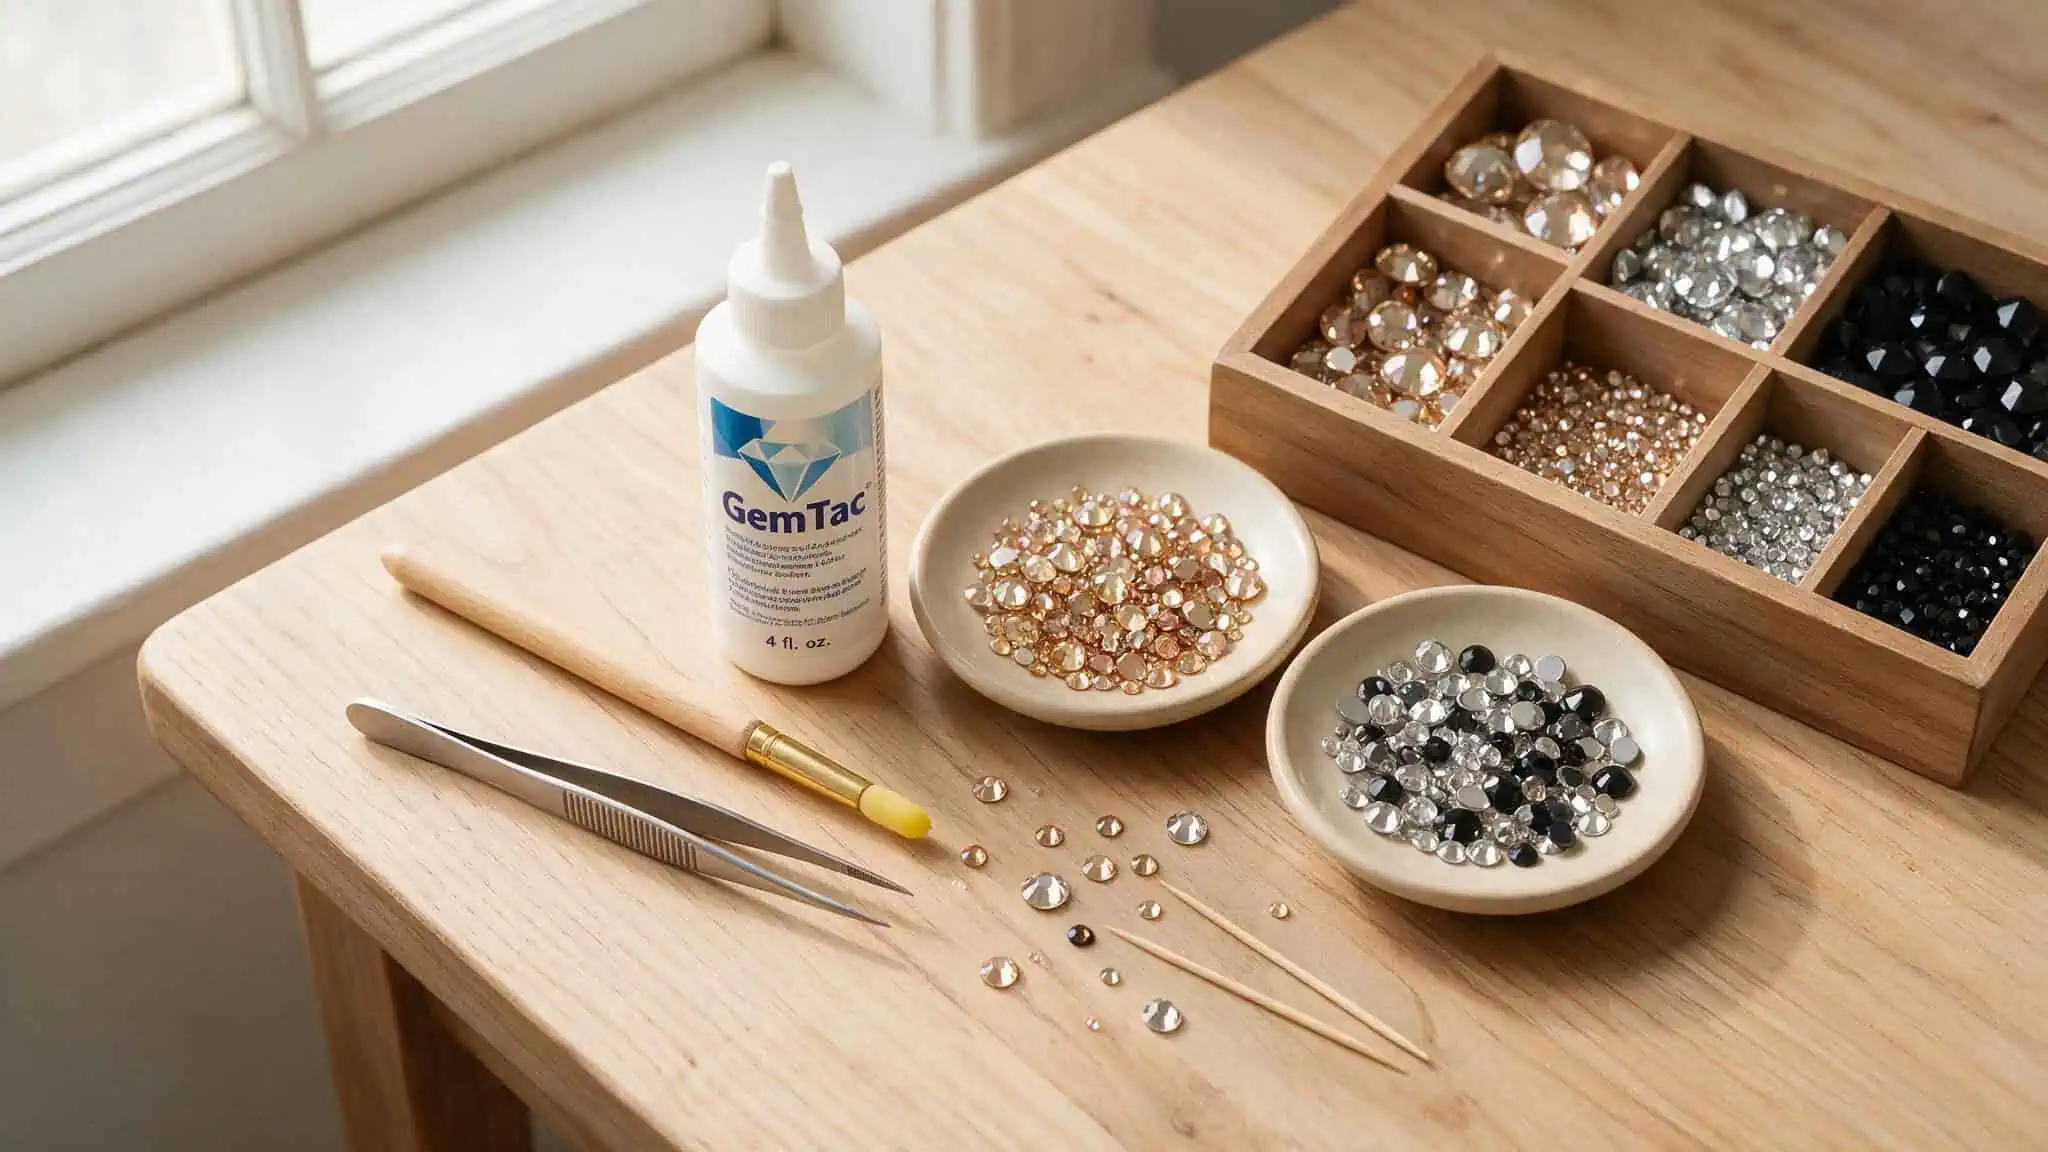
The short version: GemTac is your indoor, no-mask glue. E6000 is for stuff that needs to bend or get wet, and you need to use it outside or with a mask.
Let me break that down.
GemTac vs. E6000: The Safety Trade-Off
I use GemTac for almost everything. It dries clear, works on paper, plastic, and fabric, and — here’s the part that matters to me. I don’t have to wear a mask in my own house to use it. E6000 is a heavy-duty adhesive that’s flexible and waterproof, which makes it great for rubber shoes and outdoor items. But E6000 has documented links to cancer, and the fumes are strong enough that you need ventilation and a mask. For a beginner working on a phone case or a hair clip, GemTac is the safer choice.
Here’s the tradeoff in plain terms:
- GemTac: Safe indoors, dries clear, good for paper, plastic, fabric. Not waterproof.
- E6000: Strong and flexible, waterproof, works on rubber. Requires mask and ventilation.
If your project involves rubber sliders, Crocs, wellies, or anything that will get wet or bend a lot, use E6000+ (that’s the outdoor formula) and set up outside or in a well-ventilated room. For everything else, GemTac is fine.
Bottom line: For a beginner’s first project, GemTac is the safer, easier choice — save E6000 for rubber sliders or rain boots.
Essential Tools: Pickers, Tweezers, and Household Helpers
Here’s what matters:
- A gem picker pencil — this picks up stones with a tiny vacuum or adhesive tip. I prefer it over the wax ball picker because it’s more precise. The downside: if you’re using the dip method (where you dip the crystal into glue), stones can fall off the picker into the glue. That’s one reason I apply glue directly to the item instead.
- Tweezers — for placing stones and for fixing mistakes after heating the glue with a hairdryer. Get a pair with fine tips.
- Toothpicks — for applying glue in tiny dots or nudging a stone that’s slightly off.
- Hairdryer — this is your secret weapon. If you place a stone wrong, hit it with a hairdryer for a few seconds and lift it off. No damage, do-over.
- Syringe applicator — optional, but useful if you want more control than a toothpick gives you for detailed work.
Skip the wax ball picker if you’re a beginner — the stones wobble and it’s frustrating. A pencil picker and tweezers are all you need for most projects.
Choosing Your Crystals: Brand, Size, and Type
Crystal prices vary widely. Swarovski crystals are the gold standard — precision-cut, sparkle. A pack of 100 non-hotfix Swarovski crystals costs around £3 or more. Meanwhile, you can get 1,000 cheap non-Swarovski crystals for 99p to £1.50.
For your first project? Buy the cheap ones. You will make mistakes, you will drop stones, and you will learn what you want from a crystal before you spend Swarovski money.
Here’s the brand landscape:
- Swarovski — premium sparkle, £3+ per 100. Worth it for a special project you’ll see every day (like a phone case or a gift).
- Preciosa — slightly cheaper than Swarovski, still excellent quality. Good for items that get handled a lot.
- Zodiac — value brand with a strong foil backing that keeps the sparkle. Used on the stapler project in the source and it looks great.
- Luna — budget-friendly, perfect for large projects or practice. Used on the novelty phone project, they sparkle nicely for the price.
You also need to know the difference between flatback rhinestones (flat bottom, need glue) and hotfix rhinestones (heat-activated glue on the back — apply heat with a tool or hairdryer). For your first few projects, flatback non-hotfix stones with GemTac are the easiest to handle.
Quick Wins: Projects Under an Hour
Start with a project you can finish in one sitting. These two take less than an hour each.
Rhinestone Phone Case
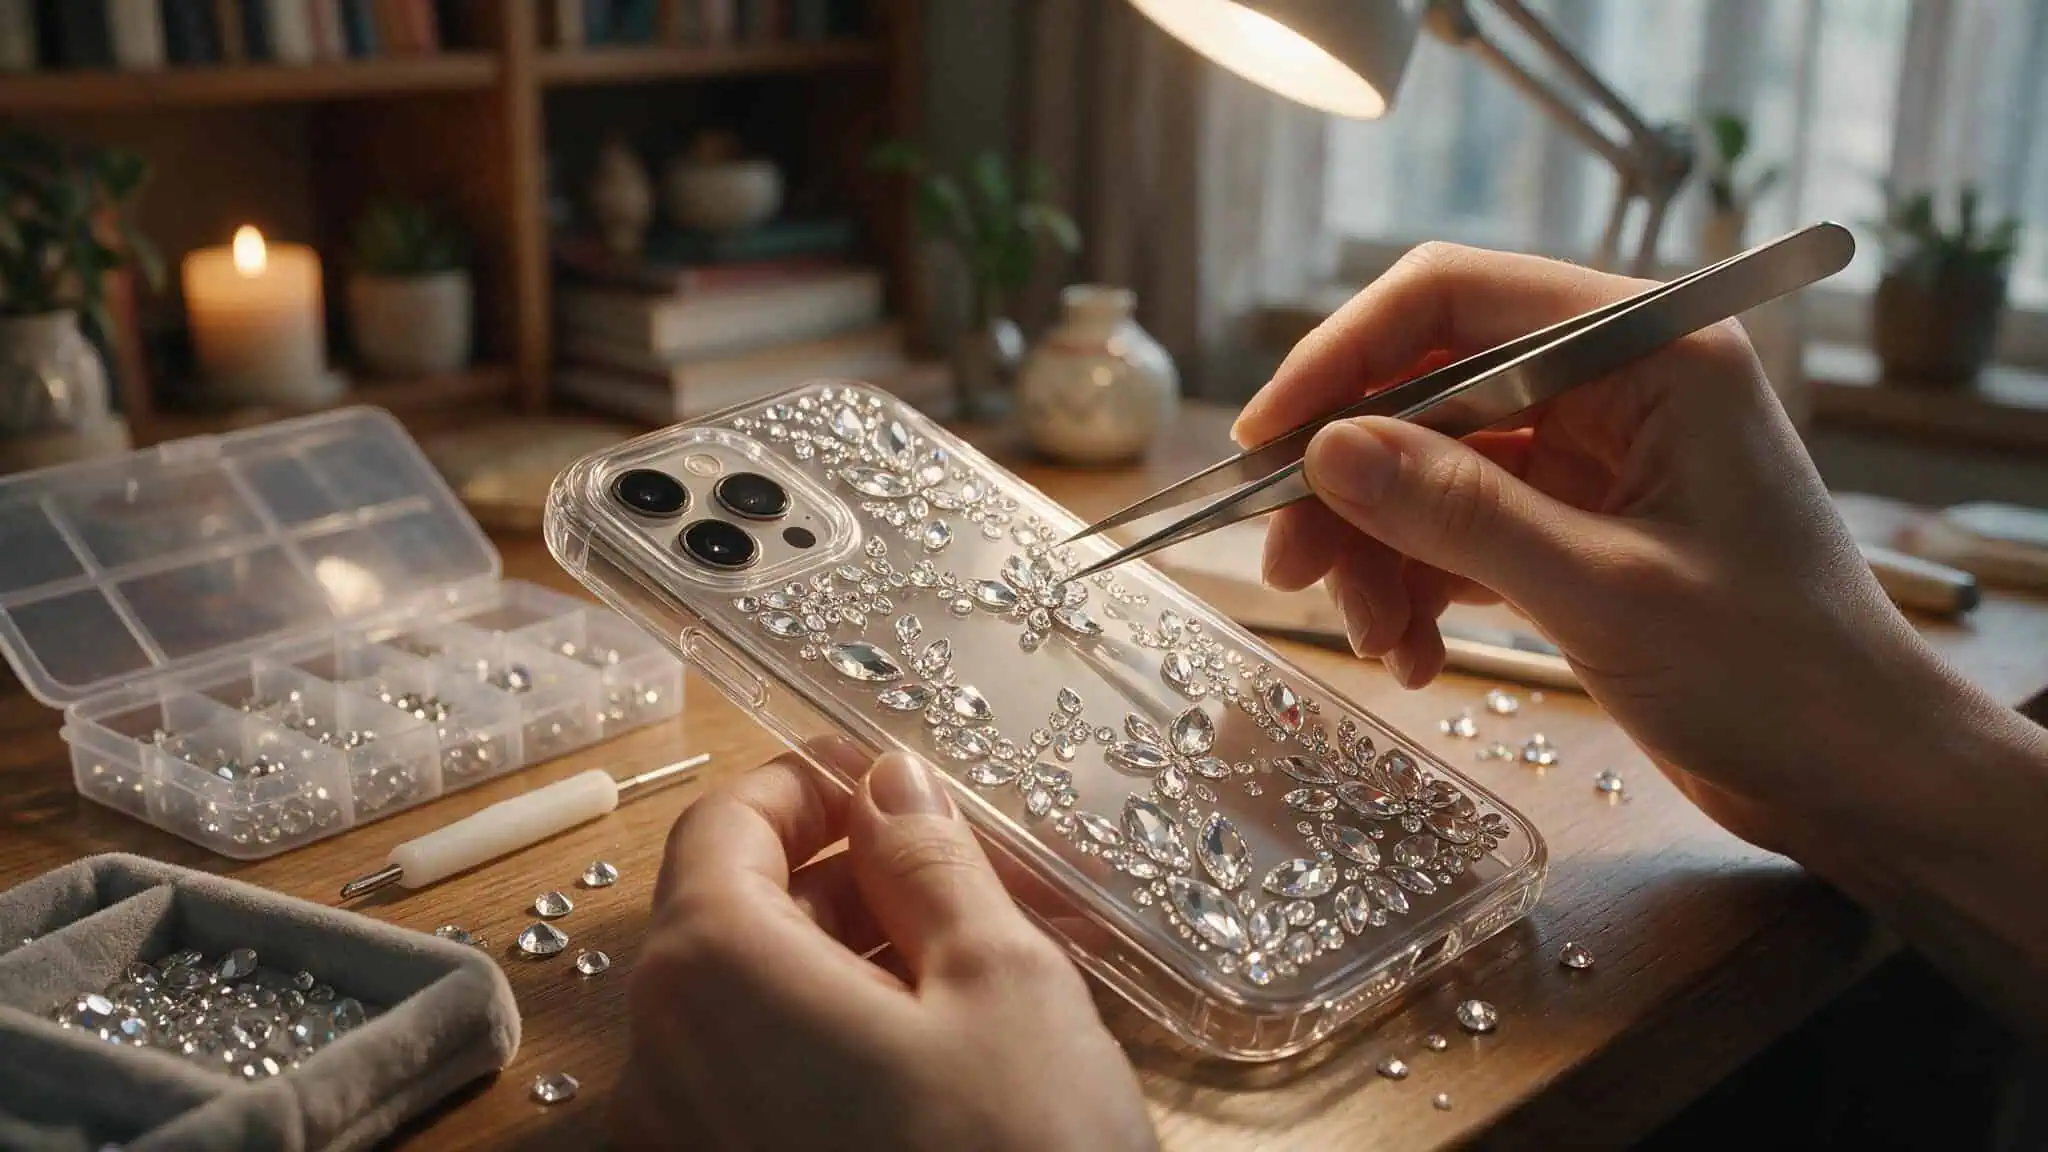
A phone case is the perfect starter project: small, flat, and you look at it all day. A flat surface means you can fix mistakes easily — drop a stone, pick it up, no fabric to snag, no curve to fight.
Time: 30-60 minutes. You can finish this while the kids watch one movie.
What you need: A basic phone case (cheap one from Amazon or a thrift store), GemTac glue, cheap flatback crystals, a pencil picker, and tweezers.
How to do it: Apply a thin layer of GemTac to a small area — about 3 cm square, and let it become tacky for a minute. Then place your stones. Work in sections so the glue doesn’t dry before you get to it. Mix shapes and colors, it’s your case, make it yours. A few crystals can make a cheap case look like it cost ten times what you paid.
Embellished Hair Clips
Hair clips are even faster than a phone case — fewer than 20 stones can make a plain claw clip look boutique.
Time: Under an hour. You can make a whole set in an afternoon.
What you need: A plain claw clip, small flatback or heat-fix rhinestones, GemTac or a heat tool, tweezers, and toothpicks.
How to do it: Design ideas include a border around the edges, full coverage, polka dots, stripes, initials, tiny hearts, or ombre. Iridescent rhinestones catch the light and look almost as good as Swarovski for a fraction of the price. These make great gifts for bachelorette parties, sleepovers, or birthdays. You can also do headbands, bobby pins, combs, scrunchies, and vintage buttons — anything that sits still.
Flat Surface Practice: Projects That Forgive Mistakes
Some projects are low-stakes — you can mess up and nobody will notice.
Bedazzled Greeting Cards
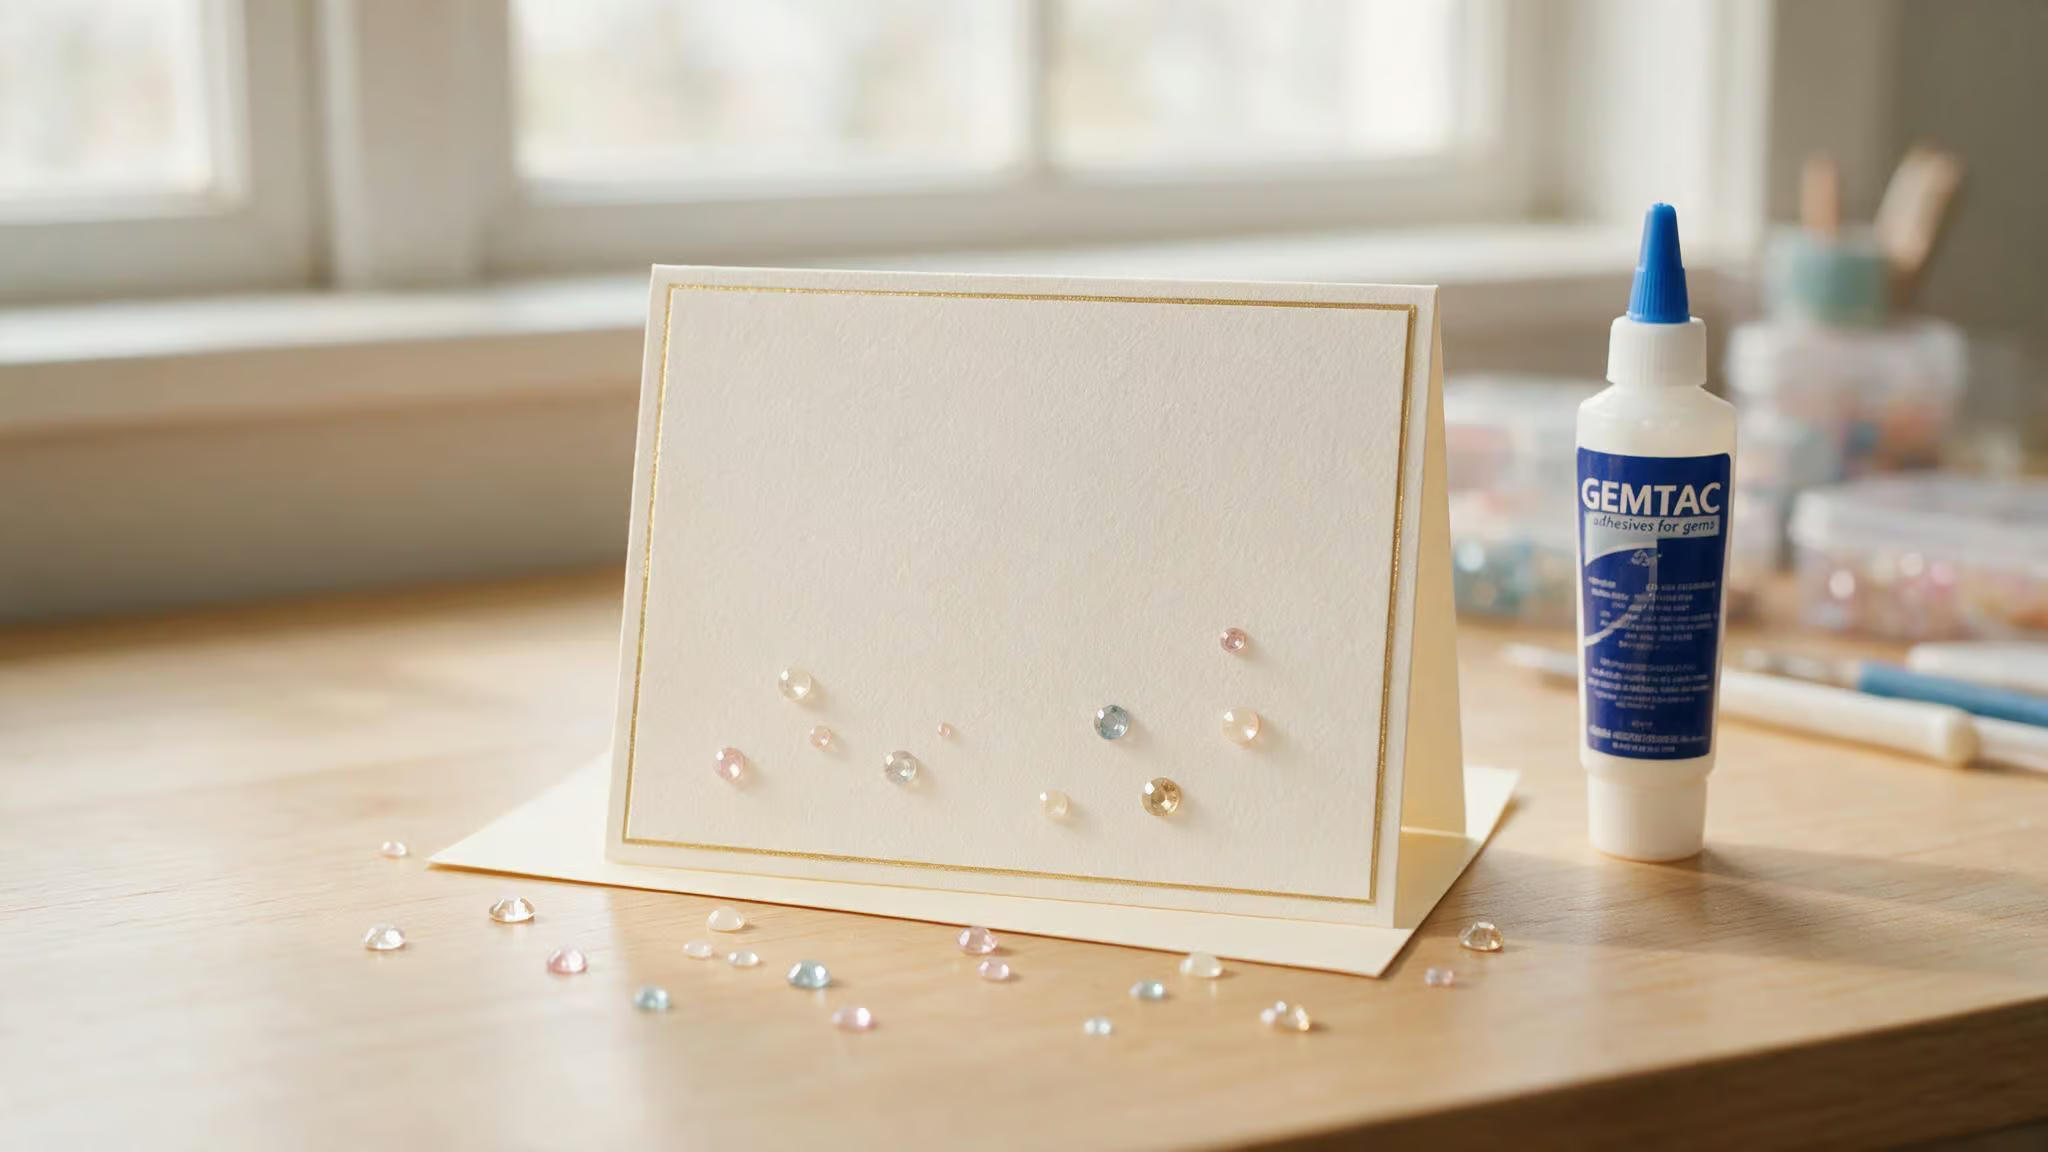
A greeting card is risk-free: dot GemTac on the flat parts of the card design, place a few crystals, and you’re done. If you mess up, start a new card — they cost like a dollar.
Time: 15-30 minutes.
What you need: A blank card, GemTac, and a handful of cheap crystals. That’s it.
Nobody inspects a greeting card for perfect spacing — a few well-placed stones make it feel handmade and thoughtful. You can also try this with envelopes, notebooks, binders, planners, invitations, or playing cards.
Picture Frame Embellishment
Picture frames are spacious and forgiving — uneven gaps still look intentional.
Time: 30-60 minutes.
What you need: Any frame — thrift store find, dollar store special, or one you already own. GemTac, crystals, tweezers.
Design ideas: Corner accents, full coverage, zigzag, stripes, polka dots, initials, quotes. Match the crystals to your room’s color scheme or go wild with rainbow. For more creative ways to add sparkle, try these bedazzling ideas at home on picture frames, lampshades, and mirrors. A bedazzled frame holding a photo makes a thoughtful, personal gift. People keep these — it’s the kind of thing your mom still has on her dresser years later.
Fabric Practice: From Tote Bags to Clothing
Fabric projects are intimidating — you worry about washing, stretching, and fit. A tote bag is your dress rehearsal.
Customized Canvas Tote Bag
Adhesive fuses well to canvas, so your stones will stay put. A tote bag is spacious and flat — easy to work on, easy to fix mistakes.
Time: 1-2 hours.
What you need: A plain canvas tote (cheap and easy to find), flatback or heat-fix rhinestones, GemTac, a cardboard insert (to stop glue seeping through to the other side), a stencil or washable marker, tweezers, and toothpicks. For inspiration, check out these bedazzling ideas.
How to do it: Slide cardboard inside the bag before you start gluing. Draw your design with a washable marker or use a stencil. Apply GemTac in small areas, let it get tacky, then place stones. Design ideas: seashells, starfish, your name, a favorite quote, or flowers. A tote bag is perfect practice before you try a t-shirt — if you mess up, it’s a bag.
Bedazzled Top with Logo
Once you’ve done a tote bag, try a T-shirt or top. Draw your design with dressmakers chalk first — it washes off later. Apply glue in small dots along your chalk lines, then place the rhinestones with tweezers (helpful if you have shaky hands). If you hate it, wash the chalk off and start over, or adapt the technique for bedazzling ideas phone case projects.
Fashion Accessories: Sunglasses, Headbands, and More
These are conversation starters — not craft projects.
Celebrity-Inspired Sunglasses
Zoe from the Crystal Parade team bedazzled Harry Styles sunglasses for a concert and got compliments all night. You can give a pair of gas station sunglasses a Harry Styles-inspired look for your next concert — or for a day when you want to feel like you’re going to one.
Time: 30-60 minutes.
What you need: Cheap sunglasses, GemTac, flatback crystals in your chosen colors, tweezers.
How to do it: Apply glue in small sections along the frame, let it tack up, place stones.
Bedazzled Pet Collar (and Beyond)
Your dog doesn’t care, but you will. If your dog swims, use E6000+ (waterproof and flexible). Otherwise, any glue works. Once you start, you’ll want to do the leash, bowl, their little coat.
More Wearable Accessories
Headbands, bobby pins, scrunchies — same method as hair clips, a different shape. You can finish a whole set in an afternoon.
Beyond Basics: Novelty Items and Home Décor
This section is permission to be ridiculous.
Gifts in Glass: Drinks Bottles and Champagne Flutes
A water bottle you use makes hydration feel fancy. Cover your go-to bottle in rhinestones — it’s ridiculous and fun. Bling your partner’s favorite liquor bottle as a gift, it’s weird and they’ll love it. A champagne flute with your friend’s name in crystals is a gift they’ll use.
Caveat: Glass requires a specific method — check the source’s glassware guide so you don’t end up with stones in your drink. If you’re feeling extra, you can turn a bottle into a lamp base, a thought.
Quirky Office and Novelty Items
A plain stapler becomes the most interesting thing on your desk. The source used Zodiac Light Pink AB crystals with GemTac — turned a plain stapler into something you want to look at.
Bedazzled Perfume Bottle
Cover a perfume bottle in pearls and cabochons from the vintage collection — gives it an antique feel. Makes a gorgeous gift or a pretty vanity piece. It’s bespoke and shows you put thought into it, better than something store-bought.
Footwear for Beginners: Sliders, Jellies, and Wellies
Shoes are the most common beginner ambition and also the most common source of frustration. Start with footwear that’s forgiving.
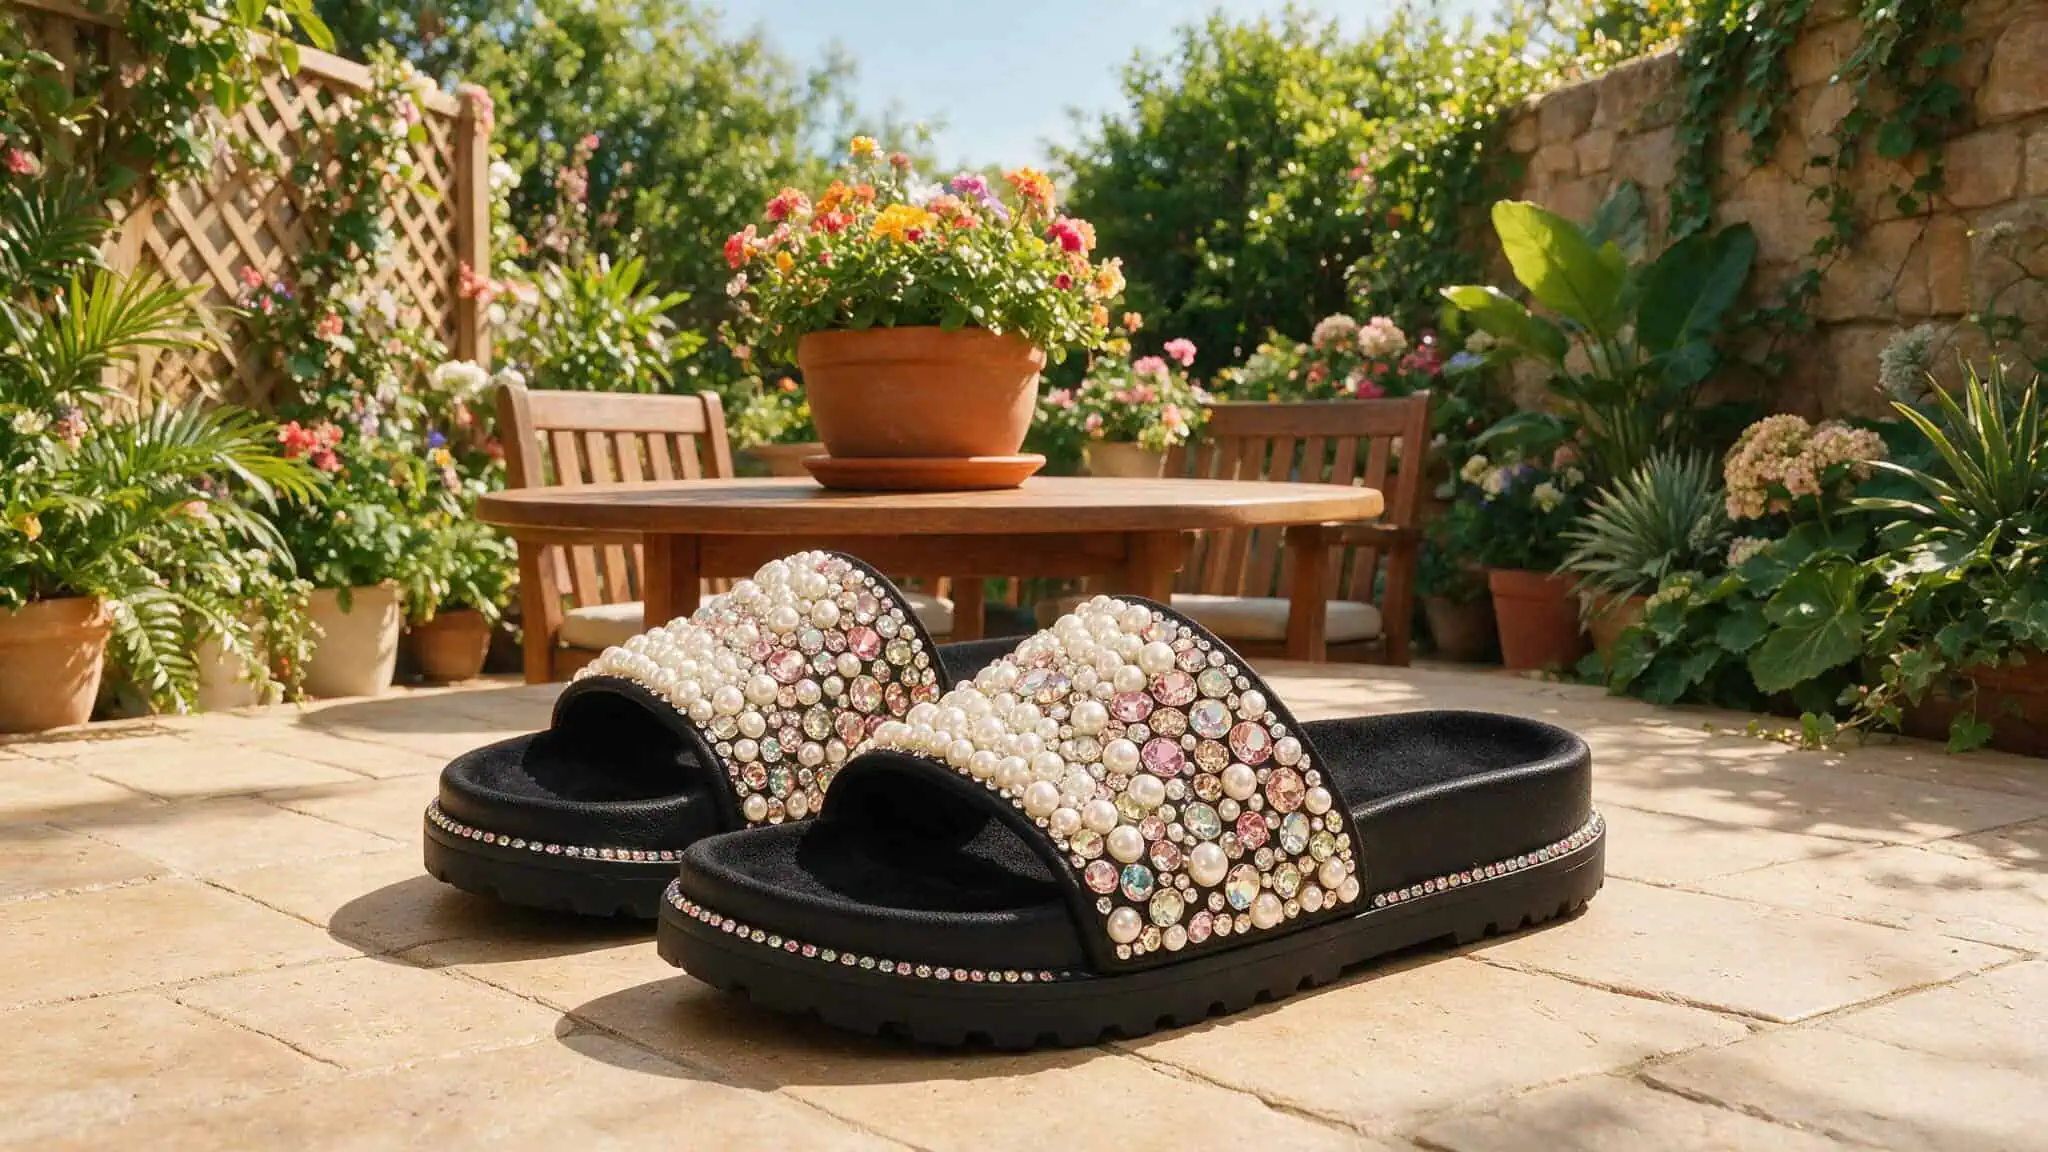
Rubber Sliders and Crocs
The “rockery effect” means mixing pearls and rhinestones so it looks like a little garden of bling. Use E6000+ — it stays flexible and won’t crack when you walk.
Time: 1-2 hours per pair.
What you need: Rubber sliders or Crocs, E6000+, pearls and rhinestones in mixed sizes, tweezers.
Jelly Shoes
Jelly shoes are back, and they look amazing with big crystals in the gaps. Use 3D crystals and larger gems — they fit nicely in the holes. Set them in with E6000+ (flexible and waterproof, so they’ll stay put).
Bedazzled Wellies
Wellies are a fun project — they’re big, easy to work on, and the glue holds up in rain. Draw your design on paper first as a template so both boots match. Use E6000+ (waterproof and flexible, won’t crack when you walk).
The Shoe Project: When You’re Ready for a Challenge
I’m going to be honest with you: shoes take longer than you think. But if you’re determined, here’s what you need to know — and what I wish someone had told me before my first pair.
The Reality Check: Time and Difficulty
The crystal size you choose makes a difference:
- 2mm crystals on heels: ~30 hours
- 5mm crystals on heels: ~12 hours
- 5mm crystals on flats: ~7 hours
Those numbers assume a size 5 shoe, heels under 3 inches, no platform, with a peep toe. Your specific shoe will vary. But the takeaway is clear: if you want to see progress, start with 5mm crystals. I did 7 pairs of heels in about a year, each taking two weeks or less of free time. You can do it — don’t expect a weekend project.
How to Avoid the Author’s Mistakes
I learned the hard way. I ordered 5,000 2mm blue crystals for a pair of platform heels. Got about 80% done and ran out. Ordered more from a different seller.
The colors didn’t match. I ended up using the mismatched crystals on the inside of the shoe where nobody would see them.
Do not repeat my mistakes.
- Order extra crystals. For reference, a pair of platform heels took about 10,000 crystals. Buy more than you think you need — leftovers go to another project.
- Buy all crystals for one project from the same seller. Color varies between batches. Different batches = visible mismatch.
- Match the base color of your shoe to your crystal color. This hides any gaps between stones. If you need to change the base color, use permanent marker, paint, or glitter as a base coat before placing stones.
- Use filler crystals. For full coverage on a curved surface, use 2-3 different crystal sizes. Filler crystals should be 1-3mm smaller than your main size. Order about one quarter to one third as many filler crystals as your main size — so if you order 10,000 larger crystals, get about 3,000 small ones.
- Start at the toe — you won’t need to hold that part while it dries. Leave the heel for last, you can use it as a handle. Line your first row about 2 inches wide around the toe curve. Place subsequent rows into the spaces created by touching crystals above. Use smaller crystals near the sole.
Field note: A pair of platform heels took about 10,000 crystals — buy extra from the same seller to avoid a color mismatch disaster.
Cost: Custom shoes run $100+. DIY with cheap crystals and GemTac runs $20-50 in supplies.
Advanced Methods: Transfers, Sheets, and Full Coverage
Not every project requires placing individual stones. Here are the shortcuts.
Rhinestone Transfers
Rhinestone transfers are bedazzling in seconds. You can send in your own design or buy pre-made ones. Press it on and you’re done. Seconds. Cheap and quick if you want a lot of bling fast.
Rhinestone Sheets for Makeup Items
Rhinestone sheets are pre-arranged stones on a sticky backing — cut to size and stick around lipstick or mascara tubes with no individual placement needed. Lazy person’s dream.
Crystal Buttons
Crystal buttons are an easy way to dress up a plain coat or jacket. Sew them on like regular buttons — no glue needed. They’re popular for wedding dresses but also look great on an everyday coat.
Small-Scale Projects: Nail Art and Rhinestone Transfers for Accessories
These tiny projects deliver big sparkle in a short time, perfect for practicing precision without a big commitment.
Rhinestone Nail Art
Rhinestone nails are everywhere, and you can do them yourself for a fraction of the salon price. Start simple — a single stone on each accent nail is enough to look polished. If you want more detail, there are guides for applying rhinestones to nails, but one stone per nail is a good starting point.
Full-Coverage Crystallised Handbag
A fully crystallized handbag is a statement — and a weekend project. Use the honeycomb method: place crystals close together so no fabric shows through. A single bold color of crystals on a bag looks chic, not over-the-top. Pick any object and cover it completely, full coverage is the ultimate, no surface left un-blinged.
Paper and Tech Accessories: Expanding the Ideas Pool
Once you’ve done a phone case and greeting cards, these are natural next steps.
- Tech accessories: Headphones, AirPods case, phone charger, power bank — same idea as a phone case, different shape.
- Paper items: Envelopes, notebooks, binders, folders, planners, invitations, calendars, playing cards — same method as greeting cards.
Supplies Deep Dive: Where to Buy Crystals, Glue, and Starter Kits
If you’re on a budget, eBay is your primary source. Dozens of colors, cheap prices. The catch: shipping from Hong Kong can take 3 weeks. Plan ahead and buy all crystals for a project in a single order.
Crystal Parade sells trusted brands — Swarovski, Preciosa, Zodiac, Luna. If you want guaranteed quality, go here.
Planet Rhinestone stocks premium supplies and starter kits. Eureka Crystal Beads has tutorials, seed beads, and a Sparkle Points rewards program. They also offer a beginner bedazzling tutorial for dance leotards if that interests you.
How to Apply Glue and Place Crystals
Here’s the method I use, and it works better than the alternative.
Direct Application: Why It Works Better
Apply glue directly onto the item, not into a separate dish. Spread a thin layer on a small area — about 3 cm square or 1 cm wide rows. Let it sit for a minute until it’s tacky. Then place your stones. They won’t slide around as much.
The alternative is the dip method: dip the crystal into glue, then stick it. The problem is that crystals fall off the pencil picker into the glue puddle, and you end up fishing stones out of glue. Direct application gives you more control.
Working in Sections for Precision
Work in small areas so the glue doesn’t dry before you get to it. Let each section tack up before placing stones. This is especially important for curved surfaces and detailed designs.
Troubleshooting: Fixing Mistakes and Preventing Common Errors
You will mess up. Here’s how to fix it.
Quick Corrections and Recovery
- Immediate removal: If you place a stone wrong while the glue is still wet, pick it up. No damage done.
- Reheating: If the glue has dried, hit the stone with a hairdryer for a few seconds. The heat softens the glue so you can lift the stone off with tweezers — no damage done.
- Adhesive permanence warning: If you use too much glue or let it dry completely, you may damage the surface when removing a stone. A hairdryer works, but it’s not guaranteed on every material.
Common Pitfalls to Avoid
Sealing for durability: For projects that will be handled frequently, consider applying a clear sealant (e.g., Mod Podge) over the finished bedazzled item to help keep stones in place. Note that the source does not cover this, so treat it as a general recommendation.
- Too much glue — it oozes out around the stone and looks messy. Thin layers.
- No pattern or plan — you end up with uneven spacing. Draw a guideline first.
- Rushing — glue dries, stones slide, mistakes happen. Take your time.
- Dirty surface — stones won’t stick well. Clean the surface before you start.
Time and Cost Considerations: Plan Your Project
| Project | Time Estimate | Cost Estimate |
|---|---|---|
| Phone case | 30-60 minutes | $5-10 |
| Hair clip | <1 hour | $3-5 |
| Greeting card | 15-30 minutes | $2-3 |
| Tote bag | 1-2 hours | $10-15 |
| Picture frame | 30-60 minutes | $5-8 |
| Rubber sliders | 1-2 hours per pair | $10-20 |
| Wellies | 2-3 hours per pair | $15-25 |
| Shoes (5mm crystals) | 7-30 hours per pair | $20-50 |
| Full-coverage handbag | Weekend project | $20-40 |
Pick the project that fits your life, not the one that looks coolest on Pinterest. A phone case you can finish while dinner is in the oven. Shoes take a week of evenings. Know what you’re signing up for.
Start Small, Sparkle Big
If you’re reading this and wondering where to start, here’s my recommendation: phone case or hair clip.
Under an hour. Foolproof. Buy cheap crystals, GemTac glue, a pencil picker, and tweezers. Start tonight. You’ll finish before you know it, and you’ll have the confidence to try something bigger next time.
Pick one project. Buy the supplies. Start.
People Also Ask
What is the easiest bedazzling method for clothes?
The easiest method is using flatback non-hotfix rhinestones with GemTac glue applied directly to the fabric in small sections. Start with a canvas tote bag as practice — the fabric is forgiving, and you can fix mistakes by reheating the glue with a hairdryer.
What can I bedazzle and sell?
Phone cases, hair clips, sunglasses, and tote bags are quick to finish and have high perceived value — a $5 phone case can look like a $50 accessory. Shoes and handbags take more time but sell for $100+ if you use quality crystals and clean placement.
What are some tips for bedazzling?
Apply glue directly to the item in small sections and let it get tacky before placing stones — this prevents sliding. Use a hairdryer to soften dried glue if you need to reposition a stone, and always order extra crystals from the same seller to avoid color mismatches.
How long does it take to bedazzle a pair of shoes?
It depends on crystal size — 2mm crystals on heels take about 30 hours, while 5mm crystals cut that to roughly 12 hours. Flats with 5mm crystals take around 7 hours. Start with 5mm stones if you want to see progress faster.
How much does it cost to start bedazzling?
A beginner project like a phone case costs $5-10 in supplies — cheap crystals, GemTac glue, a pencil picker, and tweezers. Even a full pair of shoes runs $20-50 with budget crystals, compared to $100+ for custom bedazzled shoes online.