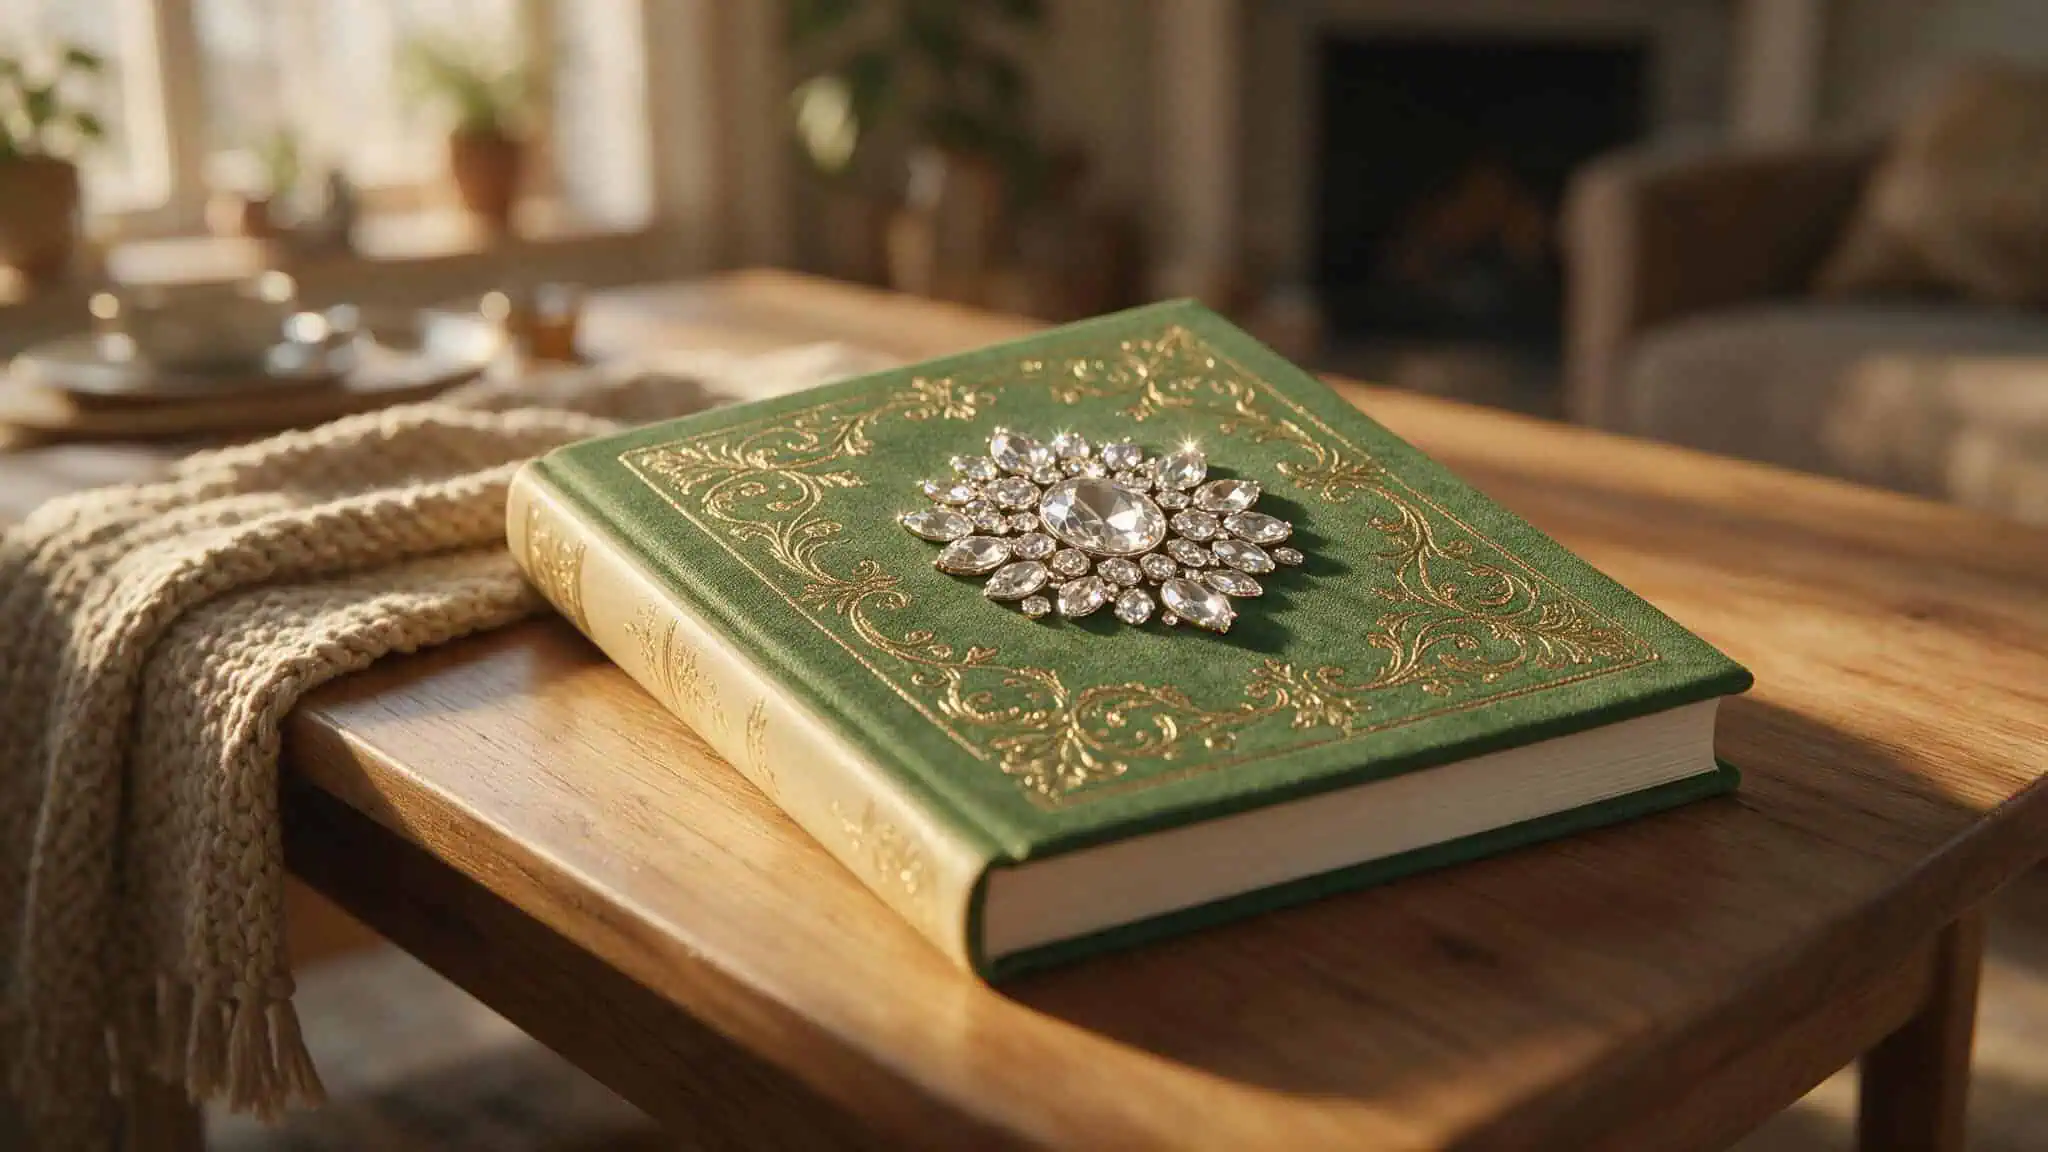
Pinterest’s summer trend report dropped a few months ago, and the report showed an increase in searches for reading retreat ideas and book club ideas. Gen Z is driving a lot of it, but book lovers are looking for ways to make their gatherings more memorable. Stickers, swag, little extras that turn a meeting into something you look forward to.
That’s where book bedazzling comes in. It’s what it sounds like: decorating book covers with rhinestones. No special skills required, patience and a steady-ish hand. You can use any book you already own — no need to buy new ones.
Supplies cost is low and supplies last a long time. And it works as a hands-on activity for a book club night. Your group can all read the same book, swap books, or skip the reading entirely.
I’ve been digging through Reddit threads to find the best ideas, techniques, and honest advice from people who’ve tried this. Here’s what I found — the designs that work, the supplies you need, and the mistakes you can skip.
Key Takeaways
Book bedazzling is trending because of a Pinterest report showing Gen Z searches for book club swag and reading retreat ideas — it’s a low-cost, high-fun craft night activity for any group.
Stick with 3mm or smaller flat-backed rhinestones and B-7000 or E-7000 glue; bigger stones don’t hold well, and the wrong glue means stones fall off later.
Bedazzled books won’t sit flat on a shelf — you’ll need to display them face out or stacked, which is part of the charm.
Why Bedazzling Is Suddenly Everywhere
The Pinterest report that came out at the start of summer showed a jump in searches for book club ideas, reading retreats, and book club stickers and swag. A craft like bedazzling fits into that — it’s hands-on, doable for any skill level, and everyone walks away with something sparkly to show for it.
The best part? It’s flexible. Your group can all read the same book and then decorate copies. Or you can swap books and bedazzle each other’s finds.
Or skip the book discussion entirely and hang out with rhinestones and glue. It’s a segment of the meeting, not the whole thing.
I’ve been scrolling Reddit and social media to find what works, and I’m going to share the best ideas I’ve come across — the designs people love, the supplies that save you frustration, and the honest tradeoffs most tutorials skip.
Bottom line: You can do a whole book club night around the craft, with zero assigned reading, and it still feels like an event.
Design Ideas: Five Approaches the Community Loves
The community has shared approaches, from a single sparkle on the spine to a full glitter bomb, for different skill levels and time commitments.
The Minimalist Sparkle — Small Accent, Maximal Joy
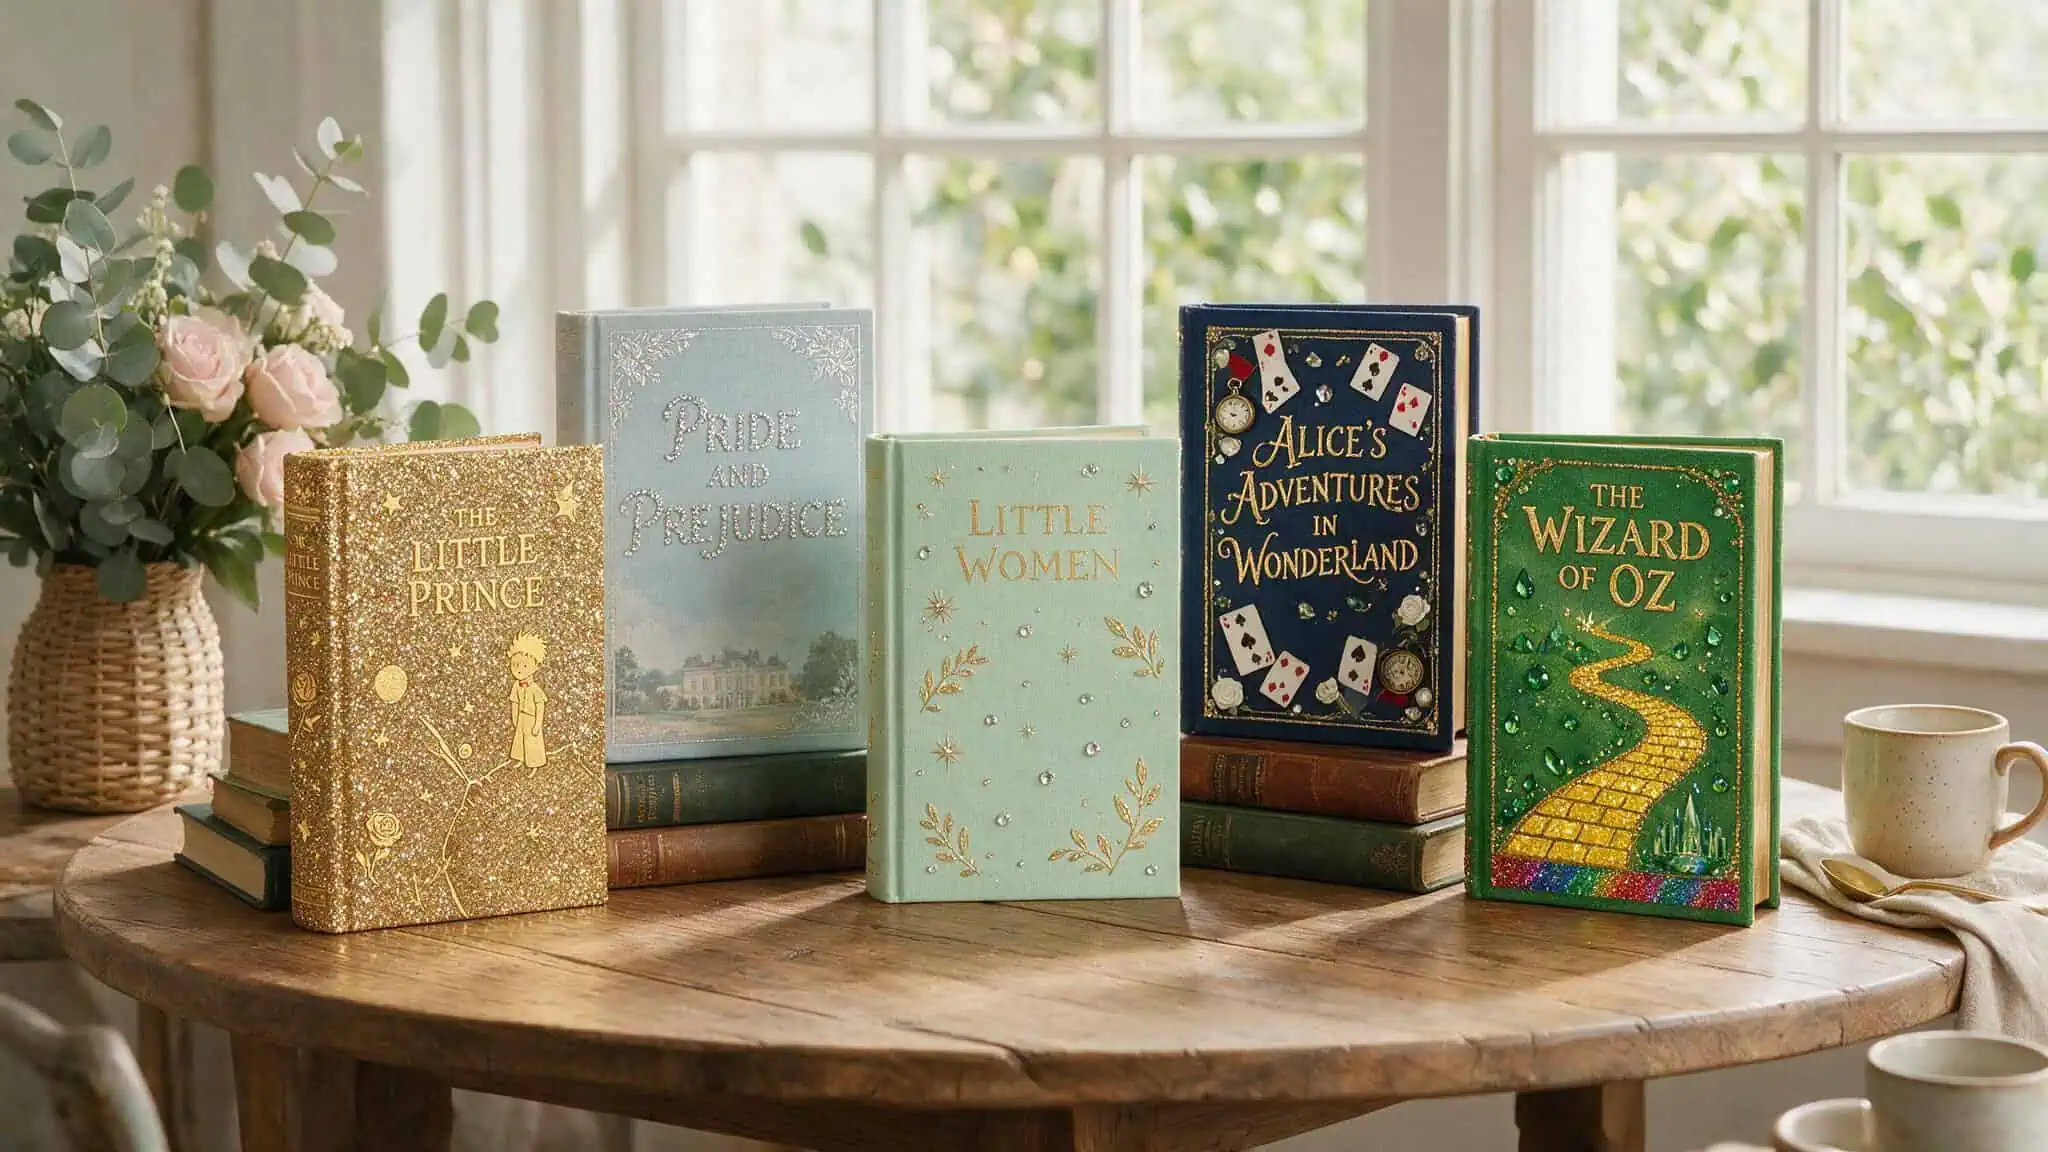
This is where I started with my own book club, and it’s the entry point. Finley showcases a minimalist approach: a small cluster of rhinestones on one corner, or a single sparkle on the spine. That’s it. Takes about 15 minutes, looks intentional, and proves you don’t have to cover the whole cover to make an impact. If you’re nervous about messing up, start here.
Title Tracing — Making the Words the Star
Between Pages and Friends shows an example of bedazzling on title-driven fonts, making the words pop off the cover. This works well with bold or script fonts. It takes a little more patience than the minimalist approach, but it’s still not a full-cover project. You get visual payoff for not that much work.
The Full Glitter Bomb — Maximum Coverage
Leah’s fully decked cover on Instagram is the opposite end of the spectrum. Every inch of the front cover gets rhinestones. Maximum sparkle, maximum effort. I’ll be honest: this is a multi-hour project and uses a lot more stones and glue. But the result is striking if you’re willing to commit the time.
Creepy and Themed Bedazzling — Not Just for Pretty Books
JoHanna gives a creepy book the bedazzled factor, covering it with blood-red rhinestones. The contrast between dark themes and glitter is striking, challenging the assumption that bedazzling is only for romance novels or pastel covers. For a guide to the craft, check out these bedazzling ideas. A mystery with a sparkly magnifying glass motif, a thriller with subtle silver stones — the genre doesn’t matter.
Compilation Boards — Where to Browse Endless Ideas
Maxie Elise’s Pinterest post collects examples of bedazzled book covers in one place, and if you’re stuck on what design to try, browsing a gallery of finished covers—including a dedicated bedazzling ideas Pinterest board—is the fastest way to find something that clicks. Pinterest is full of these boards, and they’re great for inspiration without having to hunt through individual posts.
Supplies: What You Actually Need to Start
Here’s the shopping list. Most of it can be bought in a single kit, which is convenient if you’re organizing a group activity.
- Any book works, but hardcovers are best. They hold glue better than paperbacks. Thrifted hardcovers are ideal — cheap, sturdy, and you don’t mind altering them.
- Flat-backed rhinestones, 3mm and smaller. Bigger stones don’t stick as well and look clunky on a book spine. Stick to the small ones.
- A storage box. Otherwise those rhinestones end up everywhere.
- Sorting trays. If you’re doing this with a group, everyone gets their own little palette.
- Strong glue. B-7000 or E-7000 work well. E6000 comes up frequently in Reddit threads as a common alternative. Whatever you use, don’t grab the craft glue from the kids’ art bin — it won’t hold.
- A wax pencil or self-adhesive diamond painting pens. These make picking up tiny stones way easier than using your fingers.
- Crafting tweezers. For precision work on edges and tight spots.
- Diamond art sealer. This is not optional. It keeps stones attached long-term.
Cost check: A basic starter bedazzling kit with glue, stones, wax pencil, and sealer runs about $15–$25 and covers multiple books.
The How-To: Step by Step, Reddit-Style
- Decide what you’re decorating. Front cover, back cover, or both — your choice.
- Plan your design. Make the title sparkly, outline a picture, or go full glitter bomb. Sketch a rough layout first if you’re nervous.
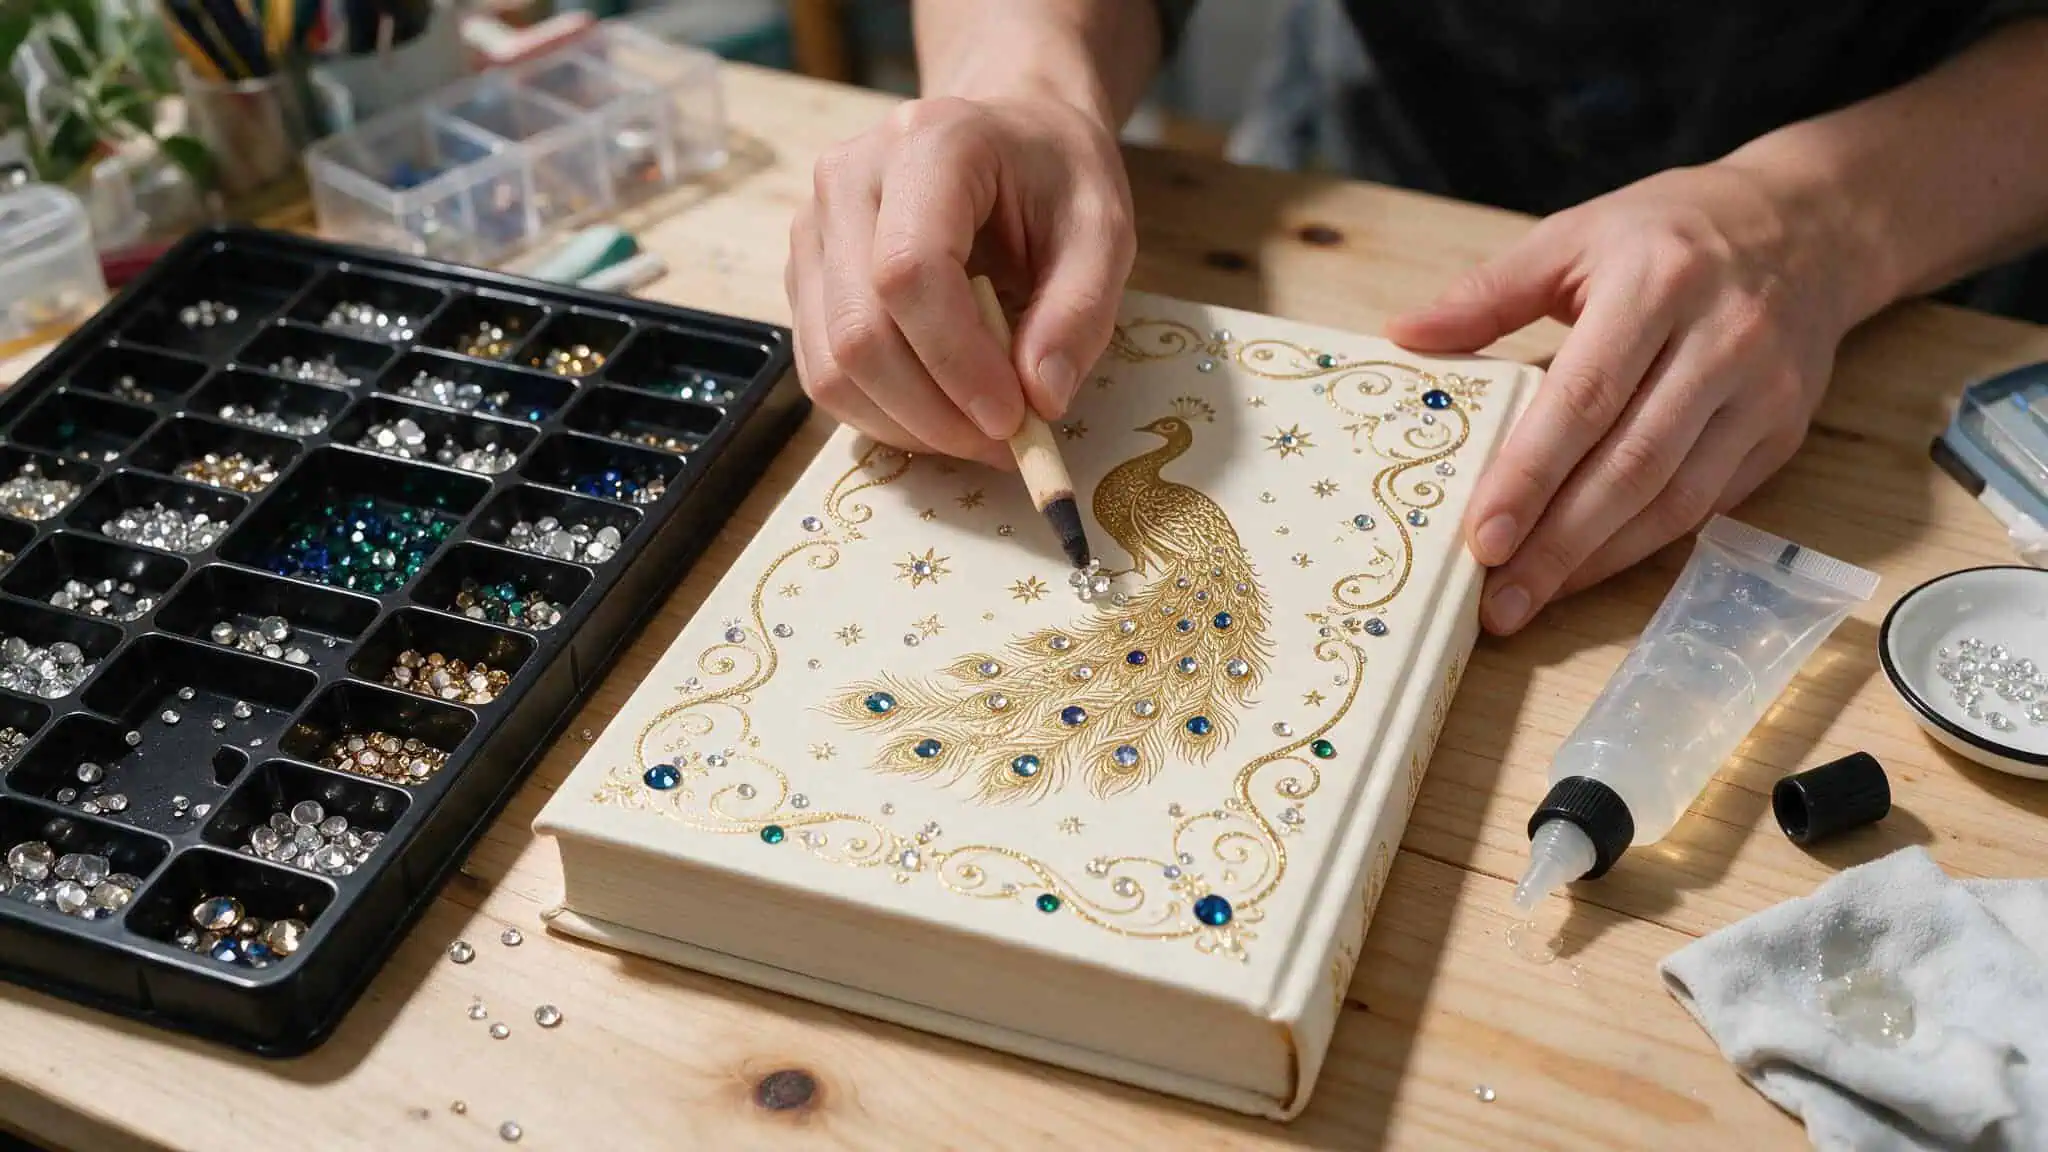
- Use the wax pencil to pick up stones. It works like a magic wand. Touch the tip to the stone, and it lifts right out of the case.
- Apply glue. You can put glue on the stone itself, or apply it to the book cover first and place stones on top. Both methods work; it’s preference. Don’t use too much — a dab is enough.
- Place the stones. Use tweezers for tiny spots and edges. Work in small sections so your glue doesn’t dry before you place the stones.
- Let it dry fully. Don’t touch it. If you do, you’ll have stones everywhere.
- Apply sealer. This step keeps everything from falling off. Don’t skip it.
The Reality Check: What Happens After You Finish
Your bedazzled book will not sit neatly on a shelf between other books. The stones add bulk, so it’ll stick out. It’s awkward.
Display it face out or stack it on top of other books. It’s meant to be seen, not hidden.
Some readers view altering books as destructive — a form of mutilation that defaces the original object. The community reframes this as repurposing thrifted books into art objects, giving old, worn copies a second life as decorative pieces rather than letting them sit unread on a shelf.
And stones collect dust over time, especially on exposed shelves. It’s not a dealbreaker, but it’s real. A wipe when you notice it is all it takes.
Troubleshooting: Common Beginner Mistakes and Fixes
Even with the right supplies, beginners often run into predictable problems. Here are the common ones and how to fix them.
Glue Residue and Bleeding
If you’re heavy-handed with the glue, it seeps out from under the stones. The fix is simple: use small amounts. Work in sections so the glue doesn’t dry before you place the stones. If you do get residue, clean it up carefully while it’s still wet.
Stones That Fall Off
This happens days or weeks later, and it’s because the glue wasn’t fully cured, the sealer was skipped, or the wrong glue was used. Let the glue cure completely. Apply sealer. Use B-7000, E-7000, or E6000 — not whatever craft glue is lying around.
Cover Warping and Uneven Spacing
Excess glue can warp the cover, especially on paperbacks. And without a plan, stones drift out of alignment. Stick with hardcovers. Don’t over-glue. Sketch a rough layout first, or practice on scrap paper if you’re nervous.
Beyond Books: Other Things to Bedazzle
The same skills and supplies you use for books transfer to other surfaces, opening up more creative possibilities.
Phone Cases, Water Bottles, and Everyday Accessories
The same skills transfer to phone cases, water bottles, laptop covers, and picture frames. The technique is the same, but surface preparation matters more. Clean the surface first. Roughen plastic if needed. Items that get handled a lot — phone cases especially, need extra sealer for durability.
Selling Your Bedazzled Creations
Some people sell bedazzled items. Phone cases and accessories are the common sellers, usually on Etsy or at craft fairs. Pricing varies widely, and the market isn’t guaranteed. It’s an option, not a side-hustle strategy. If you enjoy making them and someone wants to buy one, great. But don’t go into it expecting steady income.
Wrapping Up — Your Next Move
The natural first step is simple: grab a thrifted hardcover, a pack of 3mm rhinestones, and a tube of B-7000. Try a minimalist design. Low cost, low pressure, and you’ll know within fifteen minutes whether you want to keep going.
And if bedazzling isn’t your thing, DIY bookmarks are another easy book club craft that uses the same supplies. A backup idea.
Grab a book, some stones, and give it a shot. Worst case, you’ve got a shelf that looks more interesting.
People Also Ask
Why is bedazzling so addictive?
It’s a low-pressure craft that gives you an instant visual payoff — fifteen minutes can turn a boring book cover into something that actually catches your eye. The process is repetitive and meditative, and since supplies are cheap and mistakes are easy to fix, it’s hard to stop at just one design.
What kind of glue should I use for bedazzling books?
B-7000, E-7000, or E6000 are the ones that actually hold long-term. Skip the craft glue from the kids’ art bin — it won’t keep stones attached. Apply a small dab per stone, let it cure fully, and always finish with a diamond art sealer to lock everything in place.