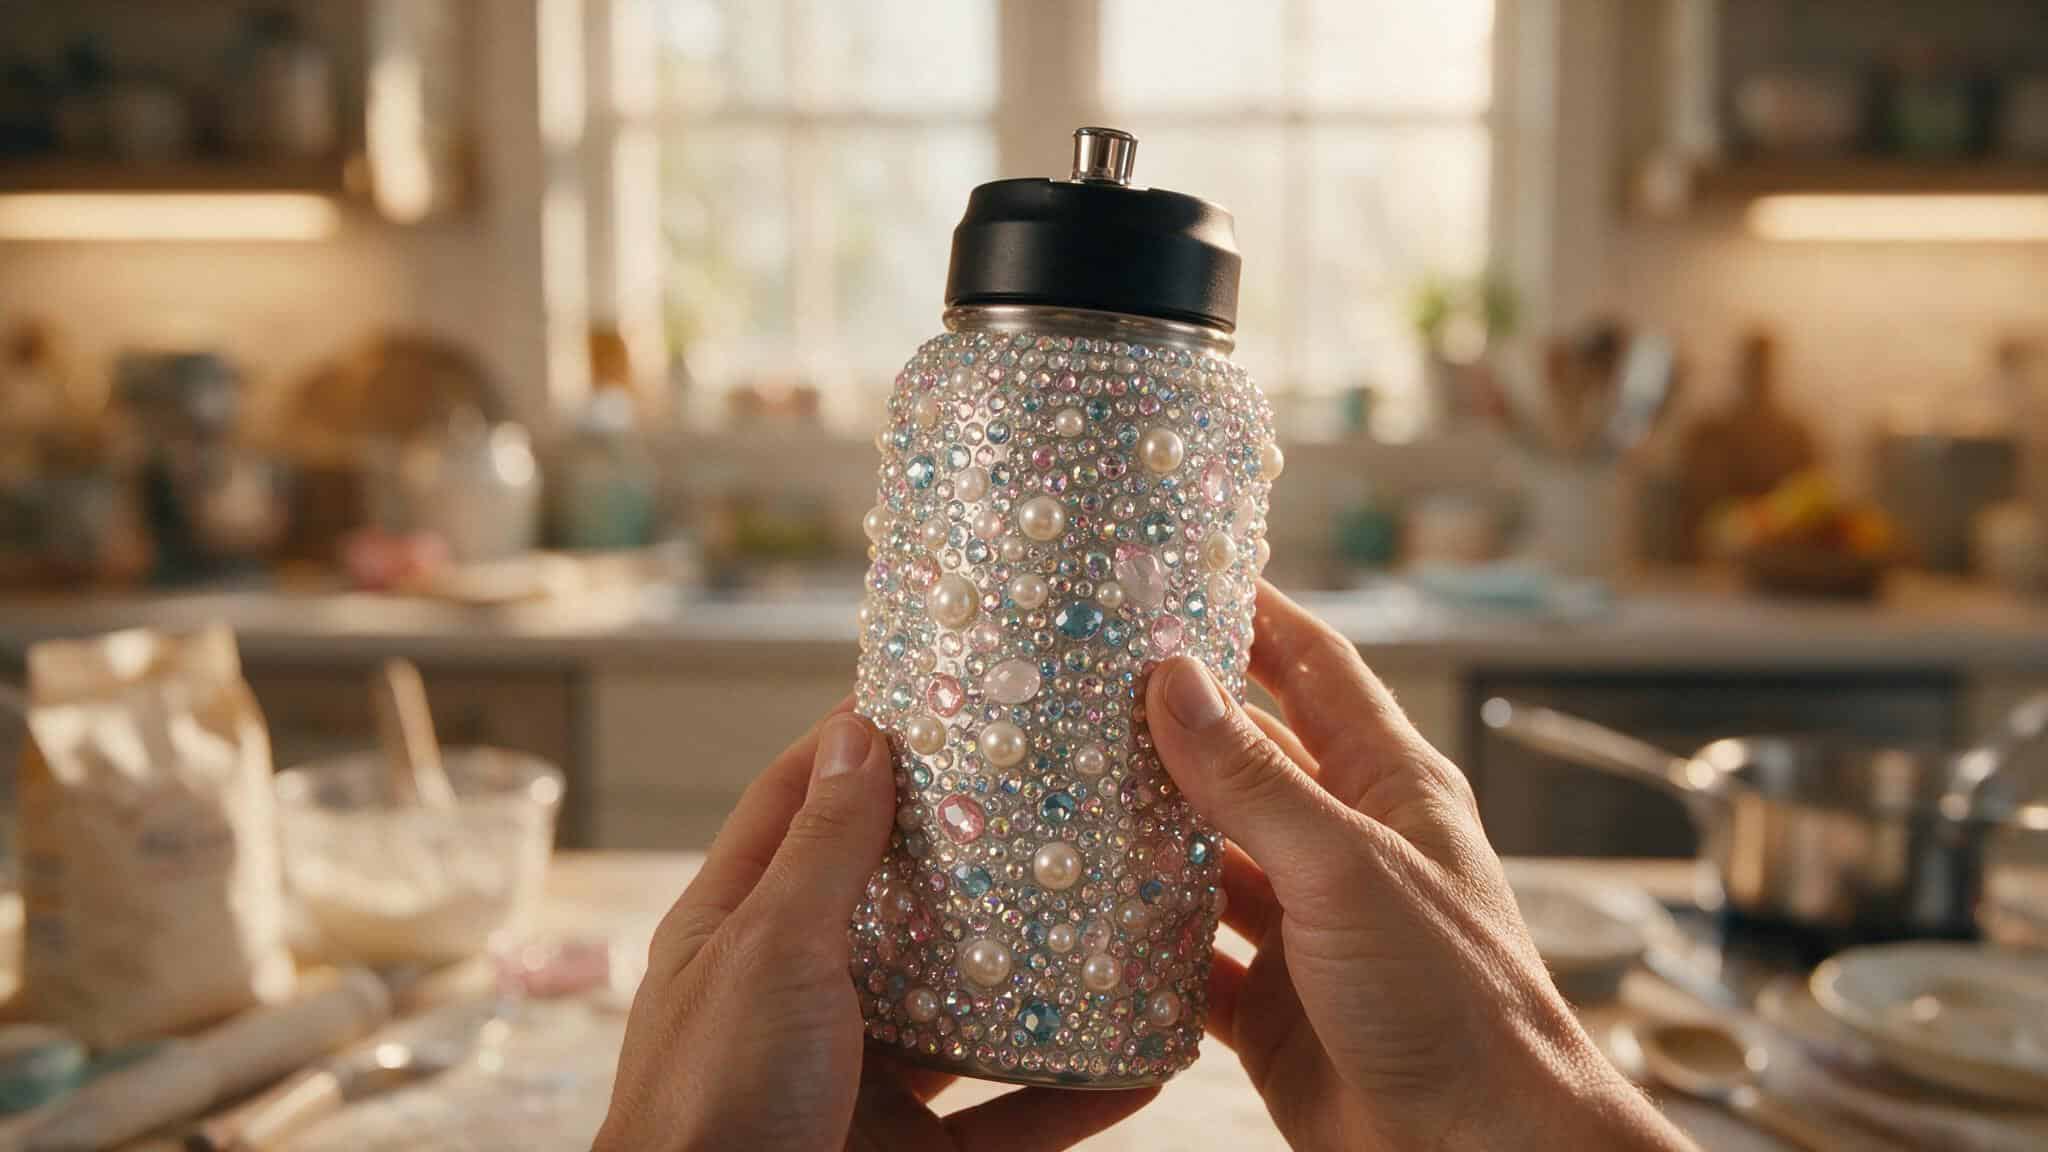
Look. You bought the Bedazzler. Maybe you had visions of matching hair clips for the school concert. Maybe your kid saw a sparkly water bottle on TikTok and you thought “how hard can it be?” If you’re short on ideas, start with bedazzling ideas Pinterest for trending patterns and visual inspiration to organize your next project.
I’ve been there. My first attempt was a polypropylene lunchbox. Every stone fell off before the bus hit the first stop. I spent an evening scraping dried glue off a $12 tumbler while questioning every life choice that led me to that moment.
Let’s save you that evening.
The Plastic That Hates Glue
Not all plastics are created equal, and the cheap ones will ruin your project. If the lunchbox is polypropylene (look for the recycling number 5), your rhinestones are going to bounce right off. Same with polyethylene (numbers 2 and 4). Hot glue and E6000 both refuse to stick.
Quick test: If it feels waxy or slick, it’s probably trouble. Try scratching the inside of the lid with a fingernail. If your nail slides without leaving a mark, that plastic isn’t taking glue.
The fix: You can rough it up with fine-grit sandpaper. But pick a different surface. Metal water bottles, hard plastic that isn’t polypropylene, and wood all work fine. Save the shatterproof stuff for something else.
The Glue That Will Melt Things
I learned this one the hard way. Aerosol spray adhesive? Effective for getting stones to stay put. But it also melts certain plastics on contact. I watched a pencil case dissolve into a sticky, glittery disaster in real time.
Here’s the rule: Read the label for “not recommended for ___” before you buy. Super glue is brittle and turns white when it dries – not suitable for anything that bends or gets tossed in a backpack. E6000 is the workhorse, but it needs ventilation and a full 24 hours to cure. Yes, 24 hours. The “15 minute” clamp time on the tube lies.
Pro tip from someone who burned their fingers: E6000 and skin do not separate willingly. Keep baby wipes nearby for immediate clean-up. Once it dries, you’re peeling it off with the top layer of your fingerprint.
The Tool That Has Limits
The classic Bedazzler tool – the one you punch with your palm – was designed for fabric. Denim, canvas, shirt cuffs — that kind of thing.
Not mason jars. Not phone cases.
When you try to set a rhinestone into something hard, one of three things happens: the prong bends, the stone cracks, or the tool breaks. I broke mine on a hair clip. My friend broke hers on a picture frame while trying some bedazzling ideas.
The no-go list for the punch tool: hard plastic, thick wood, metal, glass, ceramic, anything curved tighter than a soda can. If you can’t push a thumbtack into it by hand, the Bedazzler won’t work.
What actually works: Glue-on stones (flatbacks) for hard surfaces. Use the tool only for fabric projects. Two completely different workflows.
The Size Problem Nobody Warns You About
Those 6mm stones you bought on Amazon? They look good in the listing photo. On a flat surface, they’re fine. But try to wrap them around the curve of a water bottle and you’ll have gaps big enough to catch a fingernail.
Smaller stones (3mm or 4mm) follow curves. Larger stones (6mm+) need flat space. This is physics, not a skill issue.
The math I wish I’d done first: Measure your object’s curved surface. Divide by the stone width, add 15% more for waste, and order that many.
The first time I guessed, I ran short and my daughter picked a different pink. Two-day shipping I didn’t budget for.
The Pattern That Actually Works
If you’ve never bedazzled anything before and you’re looking at a plain water bottle thinking “where do I even start,” here’s your answer: the honeycomb pattern. It’s just rows offset by half a stone. Each row nests into the spaces of the row above.
Work one straight line at a time. Don’t scatter stones randomly and try to fill gaps later – that’s how you end up with weird spaces that don’t fit anything. Build like bricks. Row by row.
Straight-sided tumblers are the easiest starting point. No compound curves. No tricky angles. You can knock one out in an evening (plus the 24-hour glue cure).
Your kid will be thrilled. You’ll feel like a craft pro.
And you won’t be scraping rhinestones off a lunchbox at midnight wondering what went wrong.
People Also Ask
What are items I can bedazzle?
You can bedazzle fabric items like denim, canvas, and shirt cuffs with the punch tool, or hard surfaces like metal water bottles, hard plastic that isn’t polypropylene, and wood using glue-on flatback stones. Straight-sided tumblers are a great starting point for beginners.
What bedazzled items sell best?
Items with flat or gently curved surfaces like metal water bottles, straight-sided tumblers, and hard plastic accessories tend to sell well because they hold stones securely. Fabric items like denim jackets and canvas bags are also popular since the punch tool works reliably on them.
What plastics can you not bedazzle?
Polypropylene (recycling number 5) and polyethylene (numbers 2 and 4) are nearly impossible to bedazzle because hot glue and E6000 won’t stick to their waxy, slick surfaces. If your fingernail slides across the plastic without leaving a mark, that surface is trouble.