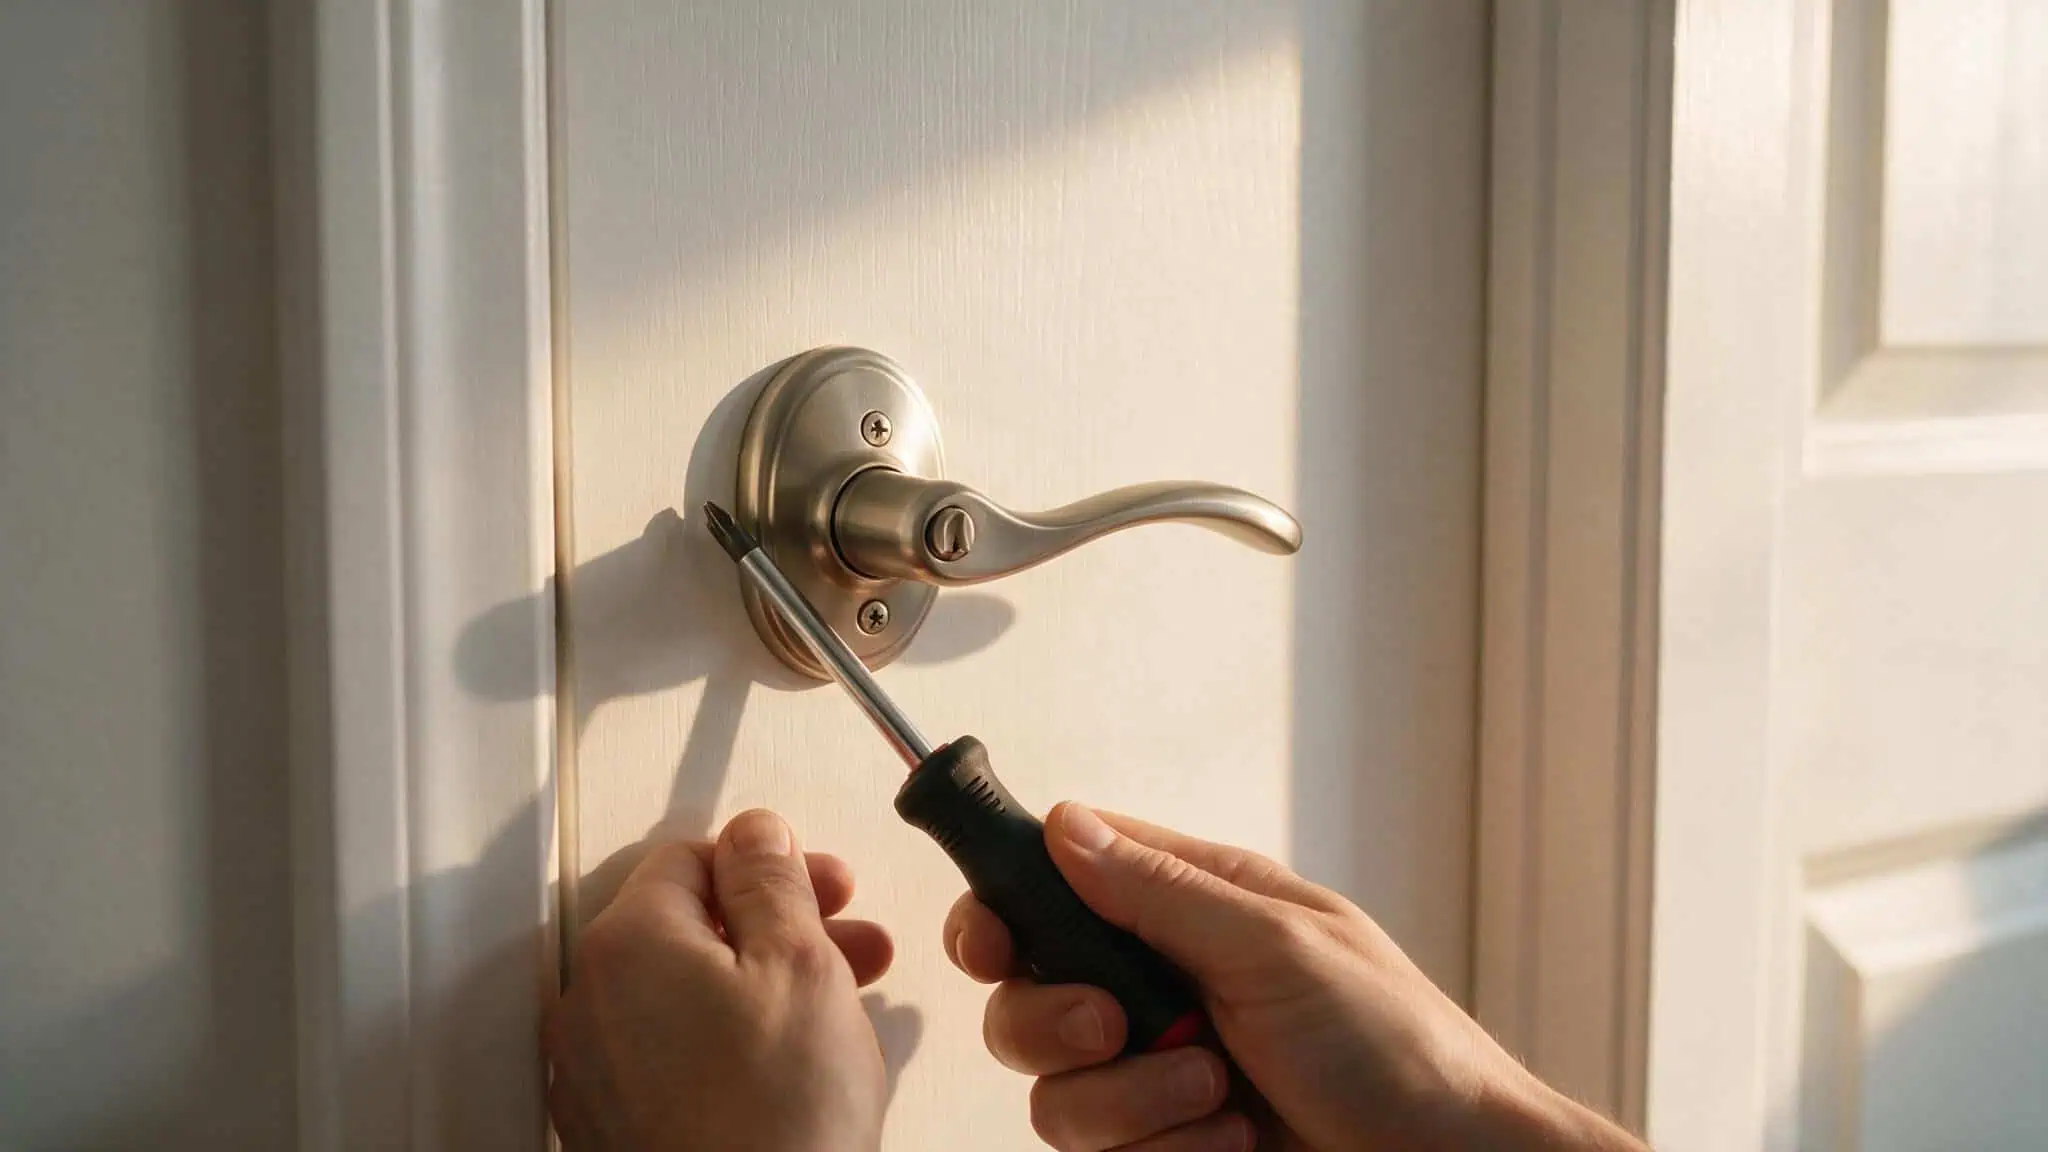
It’s 8 PM, you’ve just wrestled the baby into pajamas, and you realize the bathroom door doesn’t have a lock. Not a problem—you bought a new handle this afternoon. Except you bought a passage handle (no lock) by mistake, and now you’re staring at the packaging wondering how you missed the word “passage” in big letters. I’ve been there. Multiple times.
The good news is that installing a privacy lever handle—the kind that locks from the inside with a thumb-turn or push-button—is a beginner project. If you can operate a Phillips screwdriver, you can do this. The first time I tried, I had the latch tongue backwards and spent twenty minutes wondering why the door wouldn’t close. You’re about to skip that particular learning curve.
This guide is for the handle you actually need for a bedroom or bathroom door: a privacy lever with an emergency release pinhole on the outside (handy when a toddler locks themselves in—don’t ask how I know). We’ll cover what to buy, how to measure without a headache, and exactly where things tend to go sideways.
Key Takeaways
The most common mistake is ignoring the backset—the distance from the door edge to the center of the hole. Most U.S. doors use 2⅜”, but 2¾” is common enough to check. The number is stamped right on your old latch; match your new handle to it.
For a straight swap on a pre-drilled door, you only need a Phillips screwdriver and 5–15 minutes. If you bought a privacy handle for a door that’s never had hardware, budget 30–60 minutes and add a drill, hole saws, and a chisel.
A common cause of a stiff, binding handle is spindle cam alignment—the little metal piece that connects the handle to the latch. Even a few degrees off will make the handle feel like it’s fighting you. Check the diagram in the instructions before you tighten everything down.
Table of Contents
What Is a Lever Door Handle with a Lock and Why Install One?
You twist the little knob on the inside and it locks, but there’s that tiny hole on the outside so you can pop it open with a paperclip in an emergency. That’s a privacy handle. It’s designed for bedrooms and bathrooms: places where you want privacy, not Fort Knox-level security.
When I first went shopping for a handle, I had no idea there were three main types:
- Privacy – locks from the inside with a thumb-turn or push-button, emergency release on the outside. This is what you want for your child’s bathroom or your own bedroom.
- Passage – no lock, free-turning. For closets and hallways.
- Keyed – requires a key from outside. For exterior doors—do not install one on an interior bathroom door unless you enjoy explaining to guests why they need a key to pee.
I once grabbed a passage handle for the bathroom because it was cheaper. Got it home, installed it, realized my mistake when the “lock” didn’t exist. Back to the store. Save yourself the trip: check the box before you leave.
Before You Start: Tools, Parts, and Door Measurements
You probably already have everything you need. Let’s confirm.
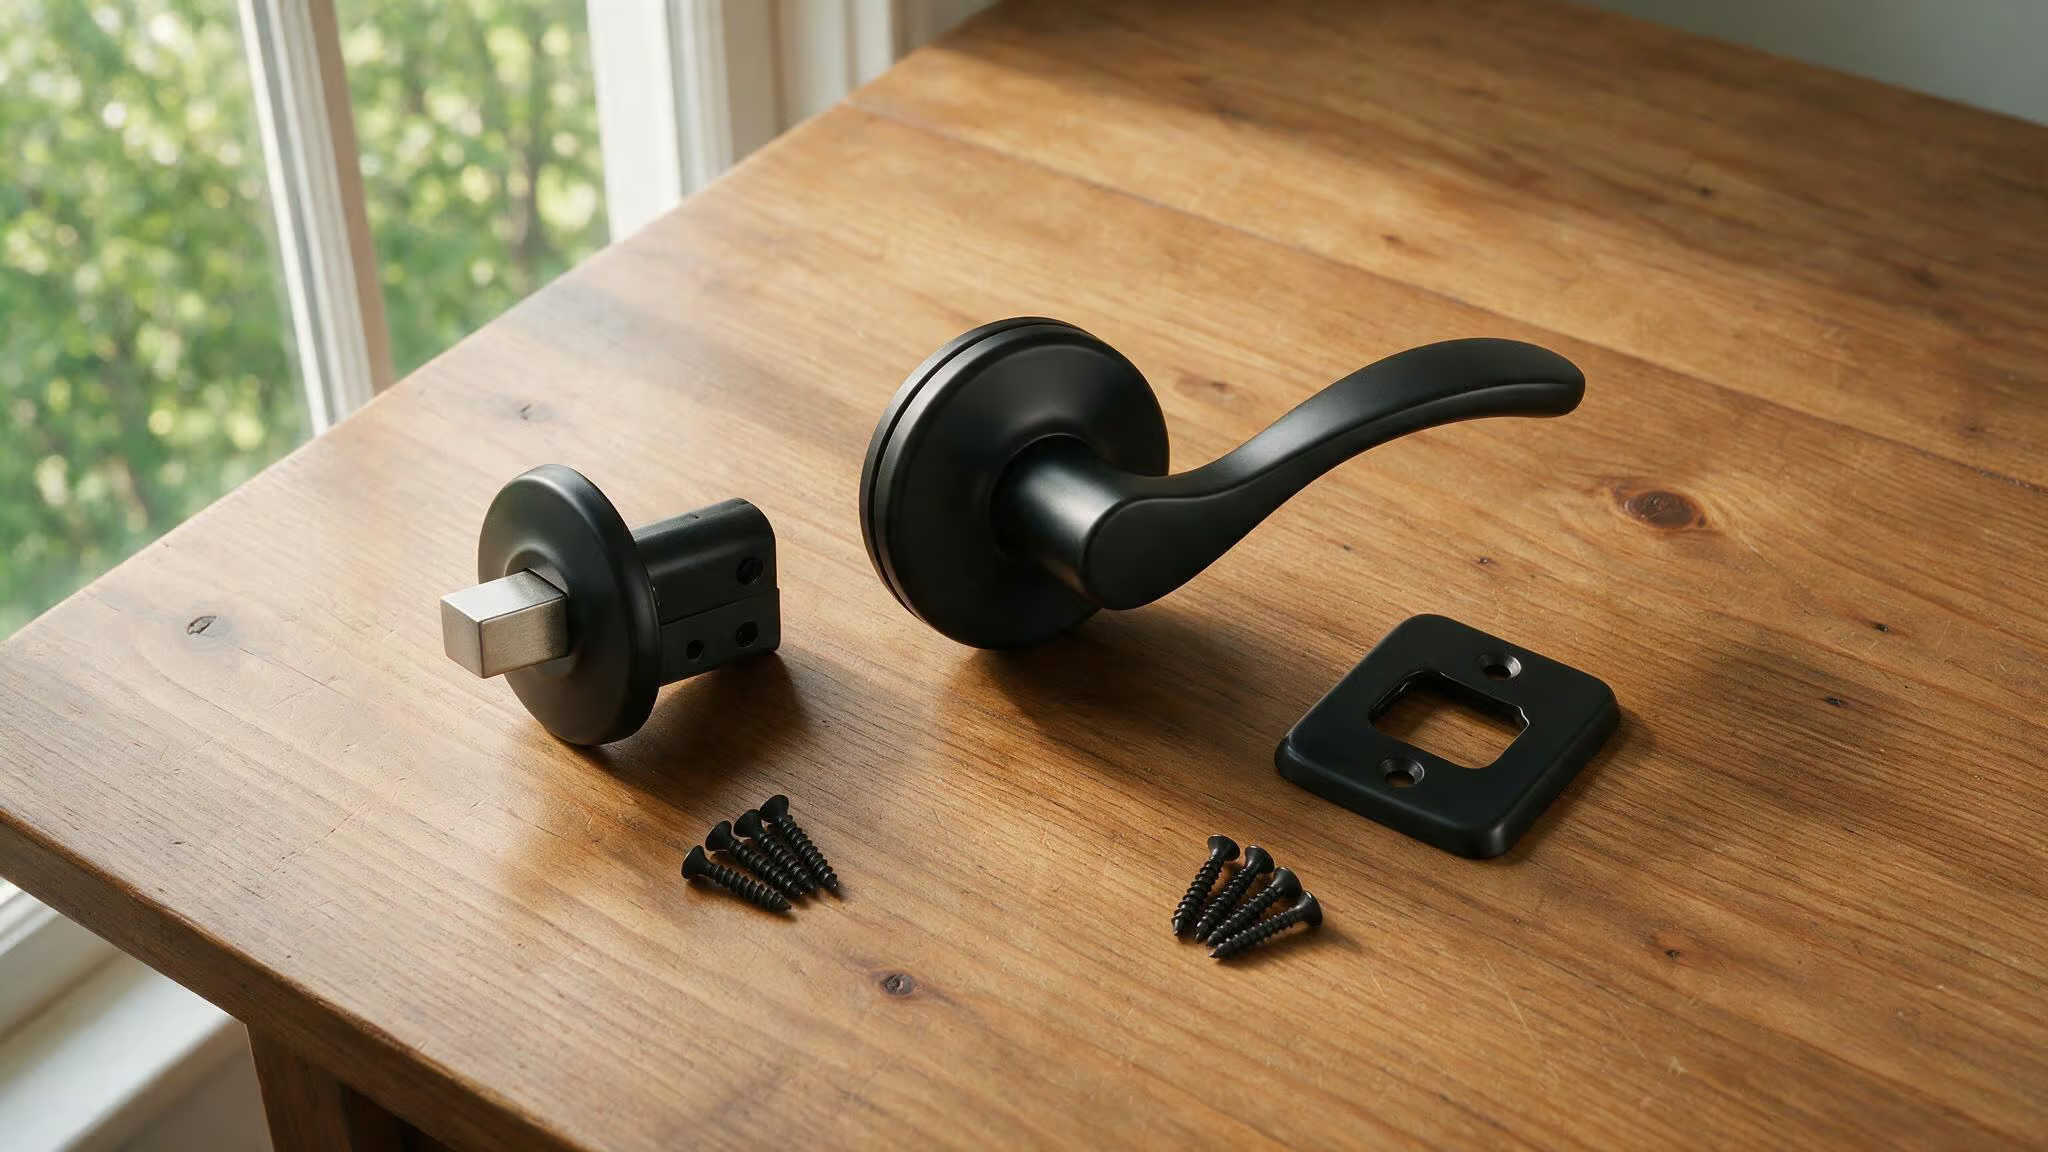
What’s in the box
Most privacy lever sets come with everything you’ll need: interior lever, exterior lever, adjustable latch, strike plate with a strike box, mounting screws, and the hardware set. You don’t need to buy extra parts. The handle I’m using as an example—a KNOBWELL privacy handle—includes all of that. The latch is adjustable, which means it can handle both standard backset lengths without a separate purchase.
Measuring your door correctly
You need to check two numbers:
Door thickness – Standard interior doors in the U.S. are 1⅜” thick. The handle will fit doors between 1⅜” and 1¾” (35–45mm). If you have an older home with custom doors, grab a measuring tape, but odds are you’re in the standard range.
Backset – the distance from the edge of the door to the center of the big hole where the handle goes. It’s either 2⅜” or 2¾”. Here’s a pro tip that saves you from measuring: pull the old latch out of the door edge and flip it over. There’s a number stamped right on it—2⅜” or 2¾”.
Match your new handle to that number. Most U.S. doors use a 2⅜” backset, but 2¾” is common enough that you should always verify before buying.
The bore hole (the big hole) is almost always 2⅛” in diameter. If your door is pre-drilled—which most U.S. interior doors are—you’re good. No need to drill anything.
Tool list (for a swap): – Phillips screwdriver
That’s it. If you’re drilling a new door from scratch, add a 2⅛” hole saw, a 1″ boring bit for the latch, a chisel for the mortise, and safety glasses. But that’s a different project.
Stop before you buy: Check the backset stamp on your old latch. If you ignore this, you’ll end up with a latch that doesn’t reach the strike plate, and you’ll be making a second trip to the store. Ask me how I learned that one.
Removing the Old Door Handle
Look for set screws on the shank of the handle—sometimes they’re under a decorative cap that pops off. On most handles, you’ll see a small hole or a visible screw. Unscrew both sides, and pull the two halves apart. This part takes maybe two minutes.
The latch will slide out from the door edge, then remove the strike plate from the door jamb—if you’re replacing the handle, our guide on how to install door handles will walk you through the process. If your old handle has a round drive-in faceplate, you’ll need a Phillips head screwdriver to remove the screws holding it in place.
One thing to pay attention to: the orientation of the latch tongue. The beveled side should face the door frame; the flat side faces into the room. I once put the handle on upside down, and the door wouldn’t close because the tongue was hitting the strike plate at the wrong angle. It’s a quick fix, but annoying when you think you’re done—especially if you haven’t checked out how to install door knob with plate for perfect alignment and a wobbly-free fit.
Step-by-Step Installation Guide
This is the core of the process. I’ll walk through each step with the KNOBWELL handle as an example, but the steps are the same for most privacy levers.
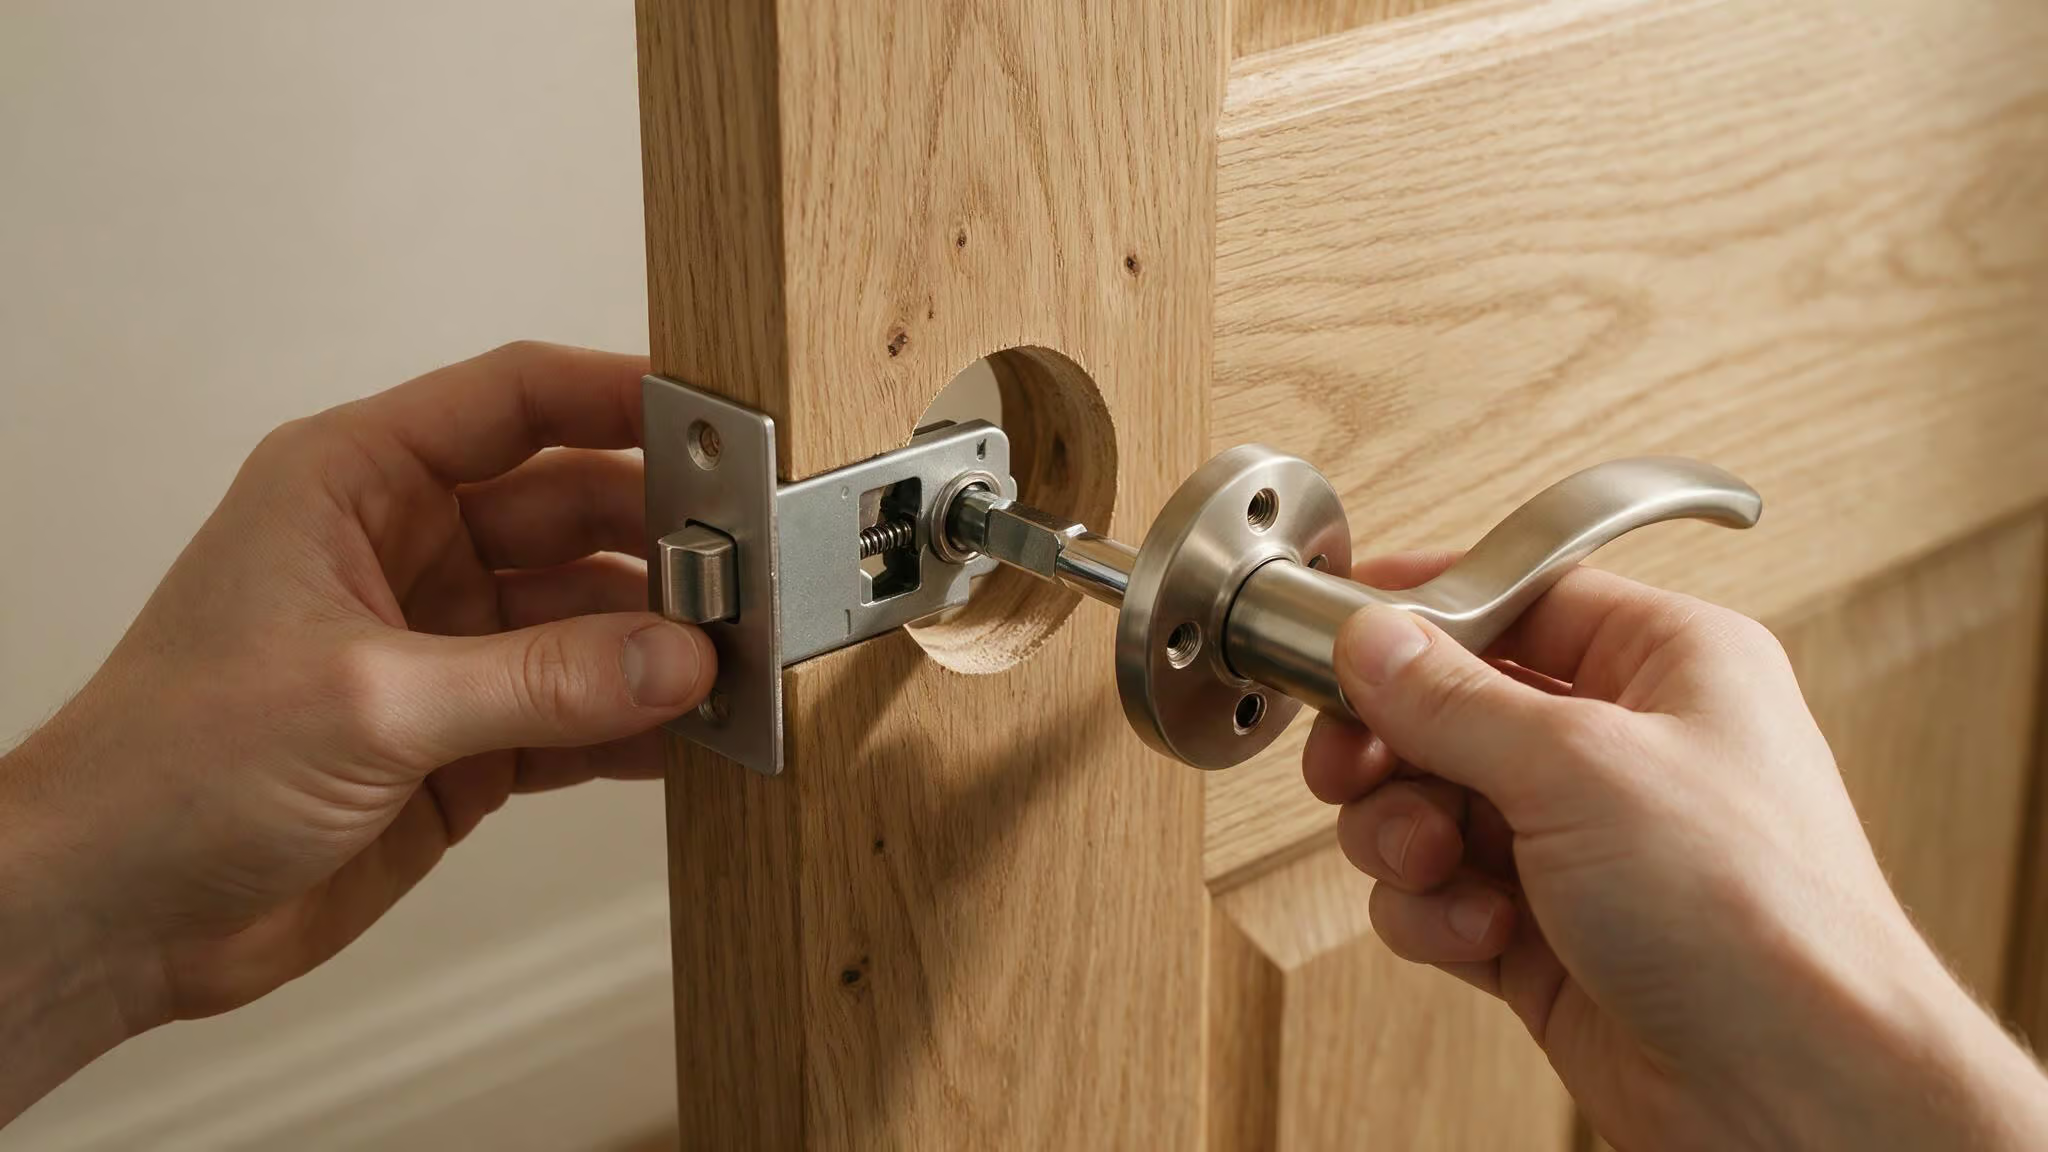
Step 1: Adjust the latch backset
The latch comes set to 2⅜” out of the box. If your door needs 2¾”, pull the latch outward until it clicks into the extended position. It’s that easy—no tools required.
Step 2: Install the latch and strike plate
Slide the latch into the hole in the door edge. Critical: make sure the beveled tongue faces the door frame (the flat side faces into the room). Secure it with the two screws provided. Then attach the strike plate to the door jamb, lining it up with where the latch will meet it.
Step 3: Install the exterior lever
Push the spindle—the metal bar that connects the two handles—through the center of the latch until the exterior lever sits flush against the door. It should click or slide into place.
Step 4: Install the interior lever
Align the interior lever with the spindle. Choose the direction of the thumb-turn (vertical or horizontal) based on your door swing. Tighten the screws securely. Don’t overtighten, but make sure it’s snug.
Step 5: The spindle cam alignment (do not skip this)
The spindle cam is a small metal piece under the interior lever. It transfers the motion from the handle to the latch. If it’s even a few degrees off, the handle will feel stiff or binding. Check the diagram that came with your handle—it’ll show you the correct orientation.
Press the handle down; it should spring back smoothly. If it doesn’t, loosen the interior lever, rotate the cam to the right position, and re-tighten.
Step 6: Final testing
Take a paperclip or small screwdriver and insert it into the emergency release pinhole on the exterior side. Then turn the handle a few times—it should move smoothly. Engage the thumb-turn and confirm the latch extends. It should unlock immediately.
If the internal lock cylinder and latch assembly aren’t working smoothly, refer to our guide on how to install door lock mechanism to fix sticking issues. Open and close the door several times to make sure the latch hits the strike plate cleanly.
What if the handle is loose or binding after installation?
- Loose – tighten the mounting screws under the interior lever plate. That’s usually the fix.
- Binding or stiff – the spindle cam is likely misaligned. Loosen the interior lever, rotate the cam to the correct position (refer to the diagram), and re-tighten.
- Latch doesn’t engage the strike plate – double-check the backset. If it’s set to 2⅜” but your door needs 2¾”, the latch won’t reach.
Which Type of Lever Handle Do You Need? (Privacy vs. Passage vs. Keyed)
If you’re reading this, you probably already bought a handle—or you’re about to. Let’s make sure you get the right one.
- Privacy – locks from the inside with a thumb-turn or push-button. Has an emergency pinhole on the outside. For bedrooms and bathrooms. This is what this guide covers.
- Passage – no lock at all, free-turning. For closets, hallways, or any door where you just need to open it.
- Keyed – uses a key from outside. For exterior doors only.
- Dummy – decorative only, doesn’t turn. For non-functional doors like pantry doors that just need a pull.
If the box says “passage” or “hall/closet,” put it back. If it says “privacy” or “bedroom/bath,” grab it.
One more thing: thumb-turn locks offer a tad more security than push-button locks. For a bathroom or child’s bedroom, either is fine. But if you’re concerned about a toddler who might figure out a push-button, a thumb-turn requires a little more dexterity.
Knob vs. Lever: Which Is Right for Your Home?
Levers are easier when you’ve got a baby on one hip and a laundry basket under the other arm—you can push the handle down with your elbow. They’re also a lifesaver for anyone with arthritis or limited grip strength.
But the tradeoff: dogs (and toddlers) can also push them down. After I replaced all the knobs in our house with levers, my dog figured out how to open unlocked bedroom doors in about a week. Now I just keep the doors locked.
Knobs require twisting—harder for pets and small children. But also harder for some people with hand issues. There’s no wrong answer; it’s about what works for your household. If you have a clever dog or a toddler who likes to explore, you might want knobs for certain doors. If you value convenience and accessibility, levers win.
Security Upgrade: Reinforce Your Strike Plate (Cheaper Than a New Lock)
While you’ve got the screws out, consider spending an extra $10 on a reinforced strike plate and 3-inch screws.
Consumer Reports tests locks by swinging a 100-pound steel battering ram against doors—eight repetitions, increasing height. They’ve found that the most common failure point isn’t the lock itself. It’s the short screws that come with the strike plate. Those tiny screws rip right out of the door frame during a kick-in. A reinforced strike plate with longer screws anchors into the stud behind the frame, making the door dramatically harder to kick in.
The CR engineer Paolo Fu said replacing the included strike plate with a reinforced one improves kick-in resistance by magnitudes. It’s a cheap upgrade you can do while you’re already holding a screwdriver.
Troubleshooting Common Installation Problems
Even when you follow the steps, little things can go wrong. Here are the top four issues and how to fix them:
- Door won’t close – Latch tongue is backwards. Flat side should face into the room, beveled side toward the door frame. Takes 30 seconds to flip.
- Latch doesn’t reach the strike plate – Wrong backset. Check the stamp on your old latch. Extend the adjustable latch if you need 2¾”.
- Handle feels stiff – Spindle cam misaligned. Loosen the interior lever, rotate the cam per the diagram, re-tighten.
- Lock doesn’t engage – Thumb-turn mechanism not seated properly. Remove the interior lever, make sure the spindle aligns with the privacy cam, and reinstall.
Most of these take a minute or two to fix. The 5–15 minute install time assumes everything goes smoothly. If you run into any of these, add 30 minutes—but at least you’ll know what to look for.
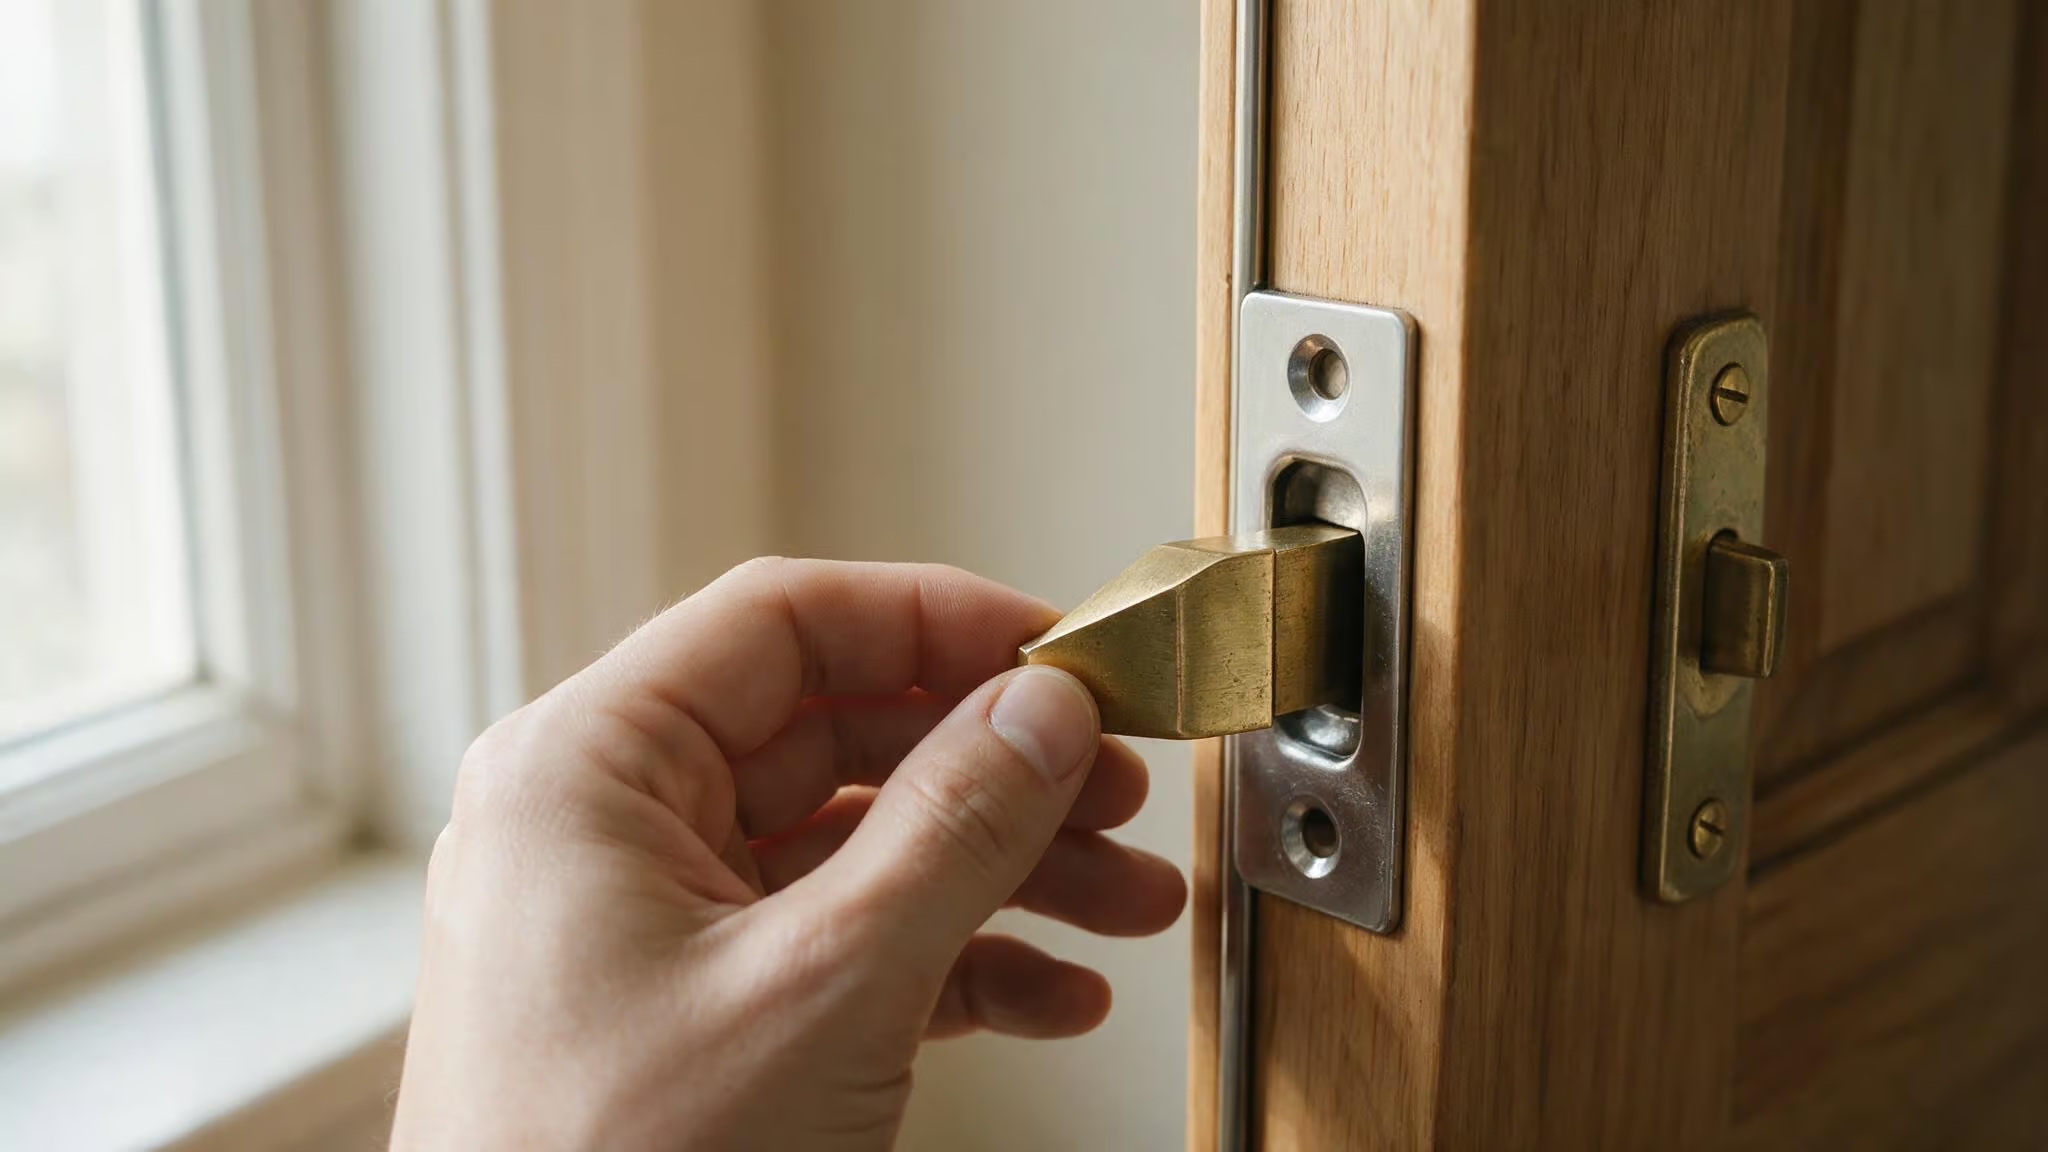
Should You Go Smart? Smart Lock Options for Lever Handles
This is the “if you’re curious” section. The main article is about standard privacy handles, but maybe you’re wondering about keyless entry for your front door or a smart lock for the lever.
Most smart locks on the market are actually deadbolts, not lever handles. If you have a deadbolt on your front door, you can add a retrofit smart lock—it fits over your existing deadbolt and lets you use your phone. The August Wi-Fi Smart Lock is a popular retrofit option that’s easy to install. Some locks use Z-Wave (needs a hub), others Bluetooth or Matter for cross-platform compatibility. Battery life also varies—the Yale Assure Lock 2 runs 9-12 months on 4 AAs, while the Ultraloq U-Bolt Pro lasts 3-6 months.
If you want a smart lever handle (for a door without a deadbolt), look for something like the Schlage Encode Smart Wi-Fi Lever. It connects directly to your Wi-Fi, no hub needed, and can hold up to 100 entry codes. It’s ANSI/BHMA Grade 3, which is fine for an interior door, but don’t confuse it with a high-security deadbolt. For the best overall smart lever, the Yale Assure Lock 2 (Grade 2) offers a solid balance of security and features. On a budget, the Ultraloq U-Bolt Pro (Grade 1, $100, IP65) is a strong pick.
If you want an invisible look, the Level Lock Pro hides its smarts inside your existing handle. On the flip side, the Delaney 345001 and Sure-Loc DK201-MD-15 are among the worst performers in tests, failing on security and durability.
Biggest real-world risk with smart locks: dead battery, not hacking. Most last several months on a set of batteries. If you see rapid drain (a couple of weeks), it’s usually a firmware bug. Keep a physical key backup somewhere safe, and you’ll be fine.
The media loves to scare people with hacking stories, but in practice, an unlocked window or a dead battery is a far more likely headache. And if you’re worried about levers, note that a credit card can slide some models open—another reason to weigh the tradeoffs.
Need Help? Support and Resources
If you’ve followed everything and it’s still not working, check the backset, latch orientation, and spindle cam alignment one more time. Those three things account for 90% of installation headaches.
If you’re using a KNOBWELL handle and still stuck, their support team actually answers emails: service@knobwellstore.com. I reached out once with a question about alignment and heard back within a day. Same goes for any other brand—most manufacturers have help lines or online guides.
You’ve got this. It’s just a screwdriver and a few pieces of metal. The first handle I installed took me 45 minutes because I made every mistake in this guide. Now I can swap one in five minutes.
Frequently Asked Questions
How to lock a door with a lever handle?
Most privacy lever handles lock from the inside using a thumb-turn or push-button. To lock, simply rotate the thumb-turn to the horizontal position or press the button on the interior lever. To unlock from the outside, insert a paperclip or small screwdriver into the emergency release pinhole.
Which way do lever door handles go?
Lever handles are typically installed with the lever pointing away from the door frame on the side you pull from, but the exact orientation depends on your door swing. Most handles allow you to rotate the thumb-turn or lever direction during installation. The key rule is that the beveled side of the latch tongue must face the door frame.
How do I know what backset my door needs?
The backset is the distance from the door edge to the center of the handle hole — either 2⅜” or 2¾” for most U.S. doors. The easiest way to check is to pull out your old latch and look for the number stamped on it. Match your new handle to that number, or adjust an adjustable latch by pulling it outward until it clicks into the correct position.
Can a toddler or dog open a lever handle?
Yes — levers are easier for toddlers and clever dogs to push down compared to knobs, which require twisting. If you have a pet or child who figures it out, keep the door locked or consider using knobs on certain doors. The trade-off is that levers are much more convenient when your hands are full or if you have limited grip strength.