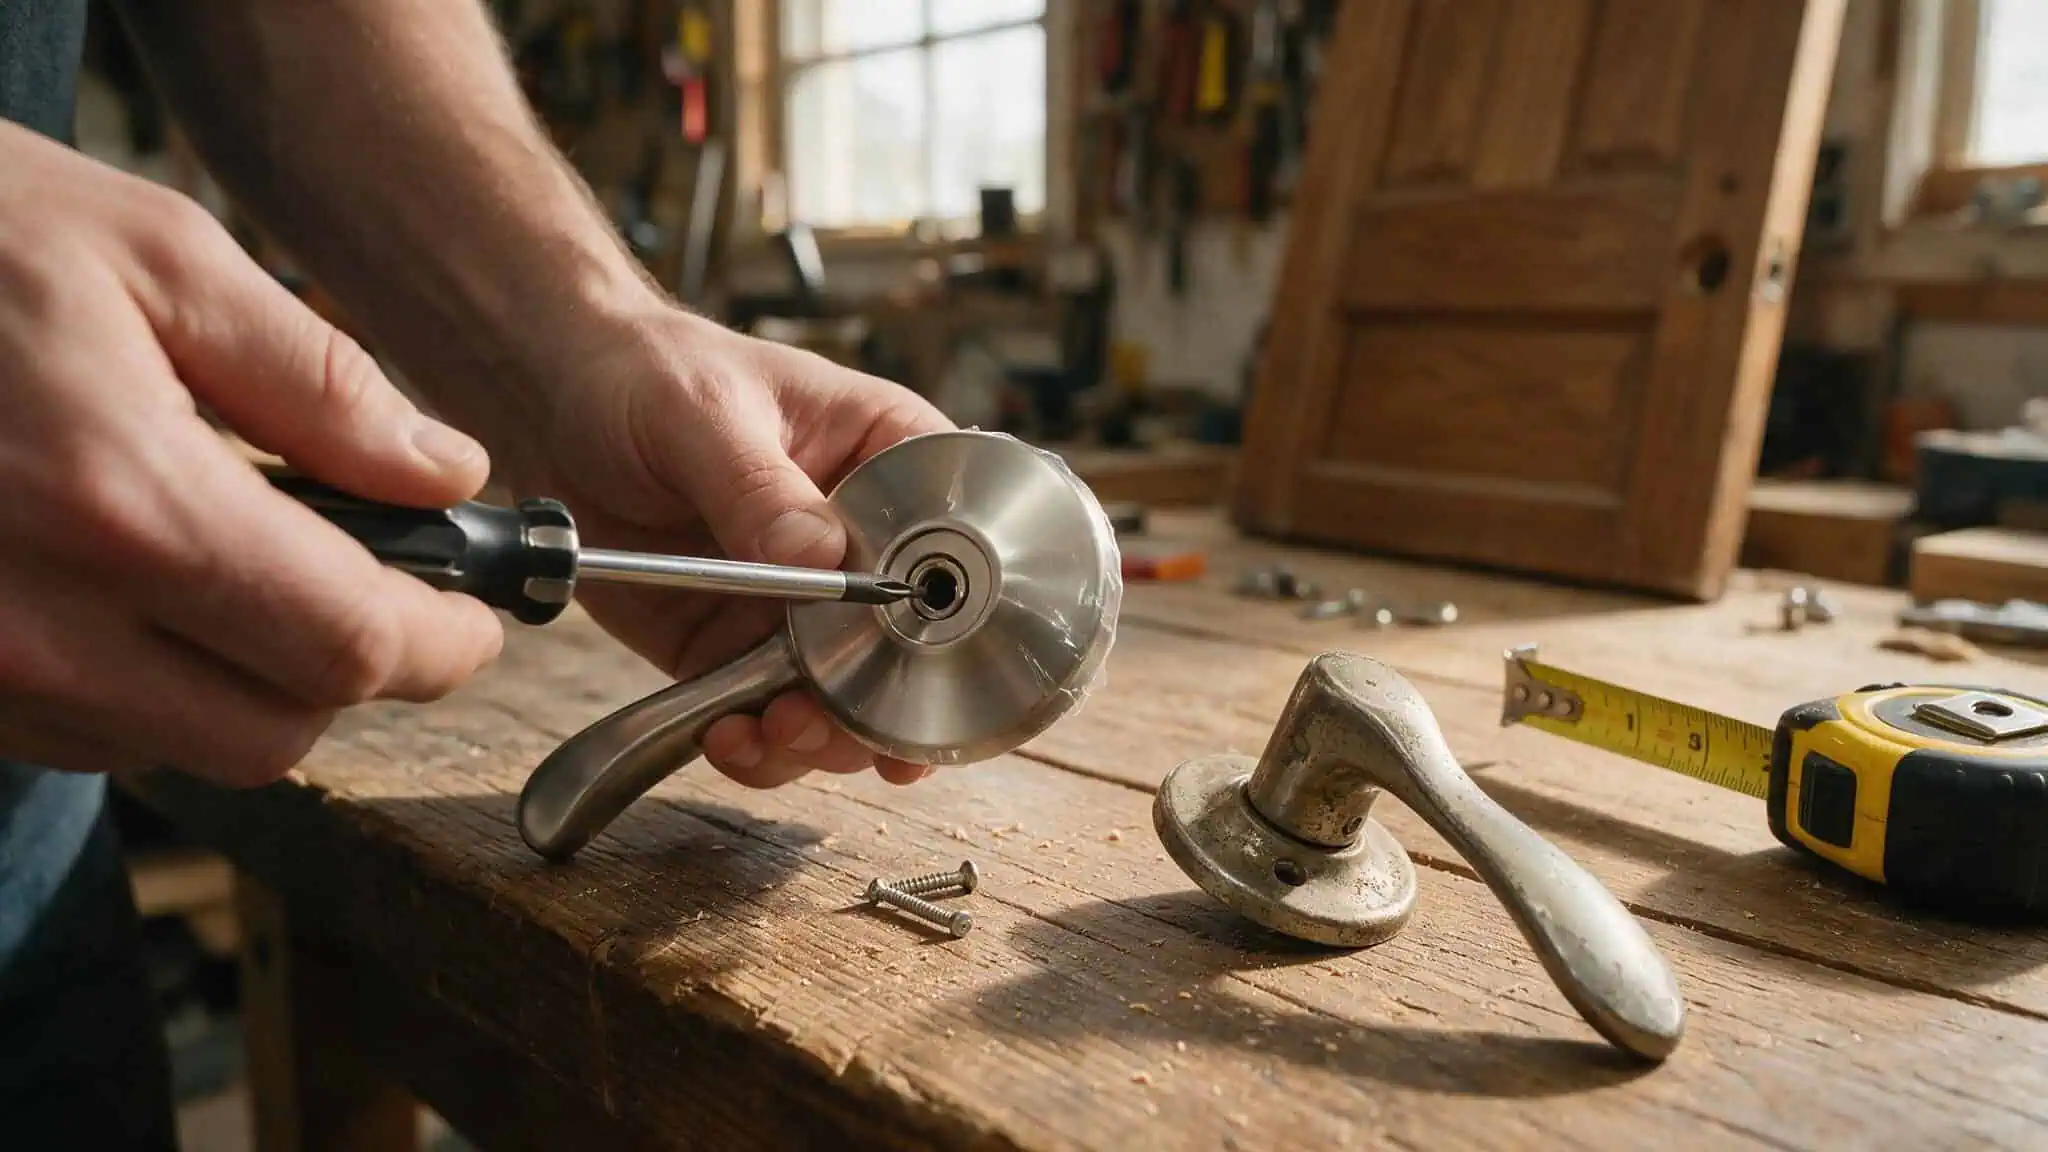
Look, I’m not a contractor. I’m a parent who lives in a 1900s townhome and got tired of looking at mismatched, builder-grade door hardware. I swapped half a dozen handles myself, and the whole thing is doable with a screwdriver—assuming your doors have standard pre-drilled holes. Whether you’re replacing one worn handle or installing a designer black interior hardware range throughout your home, you don’t need a handyman.
I’ll walk you through everything: how to pick the right type, how to measure door thickness and bore hole diameter so you don’t have to go back to the hardware store, how to install it, and what to do when something goes sideways. I learned the hard way in my 1900s townhome so you don’t have to.
Key Takeaways
Measure your door thickness (most standard interior doors are 1-3/8 inches) and bore hole (usually 2-1/8 inches) before you buy anything — this one step saves the most frustration.
The Kwikset Halifax installs in under 15 minutes if your door is standard, and it has a Microban coating that’s nice for high-touch areas.
The most common DIY mistake is a latch that’s off by a millimeter — loosen the strike plate screws, shift it slightly, and retighten.
Table of Contents
Before You Start: Tools and Measurements
Grab a tape measure, a Phillips and flathead screwdriver, and a pencil. That’s all you need. If you have to drill new holes, you’ll need a drill too, but for most swaps you won’t.
The two things to measure:
- Door thickness. Standard interior doors are 1-3/8 inches thick. Run a tape measure across the edge to confirm.
- Bore hole diameter. That’s the hole where the handle goes. It’s 2-1/8 inches across.
If your house is newer or has standard pre-hung doors, you’re fine. If your house is older — like my 1900s place, or has custom doors, measure. Non-standard sizes pop up in older homes like my 1900s townhome, and buying the wrong size handle is the most common mistake people make.
Step 1: Remove the Old Door Handle
This part requires a screwdriver but can be annoying if the old hardware has been painted over a few times.
- Look for screws on the rosette — the decorative plate behind the handle. Some are visible, others are hidden under a snap-on cover. If you don’t see screws, try prying the cover off gently with a flathead.
- Remove the screws and pull the two handle halves apart.
- Slide the latch mechanism out of the door edge.
In my 1900s townhome, I ran into painted-over screws. You might need to scrape paint away to find them. Work carefully and don’t force anything — you don’t want to damage the door.
Step 2: Install the New Latch and Strike Plate
This is the part that determines whether your door closes right.
- Insert the latch into the door edge. The flat side should be flush with the face of the door.
- Secure it with the two screws that came with the handle.
- Attach the strike plate to the door frame, directly opposite the latch.
Alignment is everything. If the latch doesn’t line up perfectly with the strike plate hole, the door will stick or won’t close. The fix is simple: loosen the strike plate screws, shift it a millimeter or two, and retighten. But before you tackle that step, you first need to know how to install a door handle with hidden screws without damaging the finish—that millimeter adjustment solves most problems.
Step 3: Attach the Interior and Exterior Handles
Now you connect the two halves.
- Feed the connecting screws through the interior handle, through the latch assembly, and into the exterior handle.
- Tighten evenly. Don’t overtighten — you can strip the threads easily.
- Before you fully tighten, test that the handle turns smoothly.
How long does it take? The Kwikset Halifax installs in under 15 minutes for a standard door. For most handles, budget 15 to 30 minutes start to finish with a screwdriver, though how to install door knob without hole is a longer project if your door is non-standard.
Choosing Between Knobs and Levers
This isn’t just about looks. It changes how the door works and who can open it.
Knobs require a twisting motion. But they can be hard to use if your hands are full or if you have arthritis or reduced hand strength.
Levers you push down to open. You can open one with your elbow, which is handy when you’re carrying laundry or a sleeping kid. They’re also great for accessibility.
The catch: Levers are easier for pets and small children to operate. My dog learned to open the Kwikset Halifax lever in about a week. It was cute until he let himself into the pantry and helped himself to a box of crackers. So if you have toddlers or curious pets, and you’re planning to swap hardware, how to install lever door handle with lock is a step-by-step that covers aligning the latch and testing the lock mechanism — but for bedrooms or the nursery, knobs might still be a better choice.
Understanding Door Handle Types
There are four main types, and you’ll need a mix of them throughout your house.
- Passage: Turns freely, no lock. Perfect for hallways, pantries, and high-traffic areas.
- Privacy: Locks from the inside, usually with a button or a turn. Has a small pinhole on the outside so you can open it with a paperclip in an emergency. Use these for bathrooms and bedrooms.
- Dummy: Decorative and non-functional. Doesn’t turn at all. Great for closets or the inactive side of double doors.
- Keyed entry: Requires a key. For exterior doors, or occasionally a home office or basement.
The Kwikset Pismo comes in all four configurations. That means you can buy the same model for every door and just pick the right type for each room. The whole house looks cohesive without matching different brands.
Best Door Handles for DIY Installation
Here are the ones I found reliable, based on my own swaps and what contractors and designers recommend.
- Kwikset Pismo: Modern lever with SmartKey re-keying (more on that below). Fits doors 1.375 to 1.75 inches thick. Comes in four finishes and four configurations. Available with a round or square rosette. Solid mid-range option that covers passage, privacy, dummy, and keyed configurations.
- Emtek Providence: If your style leans vintage, this is the one. Solid brass construction, seven finishes including French antique brass and polished chrome. Interior designers and contractors consistently call it out for quality. Fits 1.25 to 1.75 inches. No keyed entry option, but available in passage, dummy, and privacy.
- Kwikset Halifax: The one that got me through my first few swaps. Installs in under 15 minutes, has Microban antimicrobial coating (nice for kitchen and bathroom doors where germs hang out), and the privacy lock uses a simple button press. Five finishes to choose from.
- Schlage Bowery: Best-selling privacy knob for a reason. Available at most hardware stores.
- Kwikset Casey: Interior privacy handle with a thumb-turn lock. The thumb-turn lock offers more security than a push-button, and you’re less likely to accidentally lock yourself out.
Troubleshooting: Fixing Common Problems
Even with good hardware, problems can occur. Here’s what usually happens and how to fix it.
- Latch doesn’t align with the strike plate: Loosen the strike plate screws, shift it a millimeter or two, and retighten. If that doesn’t work, you may need to file the opening slightly.
- Handle feels loose: Check the set screws on the rosette and the connecting screws. Tighten them evenly, but don’t strip them.
- Door doesn’t close or latch: Almost always an alignment issue. Double-check the latch and strike plate position. Also verify your door thickness matches the handle specs.
- Privacy lock doesn’t work: Make sure the emergency release pinhole isn’t blocked. That’s your backup for emergency unlocking.
Safety First: Levers, Kids, and Pets
I mentioned my dog and the pantry raid. That’s the tradeoff with levers. Levers are pushed down and easier for people with arthritis, limited hand mobility, or reduced grip strength, but they’re easier for small kids and pets to operate.
For rooms you want to keep closed — a nursery, a home office, pantry, consider knobs or a privacy lock. If you do go with levers, be aware that your toddler or your dog might learn how to open them faster than you expect.
Bonus: Re-keying Without a Locksmith (SmartKey)
SmartKey saves you money by eliminating locksmith calls.
SmartKey, available on the Kwikset Pismo and other Kwikset models, lets you re-key the lock yourself in under a minute. Lose a key? Bought a new place and want all the locks to use the same key? No need to call a locksmith or replace the whole cylinder.
You insert the current key, turn it, insert the new key, and turn it again. That’s it. A locksmith call can run $50 to $150 per lock, so this pays for itself.
When to Call a Professional
This project is doable for standard pre-drilled doors. But there are times to call a professional.
- Call a handyman if: The door itself is damaged (cracked, swollen, sagging), you need to drill new holes (like installing a handle on a new blank door), or the door has a custom thickness that doesn’t match standard hardware.
- Older homes: My 1900s townhome had doors that were slightly different from each other. Most were fine, but a couple had weird dimensions that took extra patience to get right.
For standard doors, this is a weekend project. You don’t need a contractor — a screwdriver, a tape measure, and the right handle for your door.
Frequently Asked Questions
Can you install a door handle yourself?
Yes, you can install a door handle yourself with just a screwdriver and a tape measure, assuming your door has standard pre-drilled holes. Most swaps take 15 to 30 minutes, and the most common mistake—a misaligned latch—is easy to fix by loosening the strike plate screws and shifting it slightly.
How are door handles installed?
Start by removing the old handle: unscrew the rosette, pull the halves apart, and slide out the latch. Insert the new latch into the door edge, secure it, then attach the strike plate on the frame. Connect the interior and exterior handles with the provided screws, tighten evenly, and test the action before fully tightening.
What’s the difference between a passage and privacy door handle?
A passage handle turns freely with no lock, ideal for hallways and pantries. A privacy handle locks from the inside with a button or turn and has an emergency release pinhole on the outside, making it suitable for bathrooms and bedrooms. Choose based on whether you need privacy or just free passage.
How do I fix a door handle that feels loose?
Check the set screws on the rosette and the connecting screws that hold the two handle halves together. Tighten them evenly, but don’t overtighten or you may strip the threads. If the handle still feels loose, the issue might be a misaligned latch or strike plate.