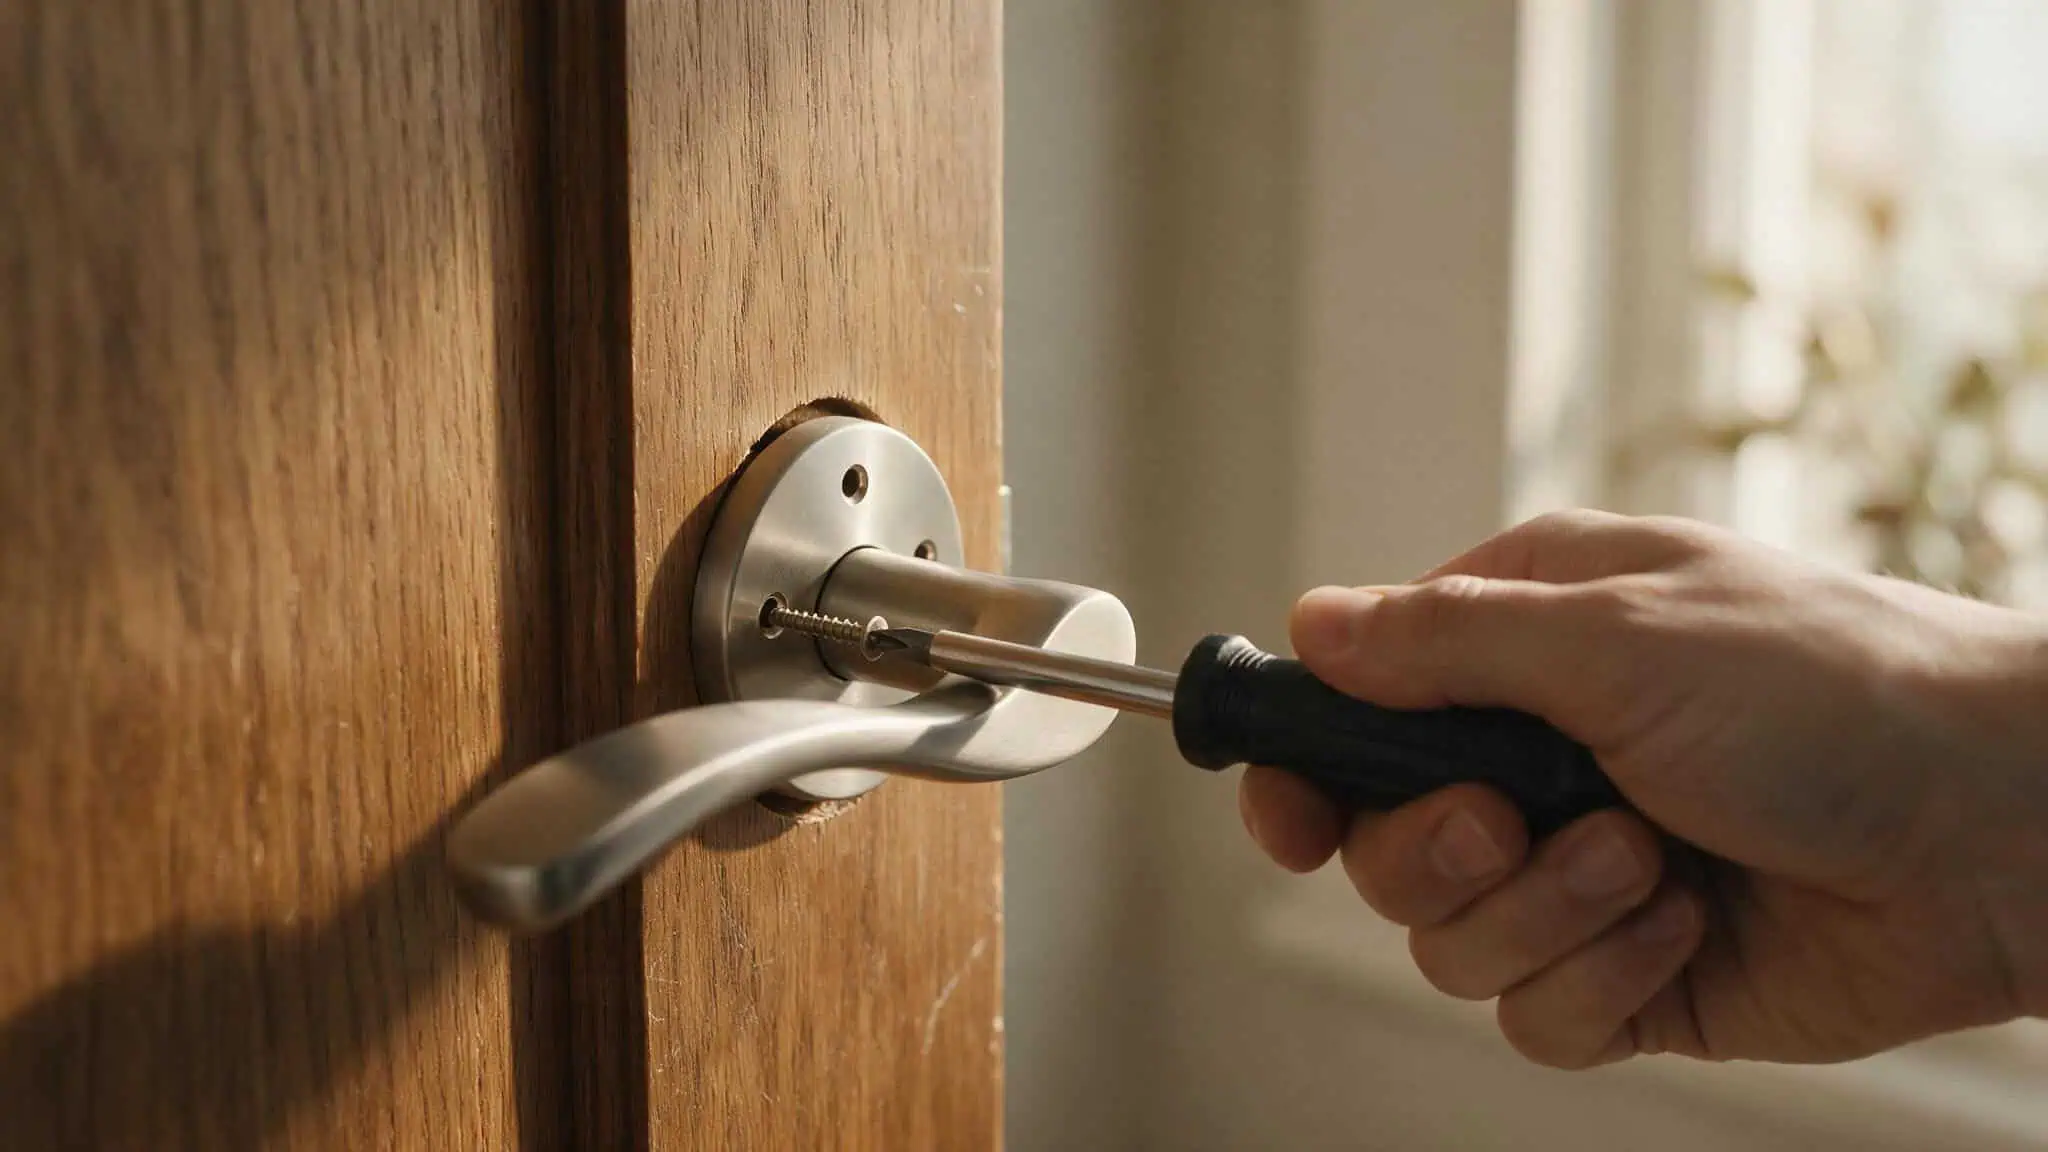
A rose is the round or square plate that sits flush against the door surface. It hides the fixings and lets the handle itself be the star.
I recently went through this with some handles from Carlisle Brass (their Serozzetta and EuroSpec ranges). Whether you’re installing on a brand new door or replacing an existing one with old holes to work around, this covers the whole process.
Key Takeaways
The most important measurement is the 38mm centers for the fixing holes. If this is off, your handle will wobble and no amount of tightening will fix it
You need three specific drill bits: a 20mm bit for the center spindle hole, a 5mm bit for bolt-through fixings, and a 2mm bit for face-fixing pilot holes
Before drilling, always check your spindle length and door thickness. A spindle that’s too short won’t engage the latch, and one that’s too long will keep the rose from sitting flush
Table of Contents
Tools and Materials: What You Need Before Starting
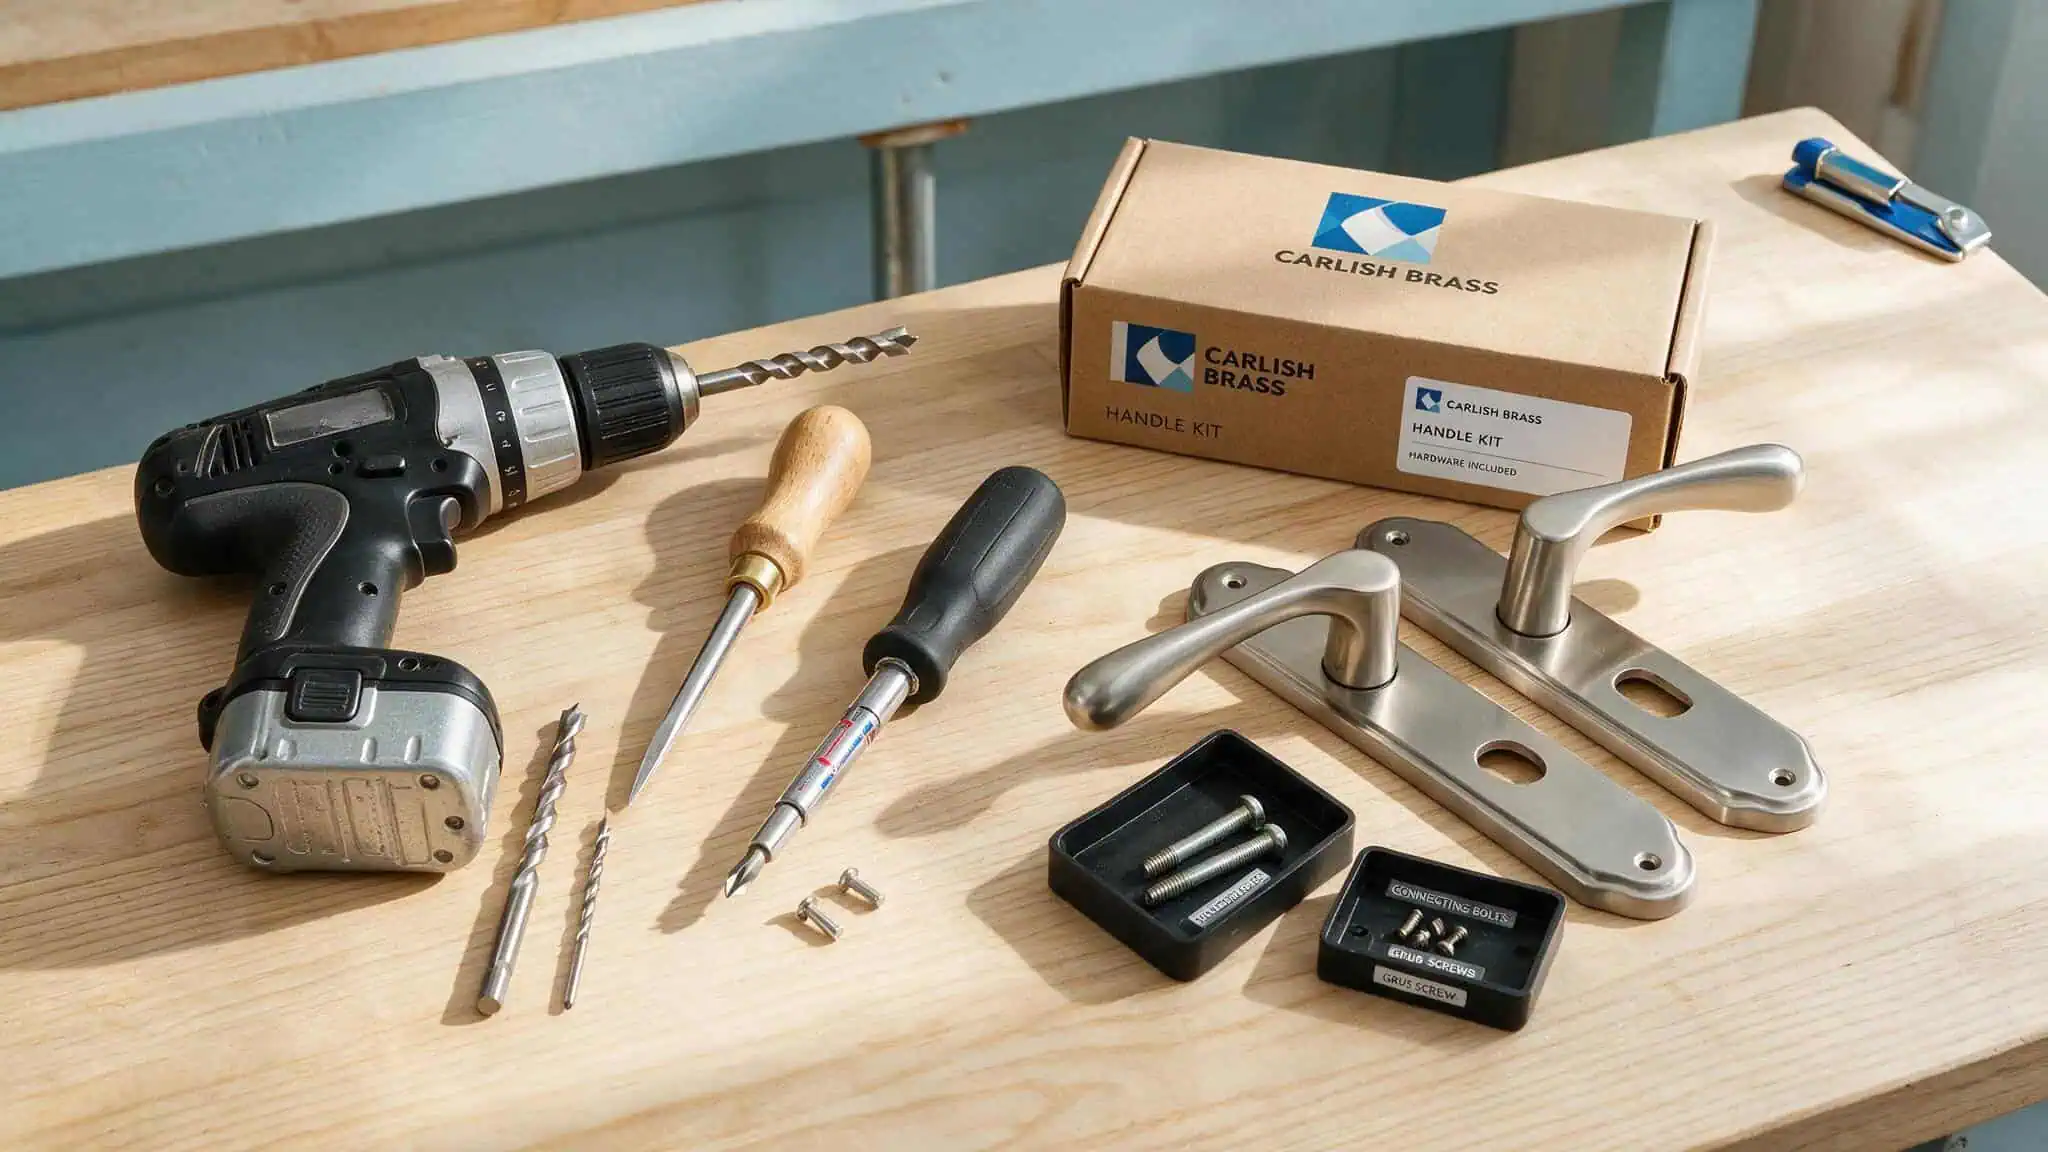
You’ll need:
- A drill with a 20mm bit (for the main center hole)
- A 5mm bit (if you’re using bolt-through fixings)
- A 2mm bit (if you’re using face fixings, you’ll drill these 5mm deep)
- A bradawl for marking
- A screwdriver
Your kit should contain the handles, a spindle, fixing screws or bolts, grub screws, and the rose covers. Carlisle Brass kits are labeled and include instructions, so it is easy to see what is what.
Before You Drill: Door Thickness, Spindle Length, and Latch Alignment
1. Measure your door thickness. You need to know this to make sure your spindle is long enough.
2. Check the spindle length. The spindle has to pass through the door and engage the lever mechanism on the other side.
If it’s too short, the handle won’t open the latch. If it’s too long, the rose won’t sit flush against the door.
3. Latch or lock alignment. Make sure the latch follower is positioned where you plan to drill the center hole.
4. Check the door surface. The fixing holes need to sit on a flat part of the door.
5. Handle pre-existing screw holes. If old holes are visible, fill them with wood filler and sand smooth once dry. When marking new holes, try to position them within the rose cover area so the cover hides any remaining blemishes.
If the old holes are unavoidable, consider using a larger rose plate to cover them completely.
Bottom line: A 1mm error in the 38mm centers creates a wobble no amount of tightening can fix.
Step 1: Mark the Door for Perfect Alignment
Use a bradawl to mark the center hole (call it hole A). Then mark your fixing holes (hole B). The distance between the center of these two fixing holes needs to be 38mm apart.
Some kits come with a paper template. Use it if you have one. If not, a tape measure and a steady hand work fine.
Step 2: Drill the Holes – Choosing the Right Fixing Method
Drill the center hole first with your 20mm bit.
Now you have a choice to make for the fixing holes.
Bolt-through fixings
This is the strongest method. Switch to your 5mm bit and drill the fixing holes through the door. Insert the bolts and hand-tighten them to hold the levers in place.
Face fixings
Use your 2mm bit to drill pilot holes on the fixing marks. You only need to go about 5mm deep. Hand-tighten the screws on one side first, then the other.
For metal doors: You’ll need self-tapping screws instead of standard wood screws. Use a sharp bit and drill a 3mm pilot hole (or use a step-bit) to avoid stripping the metal.
Step 3: Fit the Spindle and Levers
Insert the spindle through one of the levers. Secure it with the grub screw.
Position that lever assembly on the door, lining up the spindle with the latch follower and the rose holes with the ones you drilled.
Attach the second lever on the opposite side of the door. If you’re using bolt-through fixings, insert the bolts and hand-tighten them. For face fixings, hand-tighten the screws on one side, then the other.
For a visual of how all the parts fit together, our Door Knob Installation Diagram is a helpful reference here.
Step 4: Secure the Fixings and Attach Rose Covers
Tighten the grub screw on the opposite lever.
A word of warning: Don’t overtighten the grub screws. You can strip the threads or even crack the rose. Snug is the target. If a handle feels stiff, you’ve probably overtightened something.
Before you put the covers on, test the handle. Does it move smoothly?
Once the handle operates, screw on the rose covers.
Field note: Test the handle before snapping the covers on — once they’re in place, you can’t see if a grub screw is backing out.
Special Considerations for Bathroom and Locking Doors
If your door needs privacy or security, you need a slightly different setup.
Adding privacy to bathroom doors
You can add a Bathroom Turn and Release feature below the handle. It gives you a privacy lock without ruining the clean aesthetic.
Installing locking handles on external doors
For exterior doors, or any door that needs a key lock, you’ll need mortice locks and keyhole covers (escutcheons). Our guide on How to Install Lever Door Handle with Lock covers this in detail.
Troubleshooting: Fixing a Wobbly or Misaligned Handle
Here’s how to diagnose and fix the most common problems.
Loose handles
Check the grub screws first. Then check the main fixings. If you used face fixings, make sure the screws are actually biting.
Misaligned handles
If the rose isn’t sitting flush or the handle is crooked, your fixing holes are probably off-center. You’ll likely need to remove the handle and recheck your 38mm marks and spindle position.
Stiff operation
Back off the screws a quarter turn and test it. Adjust the rose position and try again.
Diagnostic sequence: Grub screws → Bolt or screw tightness → Rose alignment. Retightening is rarely the fix for a wobble caused by drilling or marking. The wobble fix is in the alignment.
For a full overview of the universal steps, our main How to Install Door Handles guide covers the basics across different handle types.
Maintenance and Care: Keeping Handles Looking and Working Great
Wipe them down with a soft, damp cloth to remove fingerprints and dust. That’s it for cleaning.
Skip the harsh chemicals and abrasive sponges — they damage the finish.
For handles in high-traffic areas, check the grub screws and main fixings every 6 to 12 months.
Frequently Asked Questions
What is the metal plate behind a door knob called?
It’s called a rose (or backplate if it’s a larger rectangular shape). The rose sits flush against the door surface, hides the fixing screws, and gives the handle a clean, finished look.
Is there a trick to installing door knobs?
The biggest trick is getting the 38mm centers between the fixing holes exactly right. A 1mm error creates a wobble that no amount of tightening can fix. Also, always check your spindle length against your door thickness before drilling.
Which way should a strike plate face?
The strike plate should face the direction the door closes into the frame, with the curved lip guiding the latch into the hole. It needs to align perfectly with the latch so the door closes smoothly without sticking.
Is a door latch plate necessary?
Yes, the latch plate (or strike plate) is essential. It protects the door frame from wear, keeps the latch securely engaged, and prevents the door from rattling. Without it, the latch would chew into the wood over time.
What’s the difference between bolt-through and face fixings for door handles?
Bolt-through fixings use a 5mm bit to drill all the way through the door and are the strongest option for solid doors. Face fixings use a 2mm bit to drill shallow pilot holes about 5mm deep and are better for thinner or hollow-core doors where you can’t drill through.
How do you fix a wobbly door handle after installation?
Start by checking the grub screws, then the main fixings. If those are tight and it’s still wobbly, the fixing holes are likely misaligned — you’ll need to remove the handle and recheck your 38mm centers. Retightening rarely fixes a wobble caused by bad alignment.