You bought the lock, you’ve got the door, and you’re standing there with a drill wondering if you’re about to make an expensive mistake. I’ve been there. The first deadbolt I installed worked for about twelve hours. Then the thumb turn started grinding, the key had to be jiggled, and by day three I was searching online for why my new lock was sticking at 11 PM.
Key Takeaways
Most sticking deadbolts are caused by the torque blade being inserted vertically instead of horizontally into the latch crank — check this before you assume the lock is defective
Entry locks and deadbolts use two different methods to adjust the backset, and mixing them up can damage the latch mechanism
The latch faceplate mortise needs to be 1/8 inch deep, but the strike plate mortise is only 1/16 inch — flip those depths and you’ll get binding or rattling
Table of Contents
Before You Start: Tools, Measurements, and Lock Height
The standard height for a doorknob is 36 inches from the finished floor. That’s the number on your template, and it’s what most doors use. Tommy Silva from This Old House once moved a knob to 37 inches just to center it on the panel, and called it “close enough to 36.”
Some smart locks cost around $100, while models with integrated Wi-Fi, voice commands, notifications, and tamper alarms can cost $200 or more.
The deadbolt goes 5.5 inches above the knob or lever. Your template will show this spacing, so trust it. For help, call customer service at 800-221-3379.
The one measurement you cannot eyeball is the backset — that’s the distance from the edge of the door to the center of the bore hole. Interior doors usually use 2-3/8 inches. Exterior doors often use 2-3/4 inches. Your latch comes factory-set at 2-3/8, so if you need the longer one, you’ll adjust it in the next step. Nathan from DIY Playbook recommends using shims if the mortise is too deep.
If you’re replacing an existing lock in a pre-drilled door, set aside 15 to 20 minutes. If you’re drilling fresh holes from scratch, plan for one to two hours.
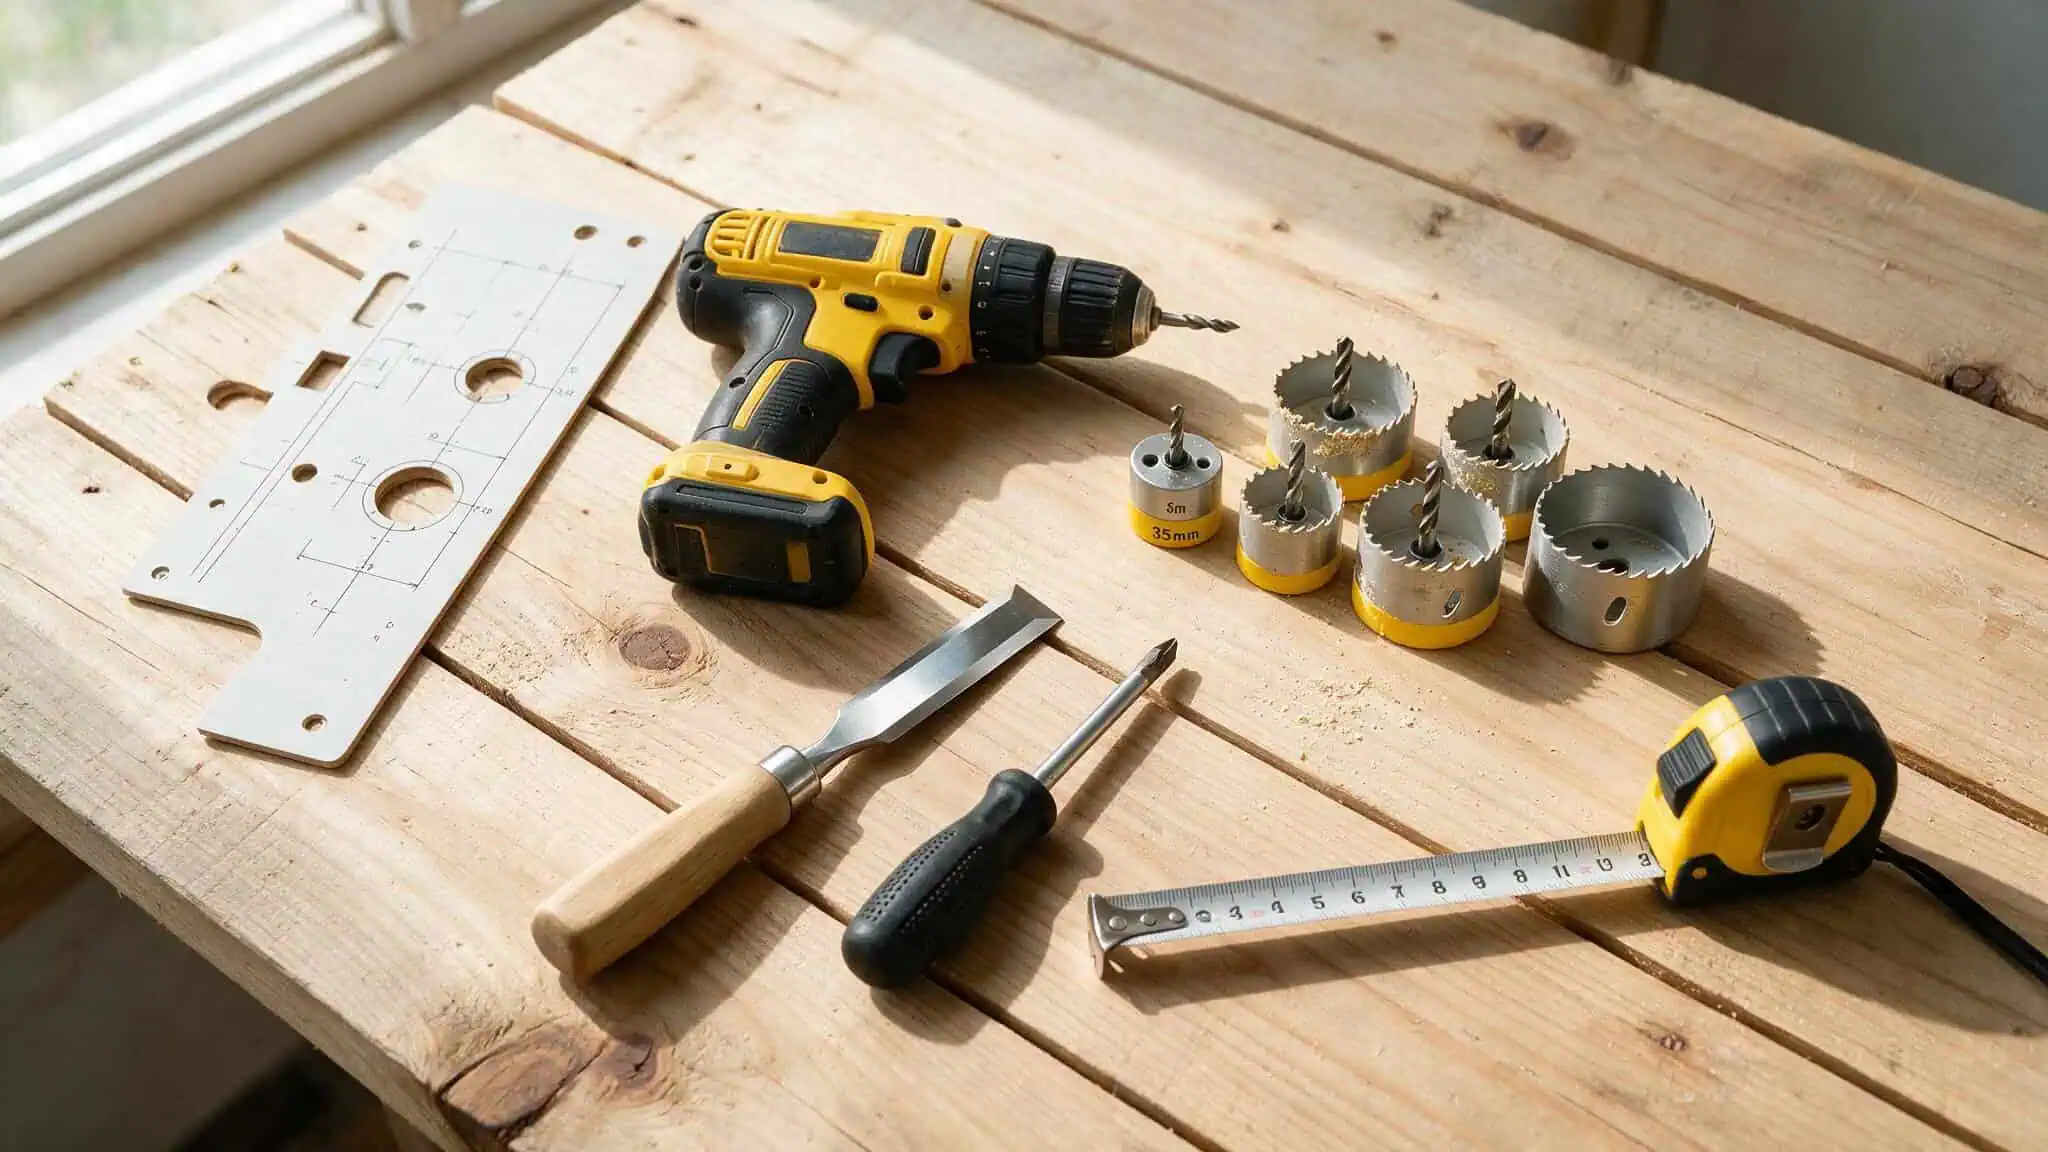
Tools you’ll need:
- Drill with a 2-1/8 inch hole saw and a 1 inch spade bit
- Chisel (a 1/2-inch or 3/4-inch works well)
- Screwdriver (hand-held, not a power driver for the final tightening)
- The template that came with your lock
- Utility knife (not a pencil — this matters)
- Square
- 3/32 inch drill bit for pilot holes
Step 1: Adjust the Latch Backset
Your latch is preset for a 2-3/8 inch backset. If you need 2-3/4 inches (70mm), you have to adjust it. But the method depends on whether you’re installing an entry lock (the kind with a knob or lever that latches when you close the door) or a deadbolt. Refer to Instruction_Lock_12 for detailed steps.
For entry locks: Depress the latch, then catch the open slot on the back of the extension piece onto the notch inside the latch. Lower the extension piece while releasing the latch. The extension piece slides to the 2-3/4 position and stays there.
For deadbolts: Retract the latch bolt, hold the latch tail, and rotate the faceplate toward you. Look for the notch at the 2-3/4 inch mark. Pull the faceplate away from the latch tail once the notch lines up. It’s a different mechanical motion than the entry lock method, so don’t force one procedure on the other lock type.
The backset must match your door, not the factory default.
Step 2: Mark and Drill the Bore Holes
Fold the template on its fold line and wrap it around the door edge. Mark the lock bore hole at your backset measurement (2-3/4 or 2-3/8) and mark the edge hole centered on the door edge. Punch a nail through the center of both spots if your template has those little dimples — old-school but reliable.
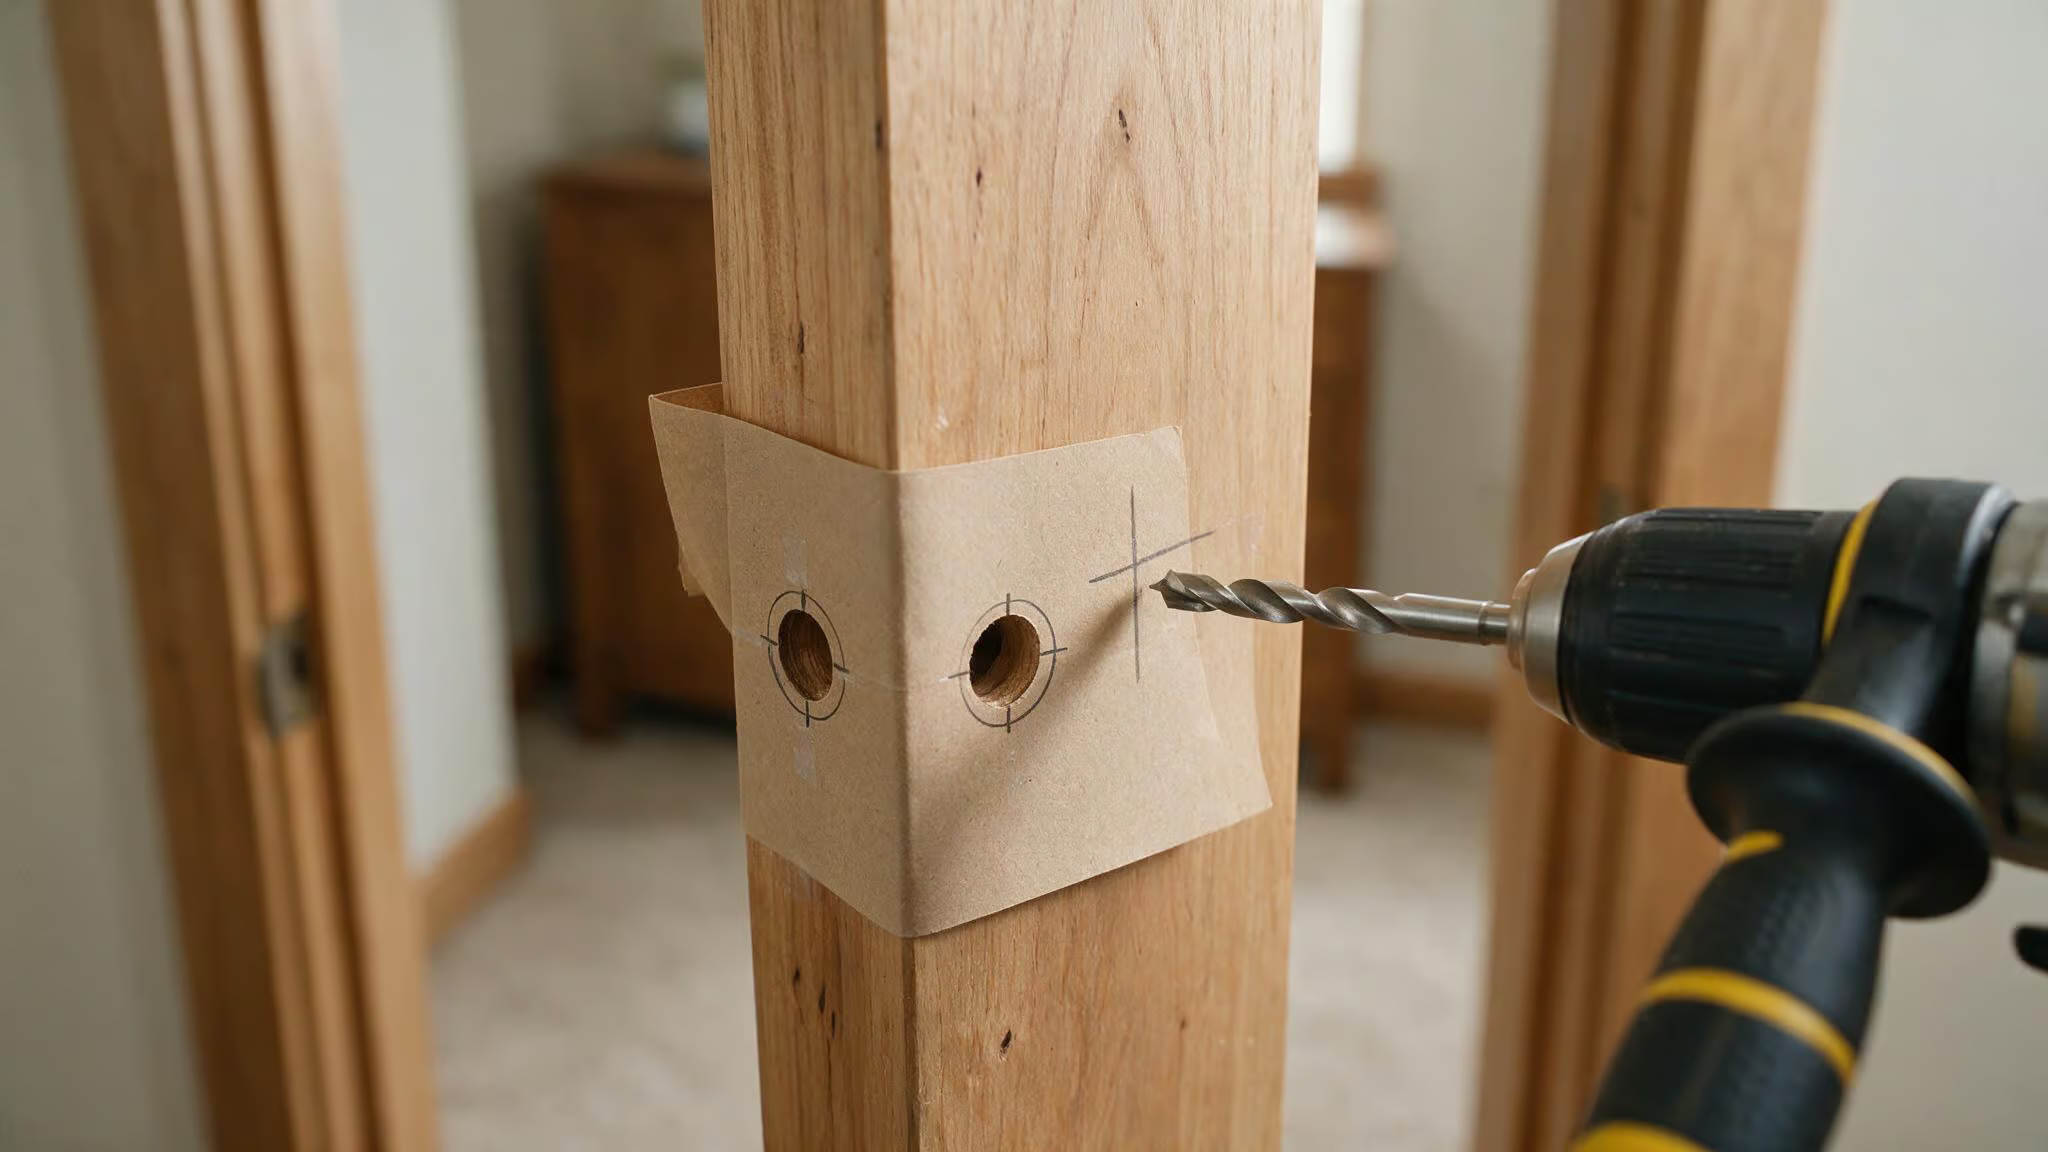
Deadlock detail that almost nobody mentions: Place the template on the high edge of the door bevel. The door edge isn’t perfectly flat — it’s angled slightly. The high edge is the one that faces the direction the door closes. If you put the template on the low edge, your alignment will be off and you’ll be fighting it for the rest of the installation.
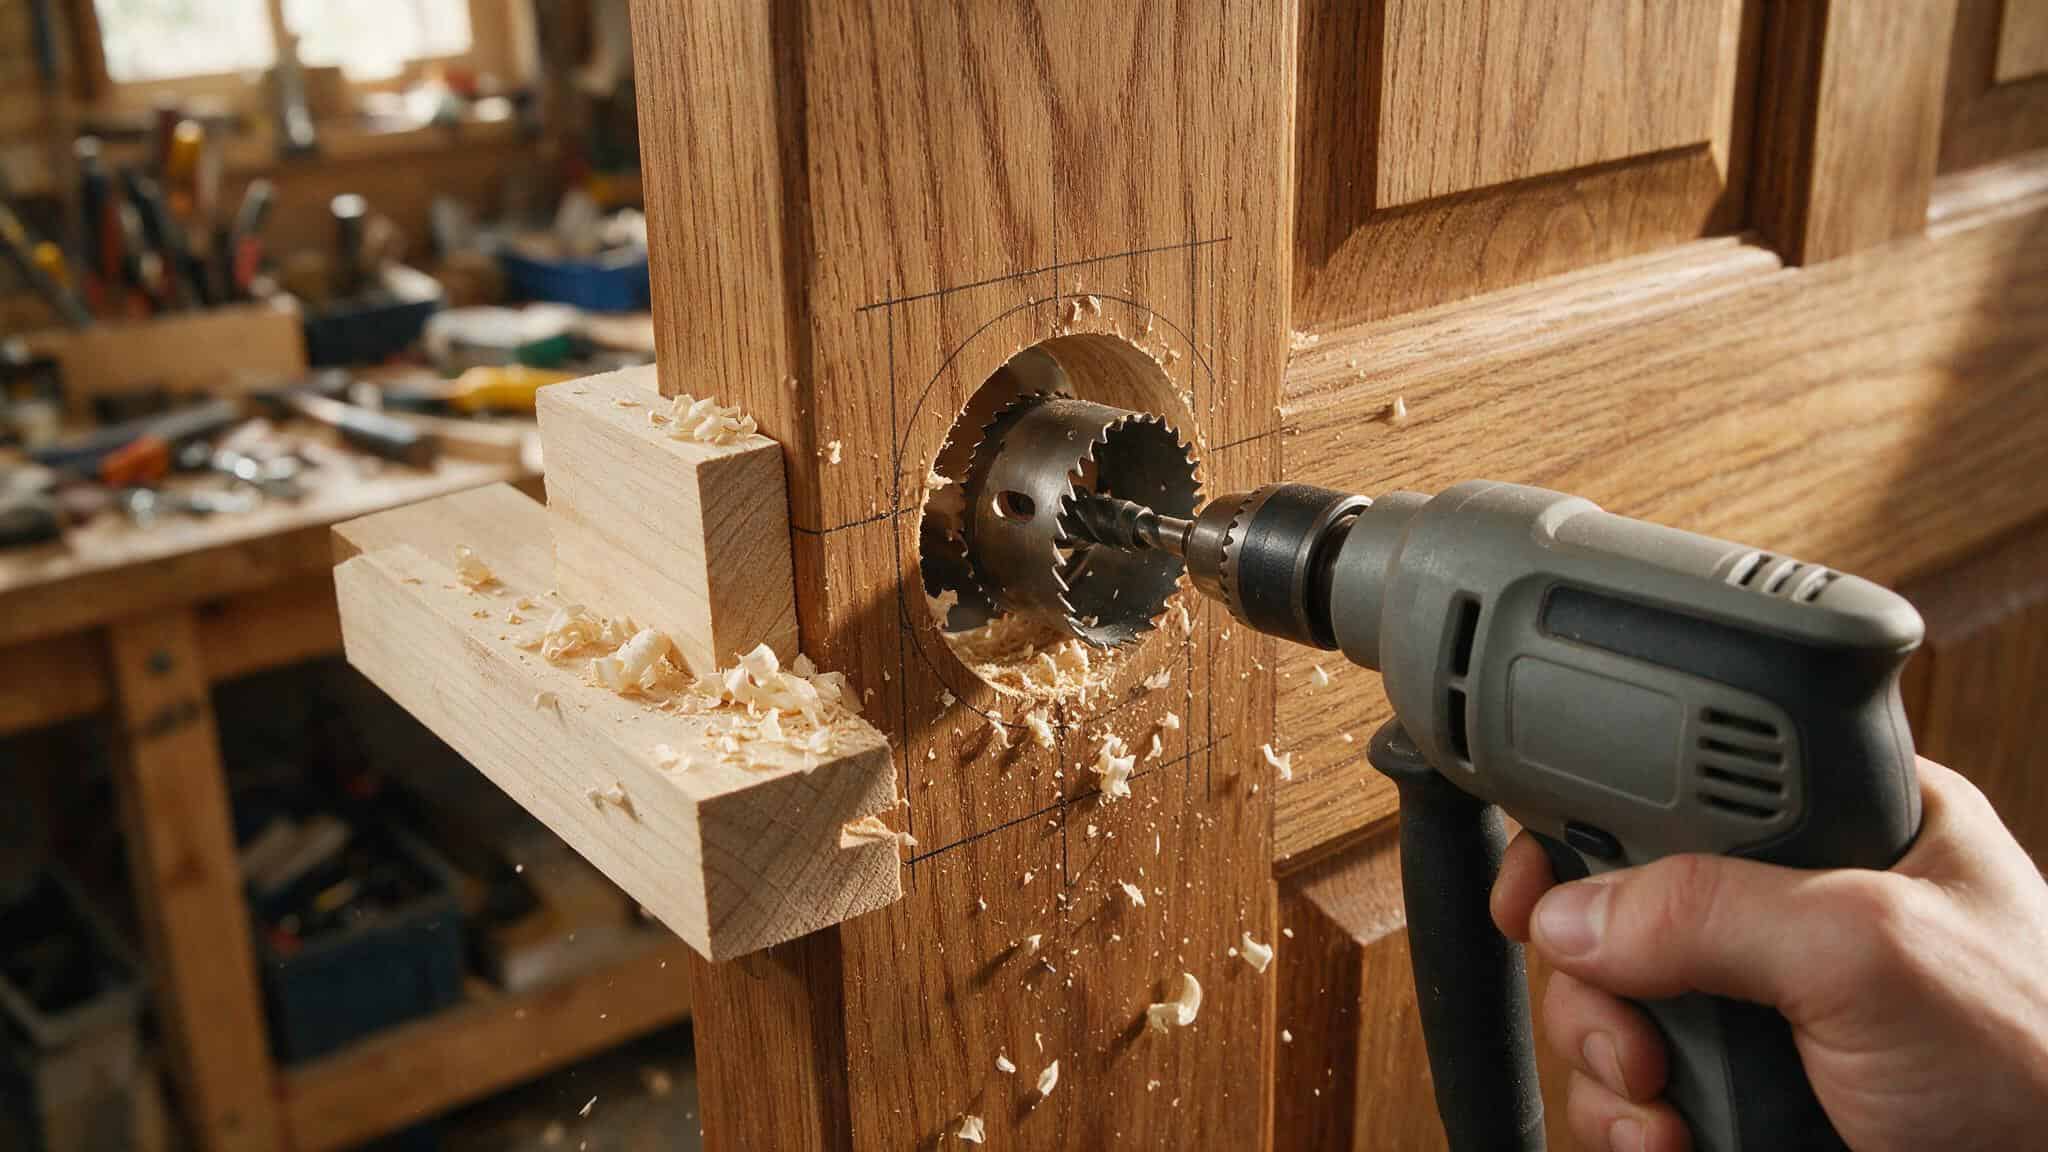
Use a 2-1/8 inch hole saw. Drill from one side until the guide bit punches through the other side, then switch to the other side and finish the hole. Drilling from both sides prevents blowout — that splintering around the hole that makes you want to start over.
For the edge bore, switch to your 1 inch spade bit. Drill straight into the edge of the door until you hit the lock bore hole. Keep the bit parallel to the door surface and centered on the stile. Reduce pressure as you break through to avoid tearing out extra wood.
Step 3: Mortise the Door Edge and Install the Latch
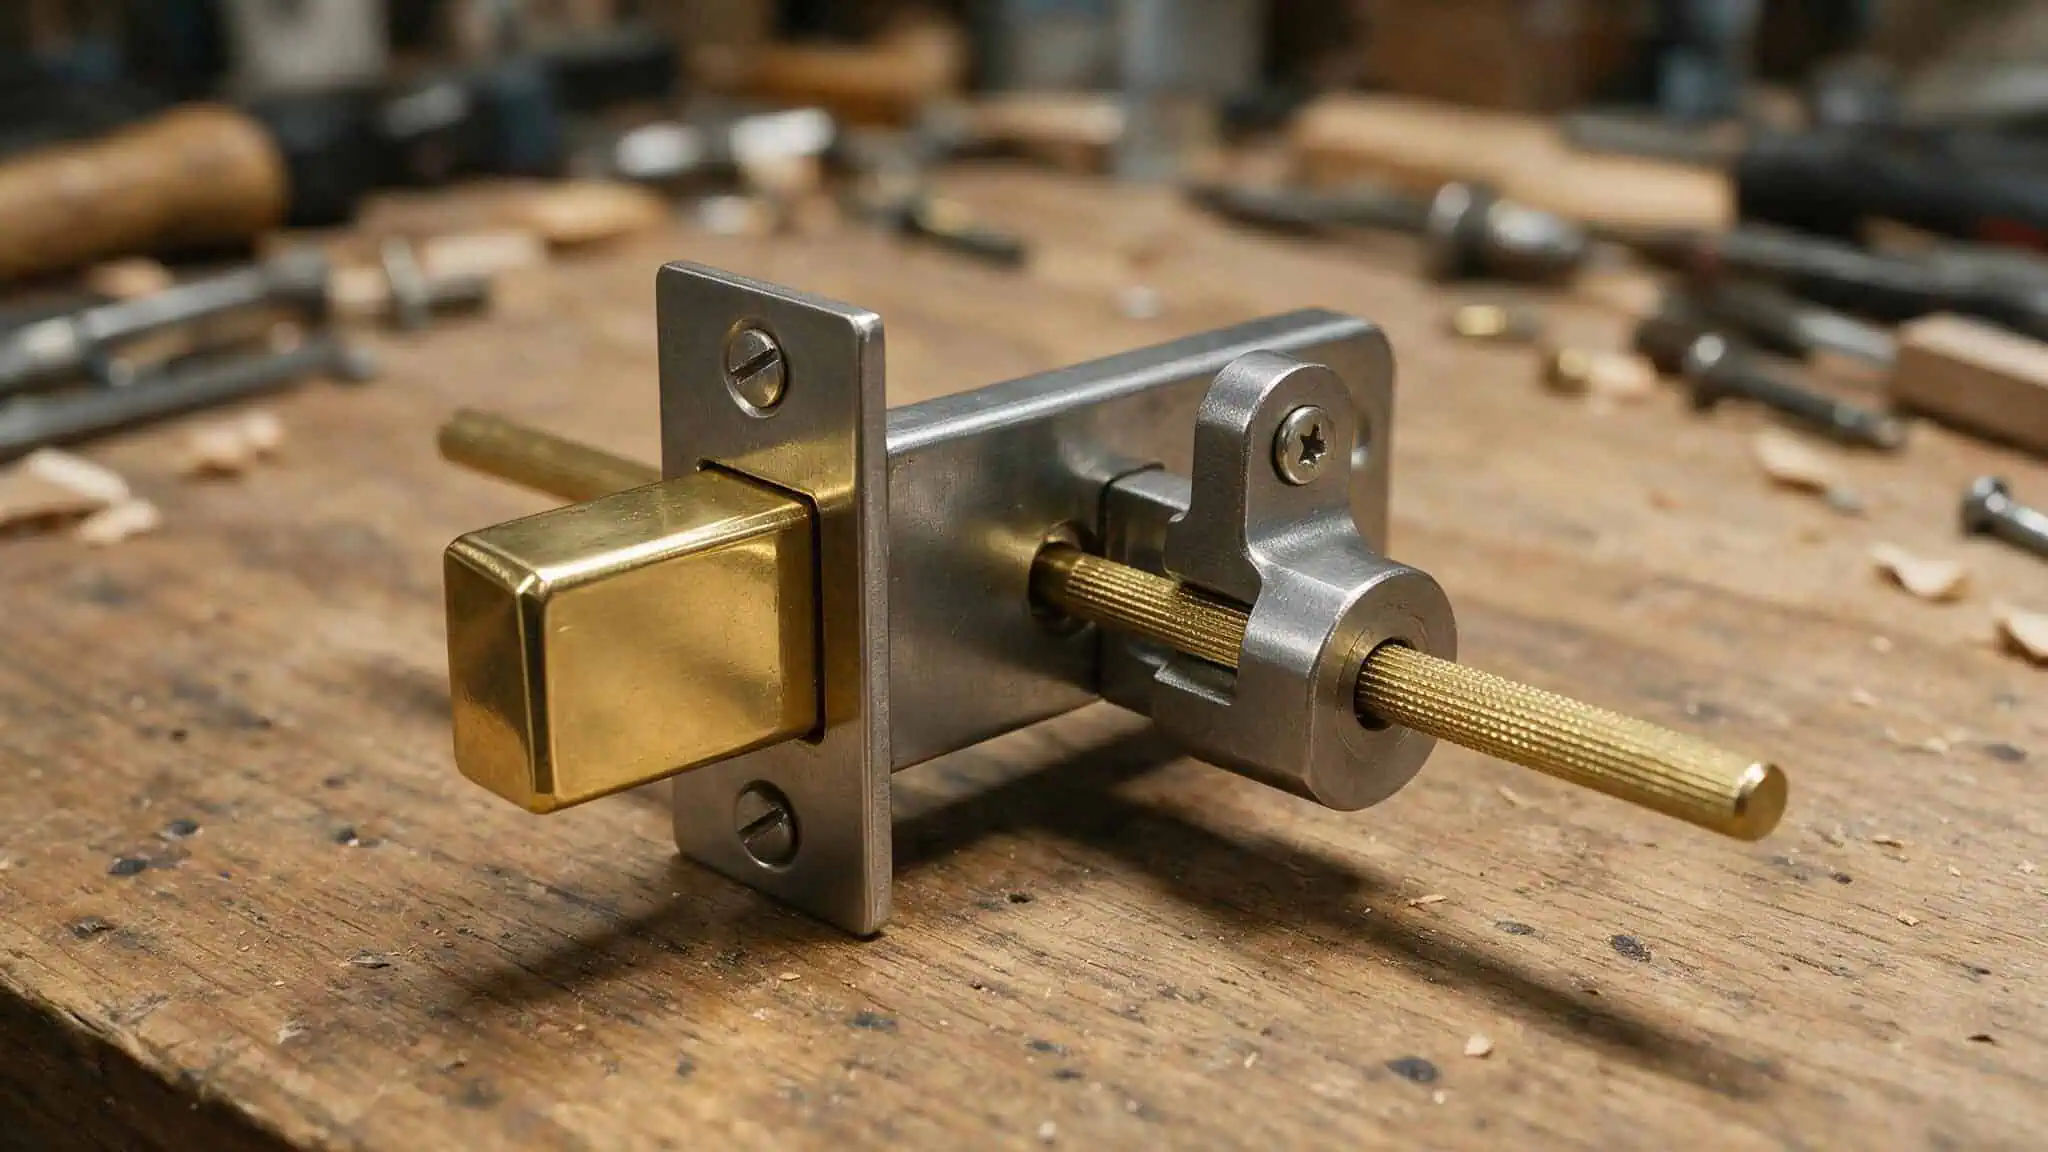
Insert the latch into the edge hole so it sits parallel to the door edge. Trace its outline, then remove it. Now you need to chisel out a shallow recess — that’s the mortise, so the faceplate sits completely flush with the door edge.
Here’s the precision part: The mortise needs to be exactly 1/8 inch deep. Not deeper, not shallower. Too shallow and the faceplate sticks out, causing the latch to bind against the strike. Too deep and the plate sits below the surface, creating a gap that rattles.
Use a utility knife to scribe the outline, not a pencil. A knife cuts the wood fibers cleanly, giving you a tight fit. A pencil line is too thick and the chisel won’t follow it precisely. Make cuts every 1/8 inch across the mortise area, then chisel from the middle outward to remove the waste. This prevents splitting beyond your outline.
Latch orientation matters: Install the latch so the wedge-shaped side of the bolt faces the direction the door closes. That wedge needs to engage the strike first — it’s what pushes the bolt back so it can slide into the hole. Install it backward and the latch won’t retract properly when you close the door.
Secure the latch with its screws. For deadbolts, install the latch in the up position as shown on the latch insert.
Step 4: Install the Lock Body
Press the exterior lock flush against the door — the part with the keyhole or keypad. Insert the lock spindle through the half-moon opening in the mounting plate, and guide the studs through the round holes against the door.
The detail that will save you from a sticking deadbolt: The torque blade — that flat metal bar that turns the mechanism, must be inserted horizontally into the latch crank. Not vertically. Not at an angle. Horizontal.
If you slide it in vertically, the thumb turn and key will bind every time you try to lock or unlock. It’s the overlooked cause of a deadbolt that feels like it’s grinding. I installed mine vertically the first time, which is exactly the kind of mistake you can avoid with a proper guide to how to install door handles.
If your knob has a vertical key slot, install it so the key goes in teeth-up.
For entry locks, there’s another step most guides skip: make sure the security pin seats properly. It’s a tiny piece inside the lock mechanism that prevents the lock from being easily bypassed. If it’s not seated, the lock can fail entirely.
Now the interior assembly. Slide it over the spindle, press it flush, and insert the screws. Use a hand-held screwdriver for the final tightening — a power driver can overtighten and bind the mechanism. You might need to twist the interior knob slightly to align it with the connector bar. It’ll click into place.
Double cylinder deadlock note: If you have a lock that uses a key on both sides, the interior torque blade inserts into the exterior blade, not the other way around. Press the cylinder flush, make sure the key hole is in the down position, and slide the thumb bar and interior rosette onto the torque blade.
Step 5: Prepare the Jamb and Install the Strike Plate
Close the door and mark where the latch hits the door jamb. You need to drill a hole for the latch bolt to slide into — 1 inch in diameter, at least 1 inch deep. You can use a 1 inch spade bit, or for cleaner results, use a 7/8 inch spade bit to drill two overlapping holes about 5/8 inch deep, then square up the sides with a chisel.
This measurement is where most people err: The strike plate mortise needs to be 1/16 inch deep. That’s half the depth of the latch faceplate mortise. If you chisel them both to the same depth, your strike plate will sit too deep and the latch won’t engage properly. Too shallow and it binds.
If you accidentally chisel too deep, cut a small cardboard shim to bring the face of the plate flush with the jamb. Nobody will know.
Hold the strike plate over the mortise, score the outline with your utility knife, and chisel it out. Drill pilot holes with a 3/32 inch bit to prevent the wood from splitting. Screw the plate in place.
Test from the inside before you declare victory. Close the door and see if the latch slides into the strike smoothly. If it drags or misses, adjust the strike position slightly — usually by filing the hole a little wider or shifting the plate.
Troubleshooting: Why Your Lock Sticks and How to Fix It
The three common installation errors:
- Torque blade not horizontal (deadbolts only). This is the #1 cause. The torque blade must sit horizontally in the latch crank. If it’s vertical, the thumb turn and key will bind. Fix: remove the interior assembly, rotate the blade, and reinstall.
- Incorrect mortise depth. If the latch faceplate isn’t flush with the door edge, or the strike plate isn’t flush with the jamb, you’ll get binding or rattling. The latch plate should be 1/8 inch deep; the strike plate should be 1/16 inch. Fix: deepen the mortise or add a shim.
- Backset misalignment. If the latch bolt doesn’t align with the strike opening, the door won’t close firmly. The catch barely reaches or the lock feels tight. Fix: adjust the strike position or file the hole slightly larger.
Check order: torque blade → latch faceplate → strike plate → backset. If everything checks out and it’s still sticking, look at the latch orientation — is the wedge side engaging the strike first? If not, rotate the latch 180 degrees.
Privacy locks (the thumb-turn kind you see on bathrooms) have their own sticking pattern. The thumb turn has to align with the latch mechanism. If the spindle is too long or too short for your door thickness, the turn feels stiff. Check your door thickness against the lock’s specifications.
Smart Lock Installation: When Your Door Already Has Holes
Smart locks fit standard existing openings.
Remove the old deadbolt — unscrew the interior portion and pull out all the components until you have a clean hole. Then install the new latch that comes with the smart lock. If it looks too short, turn it to adjust the length.
Install the exterior keypad, feeding the cable through the opening under the latch. Connect the wiring harness from the keypad into the interior receiver unit. Tuck the wires away, align the assembly, and screw it in place.
Install batteries, open the companion app, scan the QR code on the lock, and follow the prompts. You’ll be creating custom access codes for the babysitter or the neighbor who’s feeding your cat in minutes.
Smart lock installations take 10 to 25 minutes. You’ll need a screwdriver, a drill just in case, and a smartphone. The kits come with heavily illustrated instructions — they know you’re not a pro.
A quick note on smart lock options: The Ultraloq Bolt Fingerprint is a top pick with a 4.5-star rating. The August Wi-Fi Smart Lock is a retrofit — it replaces just the interior thumb turn so you keep your existing keyed lock. The Lockly Visage Zeno Series uses facial recognition, which is pricey. Range from around $100 to over $200. For a full comparison, check our guide to smart locks for front doors.
When You Don’t Have a Template
Lost the template that came with the lock? No problem. Measure the backset from the door edge and mark the center at 36 inches (or wherever you want the knob to land). Use a square to make sure your edge bore mark lines up vertically with the face bore mark. Then drill as usual — the template is convenient, but a square and a tape measure work just fine.
Final Checks
Close the door and test the knob, deadbolt, or privacy lock from both sides. The latch should slide into the strike without resistance. The deadbolt should extend and retract fully with no binding. The key or thumb turn should rotate smoothly.
Run the checklist: torque blade horizontal, latch faceplate flush, strike flush, backset correct. Those four checks solve post-installation sticking problems.
If you’re installing door handles instead of deadbolts, the process is similar but the measurements differ slightly. Our guide to installing door handles walks through the specifics, including alignment tricks for privacy levers and keyed entry sets.
Frequently Asked Questions
How to install a door lock mechanism?
Start by adjusting the latch backset to match your door (2-3/8 or 2-3/4 inches). Mark and drill the bore holes using a template, then chisel a 1/8-inch deep mortise for the latch faceplate. Install the lock body, ensuring the torque blade is horizontal for deadbolts, then mount the strike plate with a 1/16-inch deep mortise. Test the lock and adjust if it sticks.
How to fix a door latch assembly?
If the latch sticks or doesn’t retract, check the torque blade orientation (must be horizontal for deadbolts) and verify the latch faceplate is flush with the door edge (1/8-inch mortise). Also confirm the strike plate mortise is 1/16-inch deep. If the latch binds, adjust the backset or file the strike hole slightly wider.
What’s the difference between entry lock and deadbolt backset adjustment?
For entry locks, depress the latch and slide the extension piece to the 2-3/4 position until it clicks. For deadbolts, retract the latch bolt, rotate the faceplate toward you, and pull it away once the notch lines up. Don’t mix the methods—they use different mechanical motions.