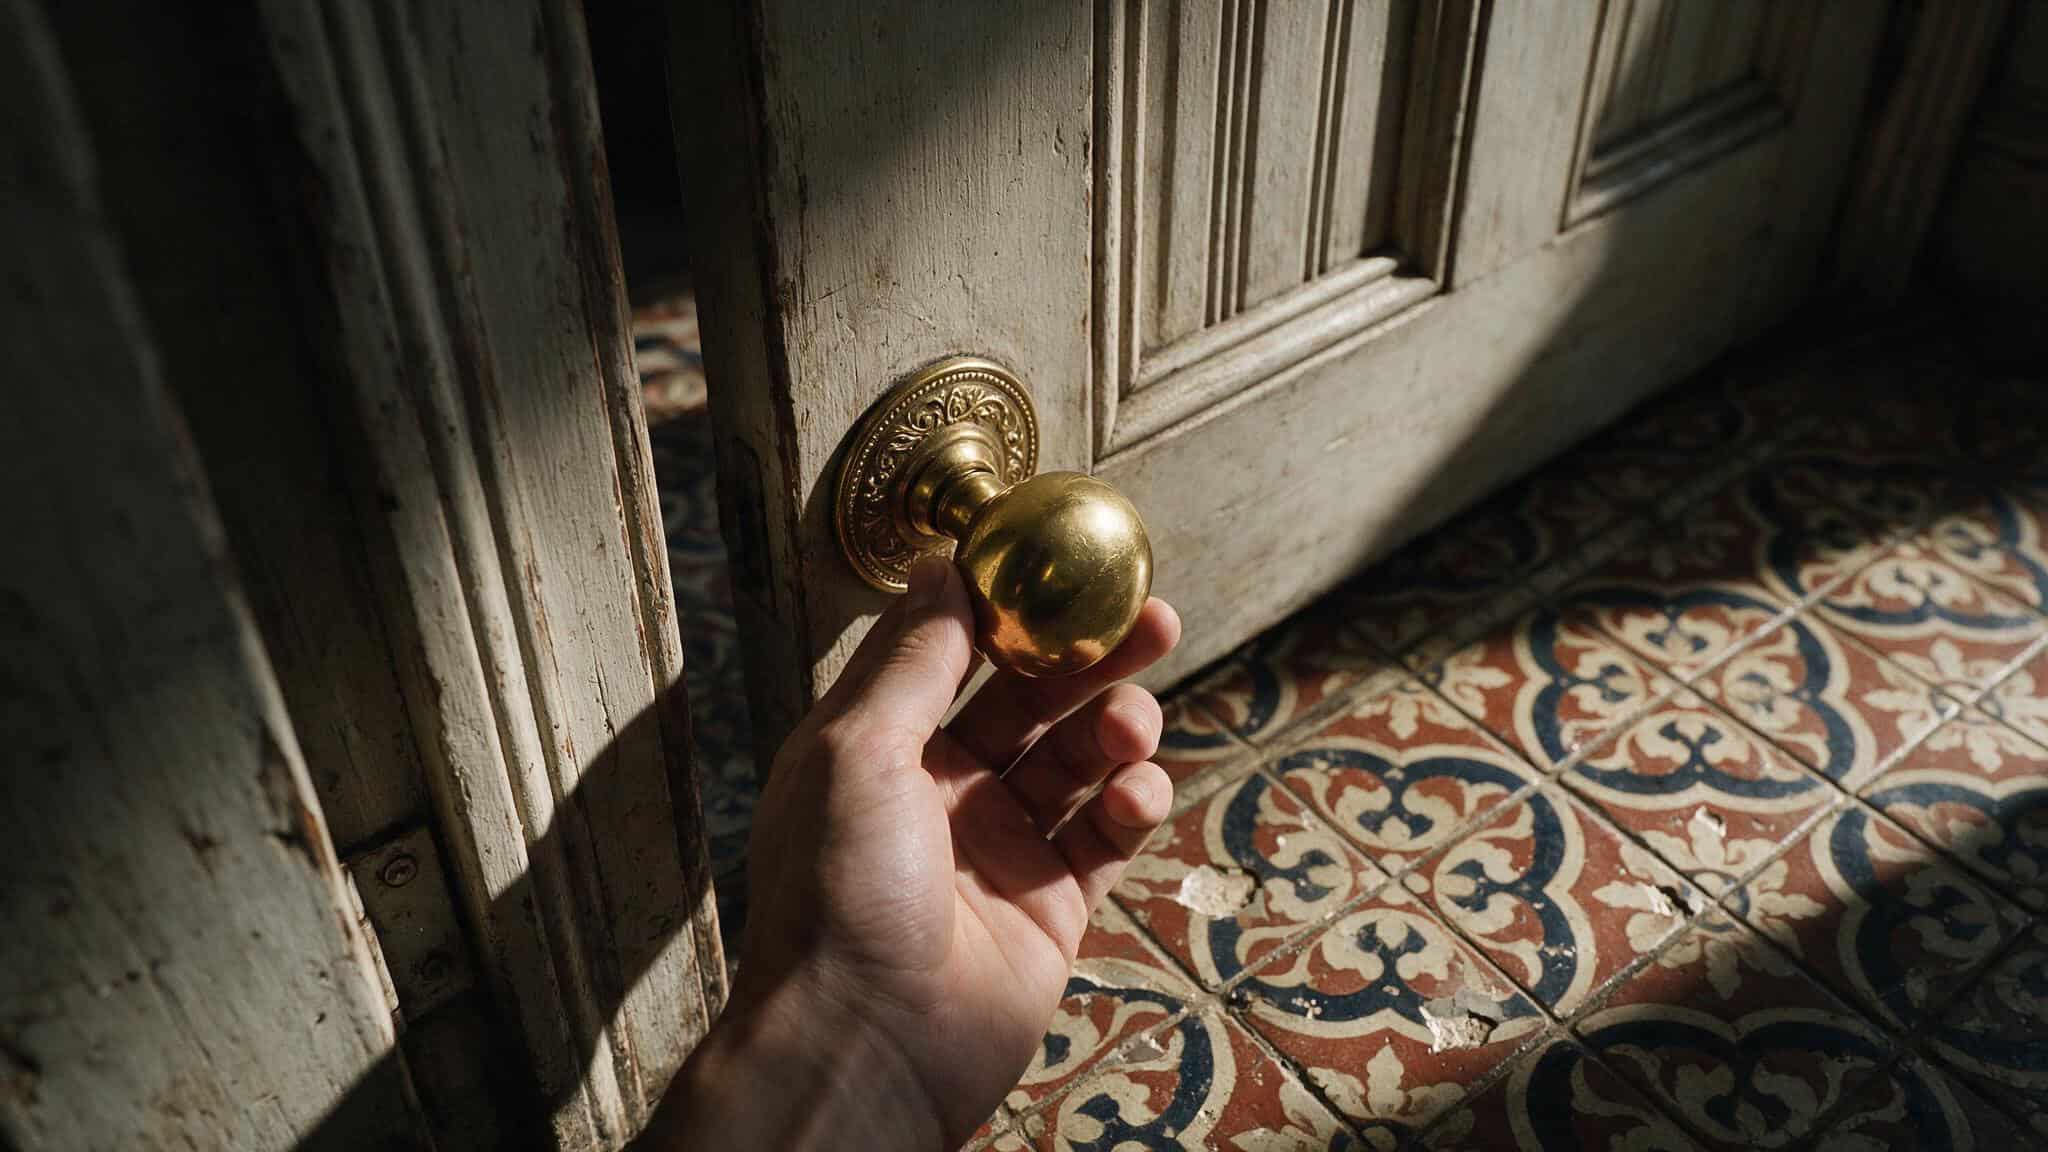
I was replacing a privacy door knob in the bathroom, and my spouse was helping me remove the old one. They knocked it off a little too enthusiastically. The knob hit the tile floor. The knob broke. The tile chipped.
So now I’m the person who puts thick rugs or towels down on both sides of the door before touching anything. I’m also the person who installed the latch backwards and had to move the whole knob to a different door while waiting for a video from Kobelle to undo my mistake.
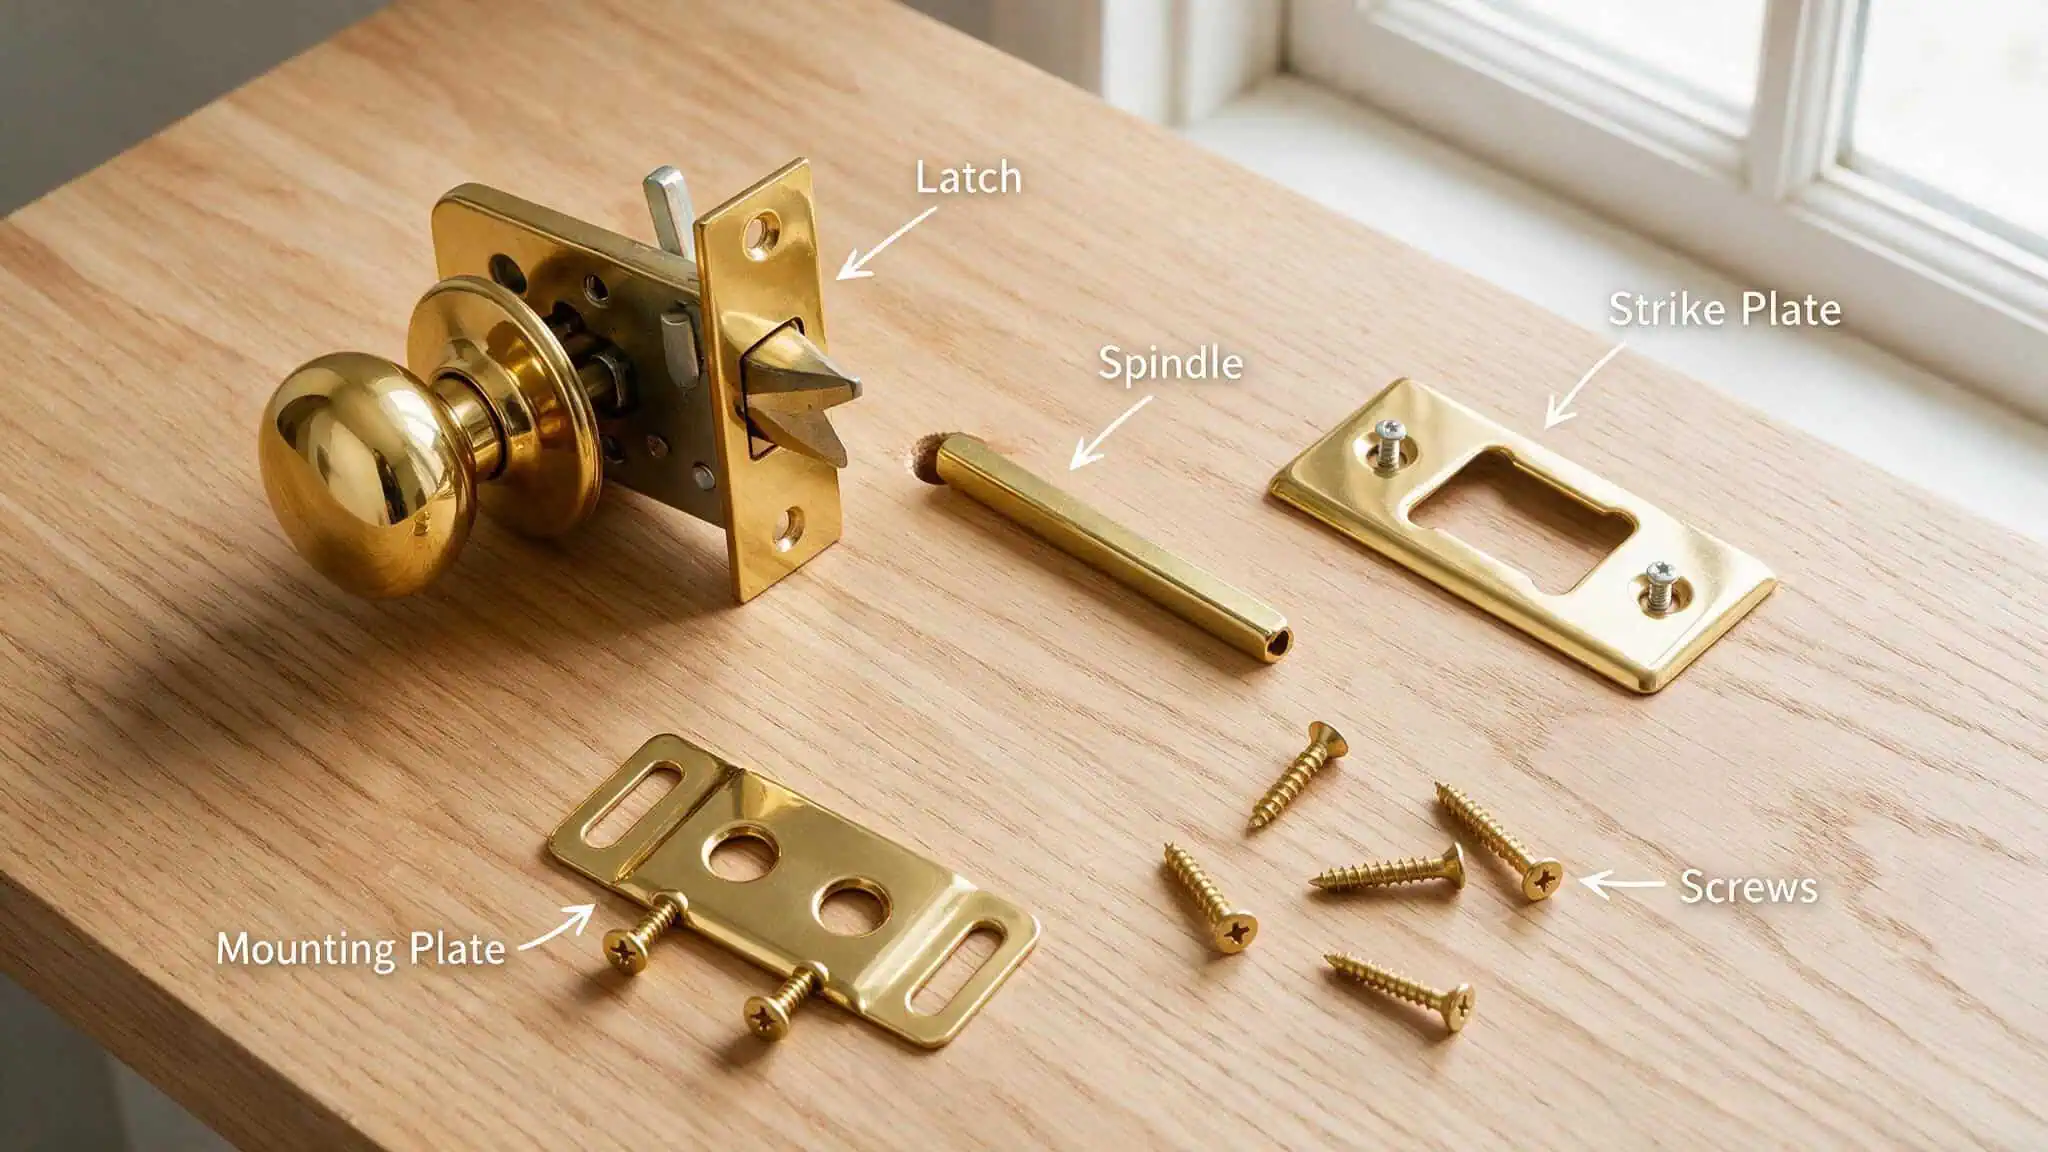
I am not a door knob expert. But I am someone who figured it out the hard way, and I drew up a labeled diagram because I needed to see how all the parts fit together before it made sense. The Kobelle folks sent me a video after I explained my latch orientation screw-up, which was great customer service. But before that video arrived, I swapped my backwards knob with a different door that opened inward. Desperate times.
Key Takeaways
The latch bevel must face the door jamb — install it backwards and the door won’t close, which I can confirm from personal experience
Put down thick rugs or towels on both sides before you start; dropping a knob can chip tile or damage wood floors
Test the lock about 5 times with the door open before closing it, and have someone else home in case it sticks
Table of Contents
Choosing the Right Door Knob
Before you even open the package, make sure you bought the right type.
Passage knobs don’t lock. The handle just turns the latch. These are for hallways and closets where you never need privacy.
Privacy knobs lock from the inside, usually with a push-button or a little turn. These go on bathrooms and bedrooms. That tiny hole on the outside is for emergency unlocking with a pin.
Dummy knobs don’t actually turn. They’re decorative — just for pulling the door shut or pushing it open. No latch mechanism at all.
Keyed entry knobs need a key on the outside. Exterior doors only.
A single dummy is one knob on one side of the door, nothing on the other. Good for a pantry or a reach-in closet where you only need a pull from one side. A double dummy is two knobs, one on each side, but neither turns. That’s for double doors or walk-in closets where you want matching pulls on both sides.
So if you’re changing the bathroom door, grab a privacy knob. Hallway closet? Passage. French doors?
Double dummy. Simple enough.
Parts & Measurements (With Diagram)
When you open the box, here’s what you’re looking at. I’ve labeled these so you can match them to what’s in your hand:
- Latch mechanism — the spring-loaded part that slides into the door frame to keep the door closed
- Spindle — the rod that connects the two knobs through the door and turns when you turn the knob
- Strike plate — the metal plate on the door jamb where the latch goes
- Mounting plate — sits flat against the door face under the knob (some people call it a rose)
- Rubber ring — on my knob, this slid into a niched groove on the spindle to keep everything secure
- Screws and connectors — the bits that hold it all together
My knob had that rubber ring retention detail, but yours might not.
The measurement you absolutely need to get right
Backset is the distance from the edge of the door to the center of the bore hole (the big round hole where the knob goes). Measure it before you buy anything.
Standard sizes are 2 3/8″ or 2 3/4″. The 2 3/8″ is more common on interior doors.
On a ruler, 3/8″ falls between 1/4″ and 1/2″. It’s smaller than 3/4″. If you’re squinting at fractions wondering where 3/8″ lives, that’s it — right in the middle of those two smaller marks. Grab a pencil and mark it if you need to.
Tools you’ll need
Phillips screwdriver (you probably already have one), measuring tape, and the little Allen wrench that came in the package. Don’t lose it — it’s easy to misplace and you’ll need it for the set screw.
Step 1: Protect Your Floor
Put something down before you touch anything.
My spouse knocked the old knob off, it broke, and it chipped a bathroom tile. That’s a repair I didn’t budget for. So now I lay thick rugs or towels on both sides of the door before I start, or I consult a guide on how to install door knob without hole if I ever need to tackle a door from scratch. Door knobs are heavy. If one drops, it can damage tile, wood, or whatever’s below.
If you’re working on a tile floor, be extra careful. Dropping a screwdriver can crack a tile. Cover the area and save yourself the headache.
Step 2: Remove the Old Door Knob
This part is straightforward, but don’t rush it.
- Use a Phillips screwdriver and turn left (counter-clockwise — “lefty-loosey”)
- Hold the knob with one hand as you loosen the screws so it doesn’t fall
- Pull the inside knob off the spindle, then the outside knob
- The spindle might be separate from the knobs — that surprised me the first time
- Remove the latch by loosening the latch plate screws and pulling it out
If the old hardware fights you, don’t force it.
Step 3: Attach the New Door Latch (Most Critical Step)
Insert the latch into the edge bore hole, attach the latch plate, and secure it with screws. Sounds simple, right? But how to install a door knob with a decorative backplate or rose to align it perfectly and avoid a wobbly fit? right?
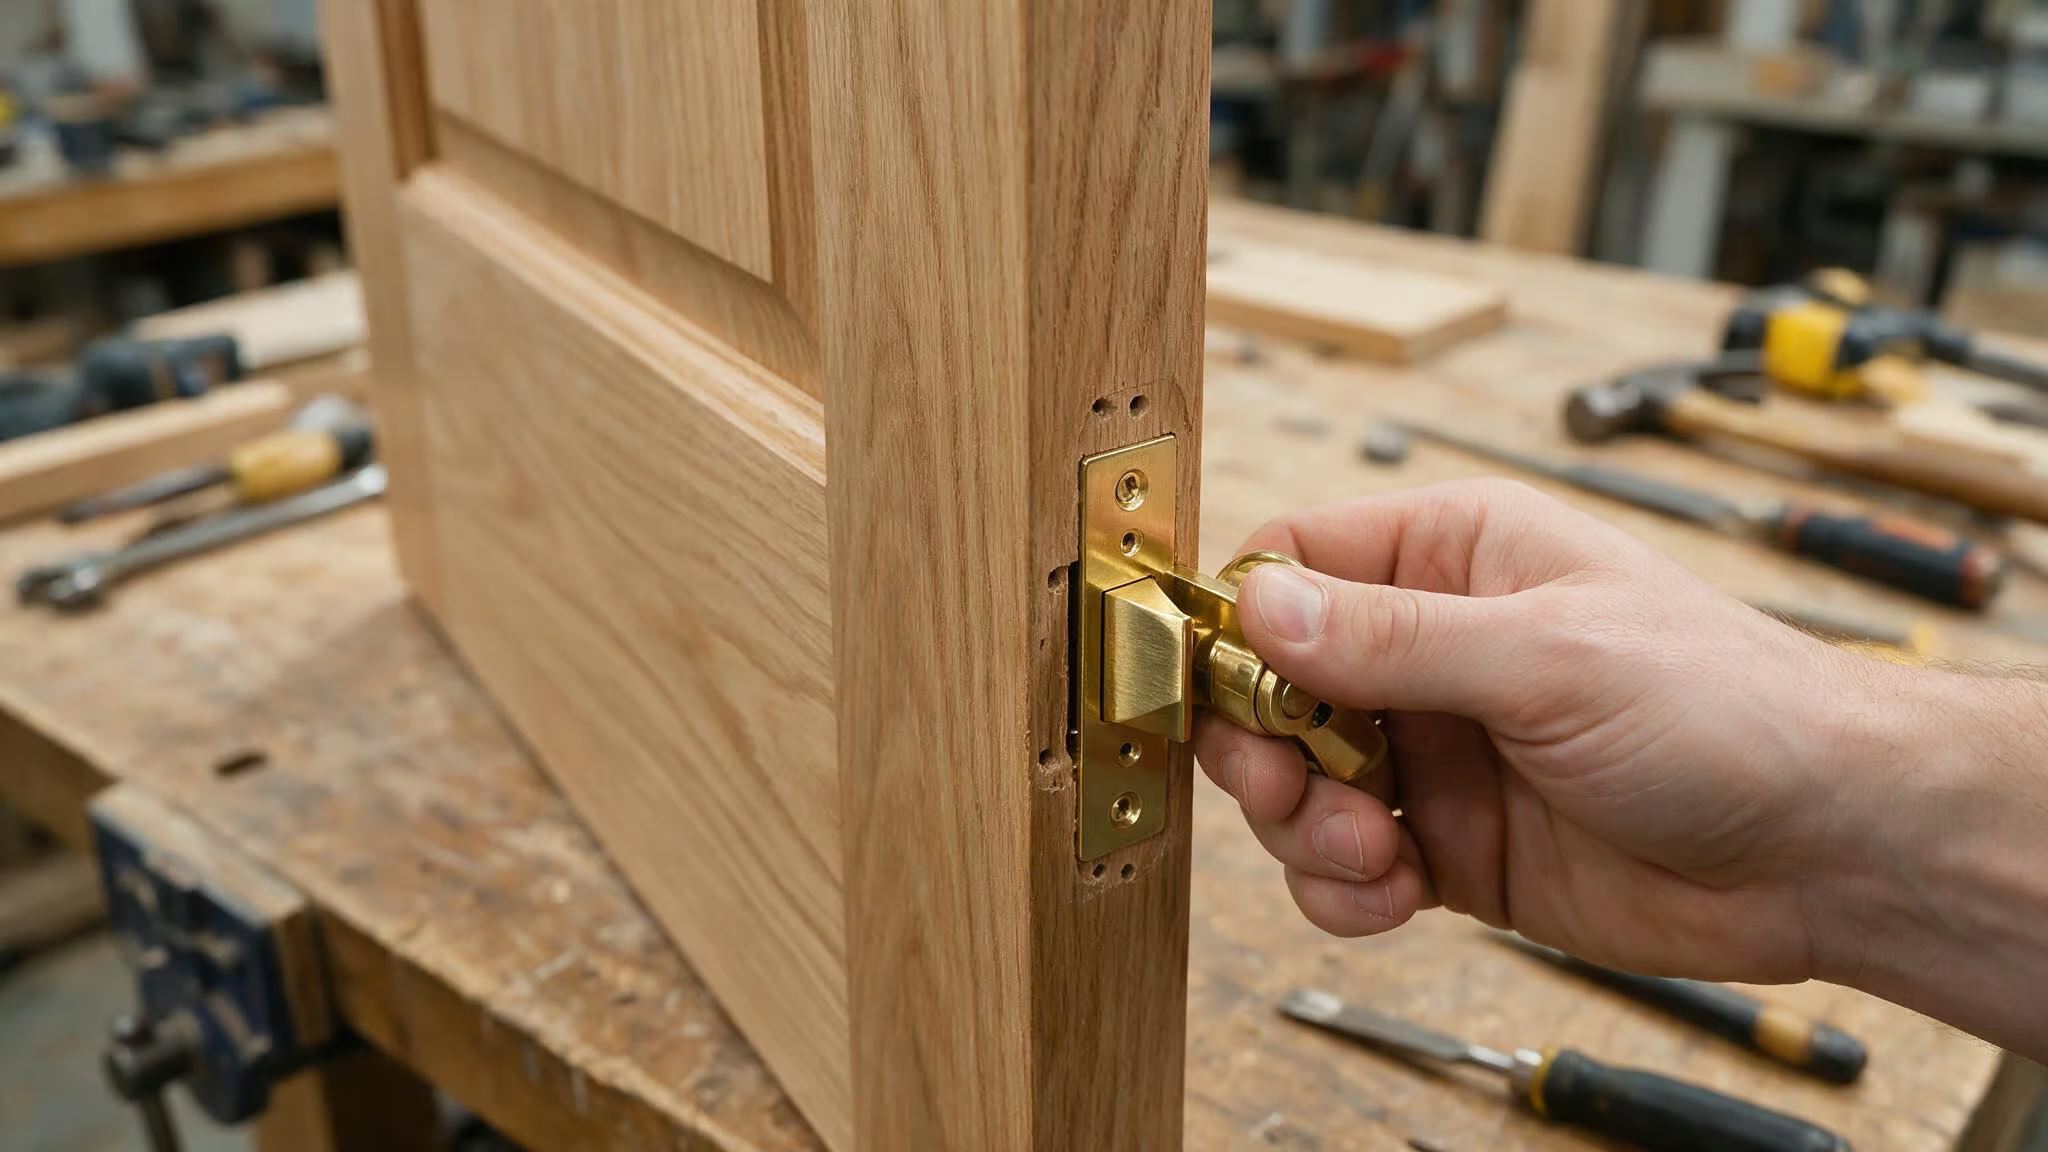
THE BEVEL MUST FACE THE DOOR JAMB.
The latch tongue has a slanted side and a flat side. That slanted side needs to face the door frame so the latch slides in smoothly when the door closes. If it faces the wrong way, the door won’t close properly.
I installed it backwards because the directions assumed an inward-opening door, but mine opens outward. The diagram in the package showed one orientation, and I followed it without thinking about which way my door swings. That’s how I ended up contacting Kobelle, who sent me a corrective video. Solid customer service, but I’d rather have gotten it right the first time.
Before you screw anything in, do a latch reversal check. Push the tongue and see which direction it retracts. If it’s not facing the jamb, fix it now. Some latches are reversible by twisting the whole mechanism; others require you to flip the latch around. If you need a full walkthrough, check out this step-by-step guide on how to install door handles before you tighten anything.
Step 4: Attach the Spindle and Mounting Plate
Now the mechanical assembly.
Insert the spindle from the outside of the door through the latch. Half of it should be visible on the inside with a niched groove showing.
Here’s where that little rubber ring comes in. On my knob, I slid it into the niched groove on the spindle to keep the spindle from slipping out. Don’t lose it — it’s what keeps the whole thing from falling apart. Your knob might have something similar, or it might use a different retention method. Just pay attention to what’s in your package.
Attach the mounting plate over the spindle on the outside of the door. Connect the outside knob using whatever connectors came with your set.
Step 5: Attach the Inside Knob and Secure with Set Screw
That little hex key that came in the package? You need it now.
Slide the inside knob onto the spindle from the inside of the door. Use the Allen wrench to tighten the set screw on the side rim of the inside knob.
Don’t over-tighten. You can strip the threads or damage the finish. Snug is enough.
Step 6: Test the Lock and Replace the Strike Plate
Test the lock about 5 times with the door open before you close it. Watch the latch engage and retract smoothly each time. Have someone else home when you do this — if the lock sticks and you’re alone on the wrong side of the door, you’re in for a bad afternoon.
Once you’re confident it works, close the door and test it again. Then open and test a few more times.
About the strike plate
I chose to replace the strike plate even though the old one could have stayed. It made everything match and feel complete. But that’s a choice, not a requirement. If you’re short on time, leave the old one in place.
If the new strike plate doesn’t align with the latch, you might need to chisel the mortise (the recess in the door frame) a little deeper.
Common Mistakes Summary
Here’s everything to watch for, all in one place:
- Latch bevel must face the door jamb — most common, most costly mistake
- Spindle must be secured — with the rubber ring or whatever retention method your knob uses
- Don’t over-tighten screws — strips threads or damages the finish
- Misaligned strike plate — prevents the latch from engaging, so check alignment before you commit
- Test lock with door open before closing — save yourself a lockout
- Protective floor covering — prevents tile or floor damage from dropped hardware
Final Word for Beginners
I installed the latch backwards and had to move the whole knob to a different door while waiting for a corrective video. Mistakes are normal. I made several, and the door still works fine.
I’ve now added “door knob installer” to my DIY repair-woman resume. It takes 15 to 30 minutes with basic tools and a clear diagram. This guide exists so you don’t make my same mistakes.
Grab a Phillips screwdriver, put down some towels, and take it one step at a time.
Frequently Asked Questions
Is there a trick to installing door knobs?
Yes, the biggest trick is getting the latch bevel right — the slanted side must face the door jamb so the latch slides in smoothly when the door closes. Also, put down thick rugs or towels on both sides before you start to protect the floor from dropped hardware, and test the lock about five times with the door open before closing it.
What are common doorknob installation mistakes?
The most common mistake is installing the latch backwards so the bevel faces the wrong way, which prevents the door from closing properly. Other frequent errors include over-tightening the set screw (which can strip threads or damage the finish), misaligning the strike plate so the latch won’t engage, and forgetting to secure the spindle with the retention ring or similar mechanism.
What are the parts of a door knob assembly?
A standard door knob assembly includes the latch mechanism (the spring-loaded part that slides into the door frame), the spindle (the rod connecting the two knobs), the strike plate (the metal plate on the door jamb), the mounting plate or rose (which sits flat against the door face), and the knobs themselves. Some sets also include a rubber ring or similar retention detail to keep the spindle secure.
What is the difference between a passage knob and a privacy knob?
A passage knob doesn’t lock — the handle just turns the latch, making it ideal for hallways and closets where privacy isn’t needed. A privacy knob locks from the inside with a push-button or turn, and has a tiny emergency release hole on the outside, so it’s meant for bathrooms and bedrooms.