Standing in the hardware store aisle, staring at the rack of door knobs, I had two distinct thoughts. First: this is great. We are finally adding a door to the playroom. Second: I have no idea what I’m doing.
A blank slab of wood, a weekend, and no pre-existing holes.
Installing a door knob from scratch is about prep. Budget 2-3 hours for your first time (the pros say an hour, but let’s account for cleanup and double-checking). I’m going to walk you through the whole thing, including the mistakes I made so you don’t have to.
Key Takeaways
Lock in your measurements before you buy anything. Know your backset (typically 2 3/8″ or 2 3/4″), your bore diameter (2 1/8″), your latch bore (1″), and your door thickness. A door knob installation jig—a $10–$50 tool—eliminates guesswork. Paper templates are free but cost you hours of time and frustration.
Drill smart to keep the door looking good. Start with a 1/8″ pilot hole 1″ deep. Drill from one side until the pilot bit breaks through, then finish from the opposite side to prevent splintering. For the latch hole, keep the drill perfectly parallel to the door face and centered in the edge.
The pro finishing touches make it last. Start screws by hand to avoid cross-threading. Use a graphite pencil on the latch to perfectly position the strike plate. Putting a drop of Loctite Threadlocker Blue on the set screws keeps them from loosening. Then wait 24 hours before regular use to let everything settle.
Table of Contents
Before You Begin: Picking Your Hardware and Getting the Lingo Straight
First, figure out what kind of knob you actually need. Dummy sets are the non-turning handles you see on closet doors—they look like a knob but don’t latch. Entry sets have a keyed lock for exterior doors. Passage sets are basic interior knobs with no lock.
Privacy sets lock from the inside with a push button, perfect for a bedroom or bathroom. This guide assumes solid wood doors. If you have hollow core doors, you’ll need different techniques (e.g., using toggle bolts) and professional installation costs vary.
Now grab a tape measure. You need four numbers:
- Backset: The distance from the door edge to the center of the knob hole. Almost always 2 3/8″ or 2 3/4″.
- Bore diameter: The size of the main hole. Almost always 2 1/8″.
- Latch bore: The hole on the door edge. Almost always 1″.
- Door thickness: Interior doors are usually 1 3/8″. Exterior doors are usually 1 3/4″.
As for height, the standard is 36 inches from the floor. Some guides say 38 inches. Anywhere in the 36–38 inch range works. We went with 36. Just pick a number and stick with it.
Bottom line: The single most important measurement is your backset — measure it twice before you buy anything.
What You Need (And Why You Shouldn’t Skip the Jig)
Let’s get your gear together.
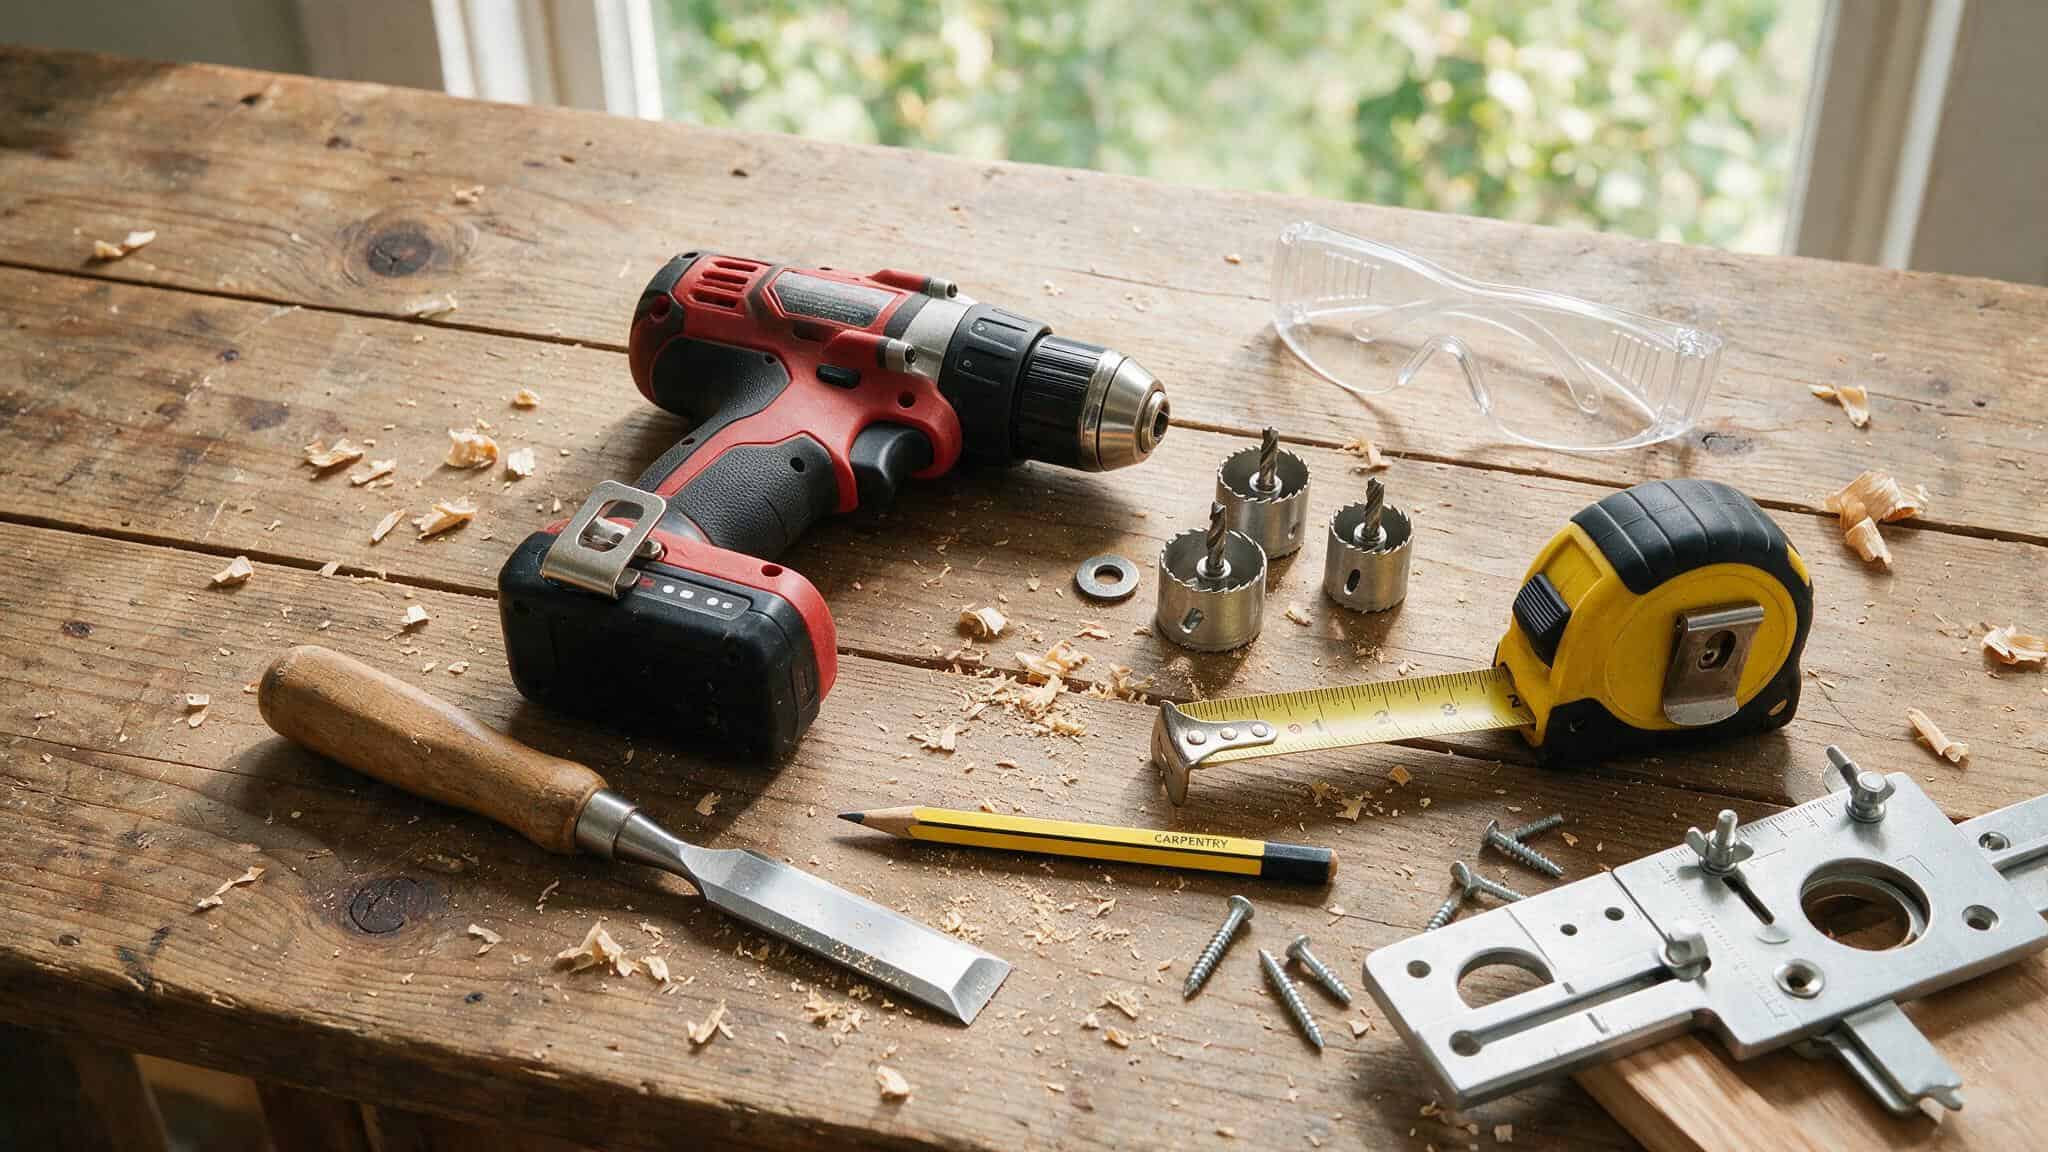
- Tools: Drill/driver (cordless is fine), 2 1/8″ hole saw, 1″ hole saw, chisel, door knob installation jig, tape measure, pencil, screwdriver, 1/8″ drill bit, vacuum cleaner.
- Safety: Safety glasses and a dust mask. Don’t skip these.
- Nice to have: Loctite Threadlocker Blue (Norm Abram’s secret to keeping set screws tight), wood filler, painter’s tape, matching paint or stain.
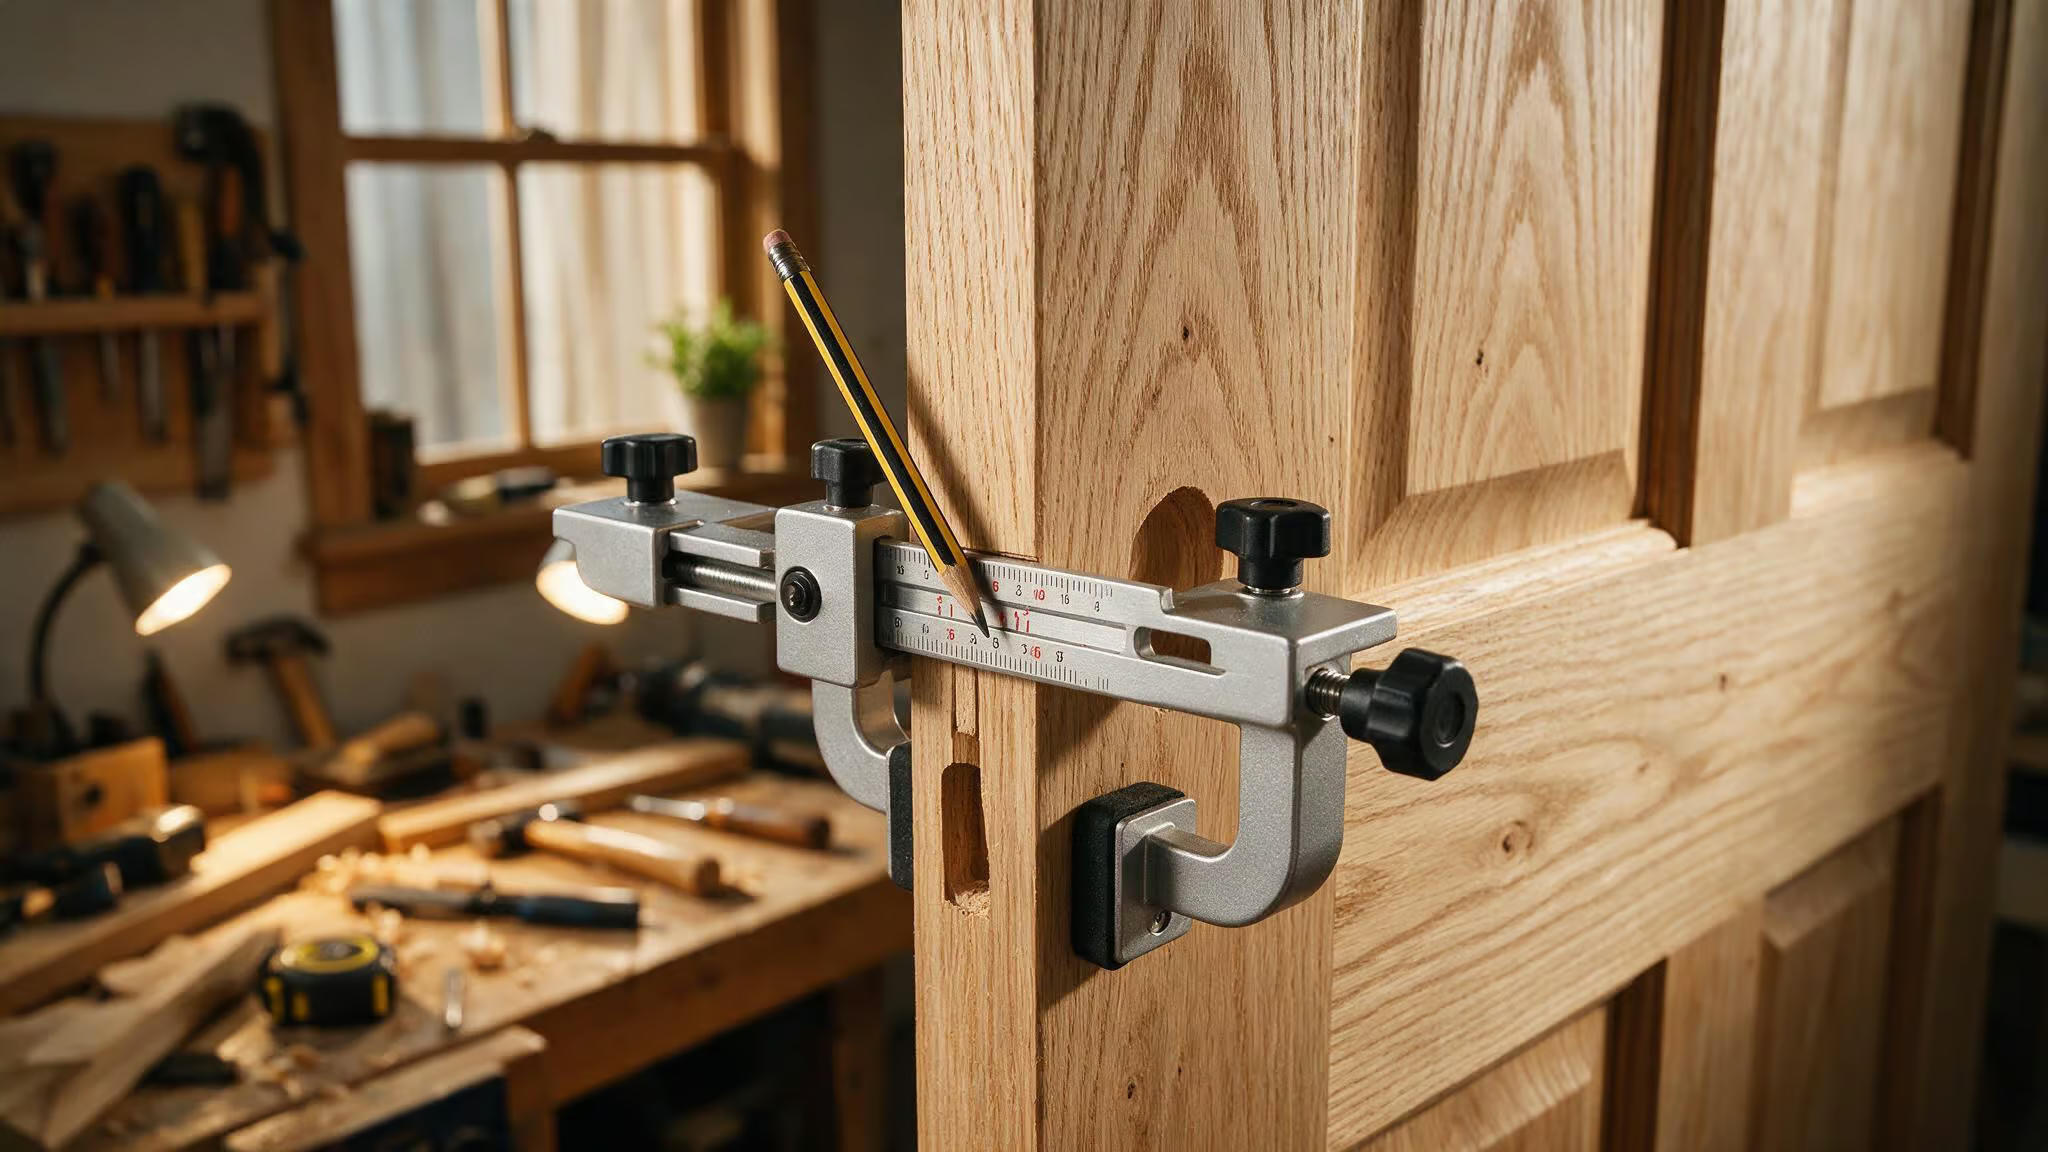
The jig is the tool you might be tempted to skip. Don’t. It’s a plastic or metal guide that clamps onto your door and shows the drill where to go. It turns an hour of measuring and aligning into a 30-second setup, but if you’re working with older or uneven wooden doors, you’ll want How to install a door handle on a wooden door for tips on drilling into solid wood without splitting. Buy the jig.
Step 1: Measure and Mark (This Is the Whole Ballgame)
Accurate marking is 90% of this project. Here is how to do it without second-guessing yourself.
Start with a clean door. Dust and grime will mess up your pencil lines. Wipe it down.
The Jig vs. Going Rogue
This is the moment the jig proves its value. Set it to your backset measurement, line it up with your height mark, and secure it. You are ready to drill in under a minute.
If you don’t have a jig, you’re making a cardstock template. One review of a popular jig described the tradeoff: the jig costs around $46 (or $48 on a weird Amazon pricing day) and is accurate.
The cardstock is free, but the frustration is real. For a single door, careful measuring with a cardstock template can work, but for consistency across multiple doors or if you value your time, the jig is worth it.
One warning about the jig: some arrive disassembled with no instructions. You’ll need to track down a setup photo online or a guide on how to install door handles. Also, it has a center reference hole you probably aren’t using. Cover it with painter’s tape so you don’t drill a hole in the wrong spot. I learned that one the hard way.
Marking Your Door
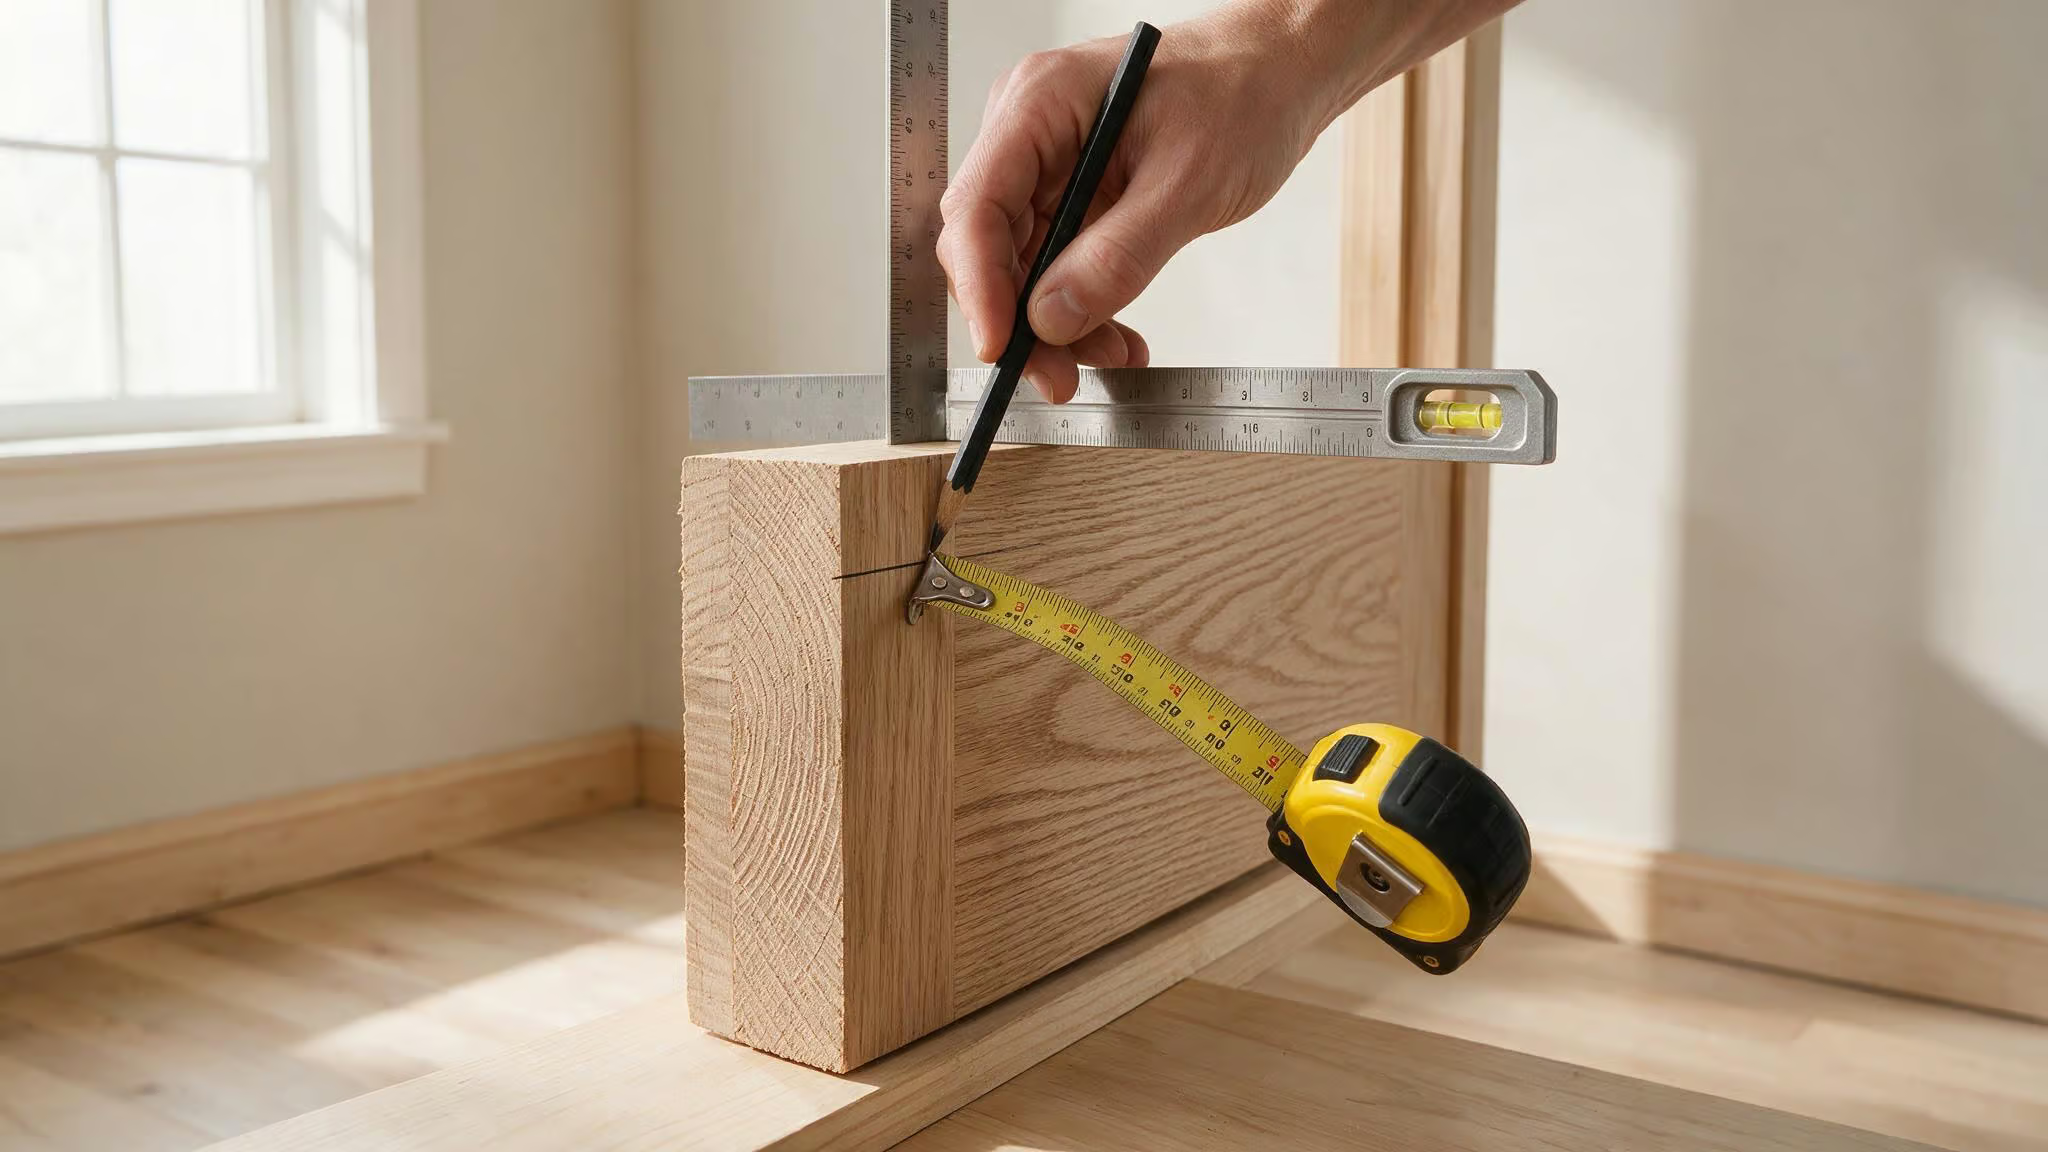
- Mark the height. Measure 36 inches up from the floor (or wherever you decided). Mark it clearly on the face of the door.
- Mark the backset. From the edge of the door, measure in 2 3/8″ or 2 3/4″ at the height mark. This is the center of your knob hole.
- Mark the edge. Carry that height line over to the door edge using a square. Mark the center of the door thickness.
Step 2: Drilling the Holes (Without Splintering the Door)
Time for the noisy part. Put on your safety glasses and dust mask.
- Pilot holes. Use the 1/8″ bit to drill a pilot hole about 1 inch deep at every mark. This guides your big bits and prevents them from wandering.
- Main hole (2 1/8″). Attach the hole saw. Drill from one side until the pilot bit barely pokes through the other side. Stop. Go to the other side, insert the pilot bit into the hole it made, and finish drilling from that side. This avoids splintering the wood on your show face.
- Latch hole (1″). Switch bits. Drill into the door edge. Norm Abram’s rule: keep the drill perfectly parallel to the door face and centered in the door’s thickness. If you go in crooked, the latch won’t line up with the knob.
Field note: The “drill from both sides” trick is what separates a clean install from one you’ll have to fill and redo.
Step 3: Putting It All Together (The Satisfying Part)
Now you get to see it working.
Latch plate. Place the plate over the 1″ hole, trace it, then chisel a shallow recess so the plate sits flush with the door edge. Test-fit until it’s perfectly flat.
Insert the latch. Slide it into the edge hole. The beveled side of the latch must face the direction the door closes. Screw the plate in.
Mount the knobs. Exterior knob through the main hole from the outside. Interior knob on the other side. Nathan’s tip: start all screws by hand.
It prevents cross-threading. Tighten them, but don’t strip them.
The strike plate. Rub a pencil or graphite stick on the latch. Close the door. The mark left on the jamb is your guide. Chisel out a recess for the plate and screw it in.
Loctite. Norm Abram suggests putting a drop of Loctite Threadlocker Blue on the set screws. It holds them tight but releases if you need to adjust. Worth it.
Step 4: Making It Look Like You Knew What You Were Doing
Take a look at your work. Any gaps around the hardware? Fill them with wood filler. Let it dry, sand it smooth. Tape off the knobs and paint or stain the patched areas.
Then comes the hardest part: the 24-hour wait. Frelan Hardware recommends letting the knob sit for a full day before regular use. It gives the latch and screws time to settle in. I know you want to swing the door immediately.
It’s worth the wait. Makes everything solid.
What to Do When (Not If) Something Goes Wrong
Even a careful install can act up. Here’s how to fix the usual suspects.
- Loose knob. Tighten the screws. Check the alignment of the holes.
- Won’t close. The latch is probably hitting the strike plate. File the latch edge slightly or adjust the strike plate position.
- Sticking latch. Check for obstructions or misalignment. A little graphite lubricant helps.
- Stripped screw hole. This is a bummer, but Norm Abram has a trick: wrap sewing thread clockwise around the screw shank before reinserting it. The thread fills the void and gives the threads material to grip.
- Misaligned holes: If the knob doesn’t line up with the latch, re-measure and re-drill the affected hole. For minor misalignment, you can file the latch plate.
Periodically check and tighten all screws to prevent loosening over time.
If you are a visual learner, it helps to see how all the pieces fit together. Check out our door knob installation diagram for a labeled overview of the parts.
Get that knob installed. The weekend is waiting.
Frequently Asked Questions
What is a door knob backset and why does it matter?
Backset is the distance from the door edge to the center of the knob hole, almost always 2 3/8″ or 2 3/4″. It’s the single most important measurement because if you get it wrong, the latch won’t align with the knob mechanism, and your door won’t close properly.
Why does my new door knob feel loose after installation?
A loose knob usually means the screws aren’t fully tightened or the holes are slightly misaligned. Check the alignment and tighten the screws, but start them by hand to avoid cross-threading. Also, wait 24 hours before regular use to let the latch and screws settle in.