Insteon pulled the plug on their cloud. Philips stopped supporting the first-gen Hue Bridge in 2020. MyQ owners lost Google Assistant compatibility in 2023 with no warning. That sinking feeling — I paid for this and now it’s useless, is why I switched.
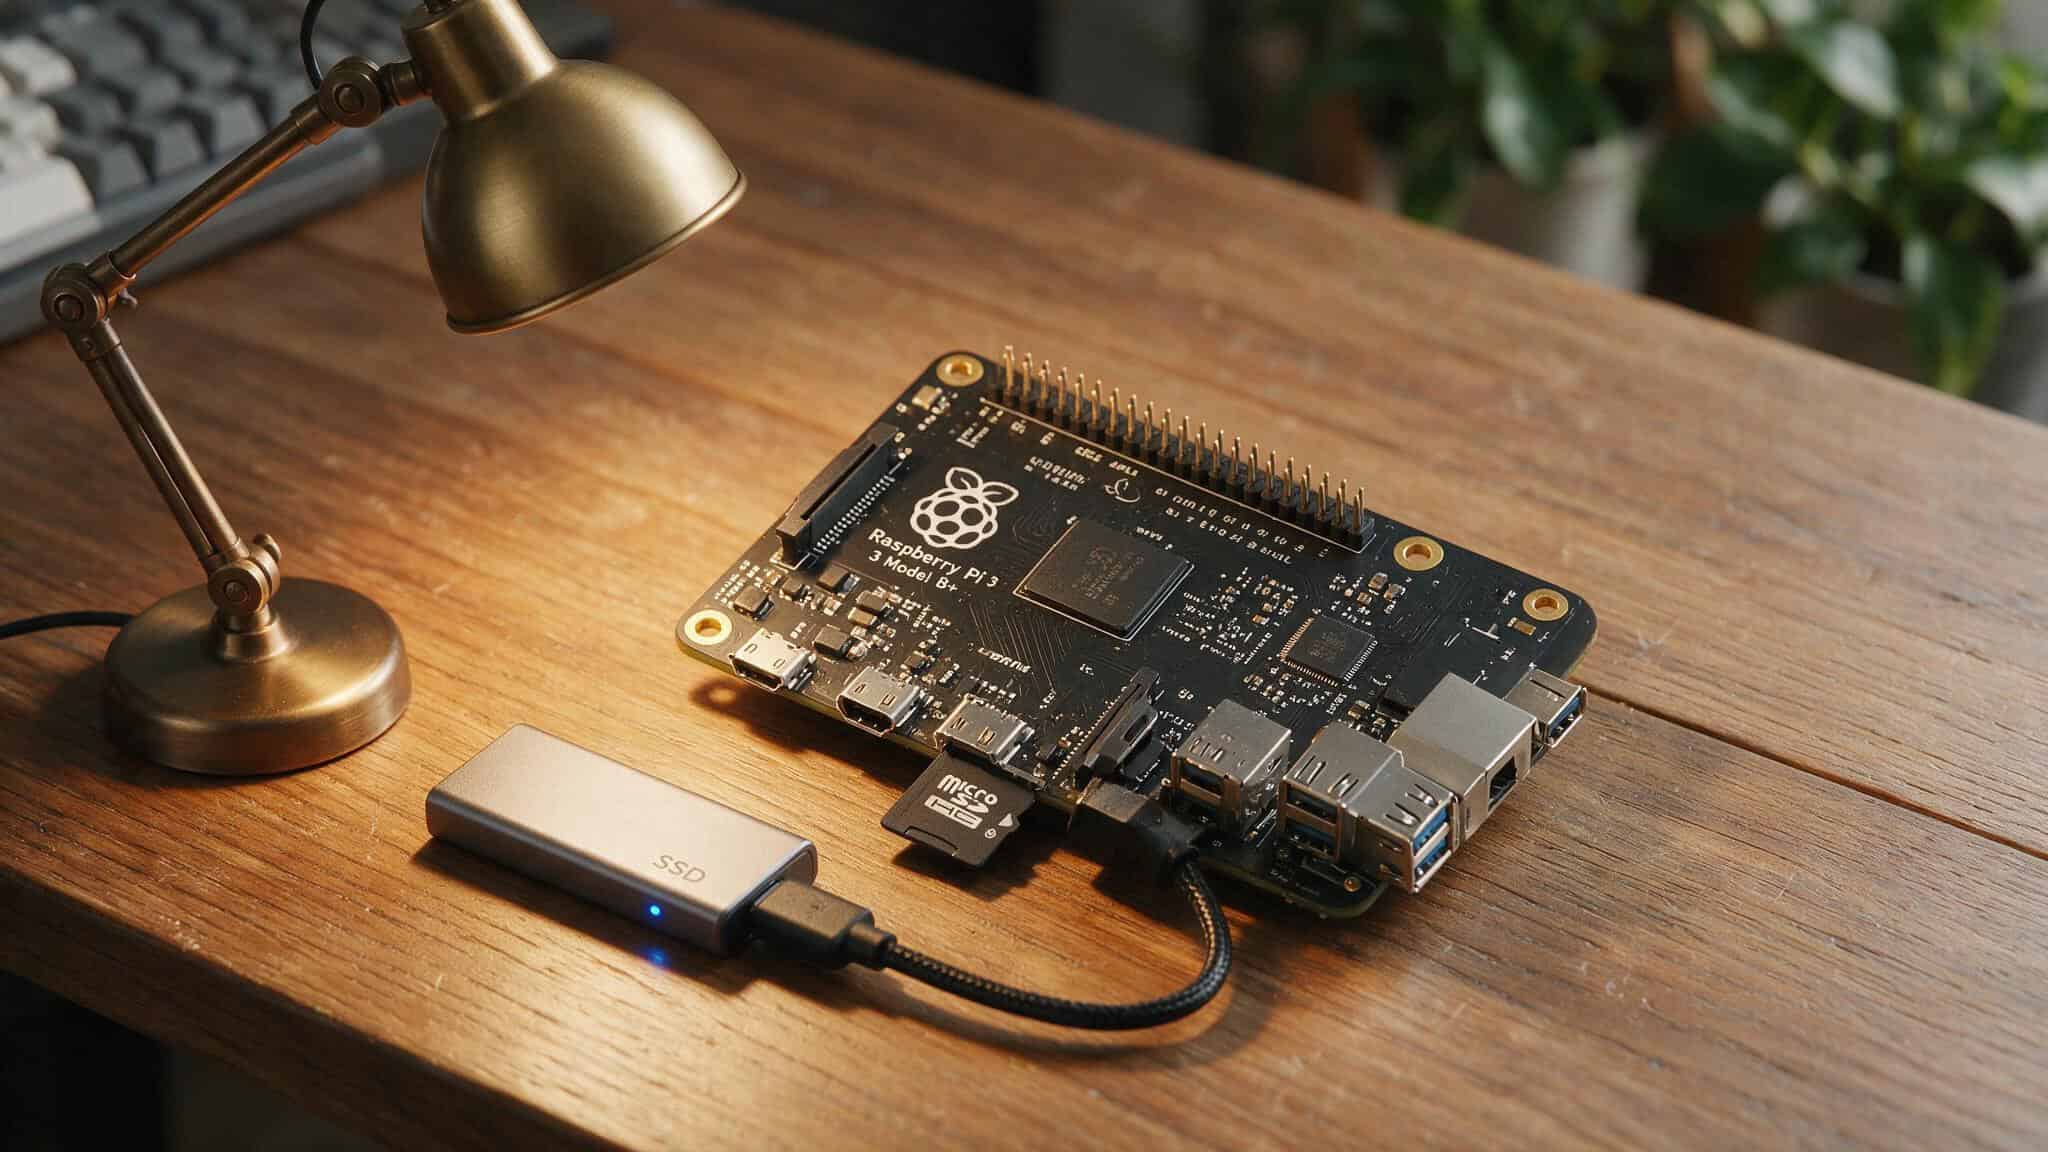
I built a smart home hub that I own. It runs on a Raspberry Pi 3B+ ($50) with a $10 microSD card, and answers to nobody but me.
This guide is for anyone ready to ditch the cloud drama. I’ll walk you through the hardware, the install, the first automations, and the big mistakes to avoid. It’s a weekend project, not a coding marathon. Let’s get into it.
Key Takeaways
A $50 Raspberry Pi 3B+ with a $10 microSD card running free Home Assistant software can replace a $150–$200 commercial smart home hub — and it won’t stop working if a company goes under.
Local control means automations fire in milliseconds, and no data leaves your home unless you decide it does. That’s the reason to do this.
Start with a Pi 3B+ and Zigbee for battery sensors, but plan to move the data partition to an SSD after a month (microSD cards wear out from constant logging).
Table of Contents
Why build a Raspberry Pi smart home hub?
The biggest reason: you don’t own those neat little hubs off the shelf. You’re renting access to a cloud server that can go away any time. Insteon’s servers shut down because of financial trouble — people lost remote access overnight. Philips stopped supporting the original Hue Bridge in 2020, so first-gen hardware became a paperweight.
MyQ yanked Google Assistant support in 2023 without any warning. These aren’t hypotheticals. They happened to people, and they’ll happen again.
The alternative is a local system. A Raspberry Pi running Home Assistant talks directly to your devices over your home network. No cloud, no subscription, no single company controlling whether your light switch works. Home Assistant is open-source, maintained by the non-profit Open Home Foundation, so it’s not tied to any brand’s bottom line.
Then there’s the cost. A commercial hub runs $150–$200. A Raspberry Pi 3B+ is $50. Add a $10 microSD card and you’re done. That’s three to four times cheaper than a $150–$200 commercial hub, and you get more control.
Choosing your Raspberry Pi and storage
You might be tempted to buy the cheapest Pi and call it a day. I get it — I did that. But the choice matters more than you’d think.
Which Pi model?
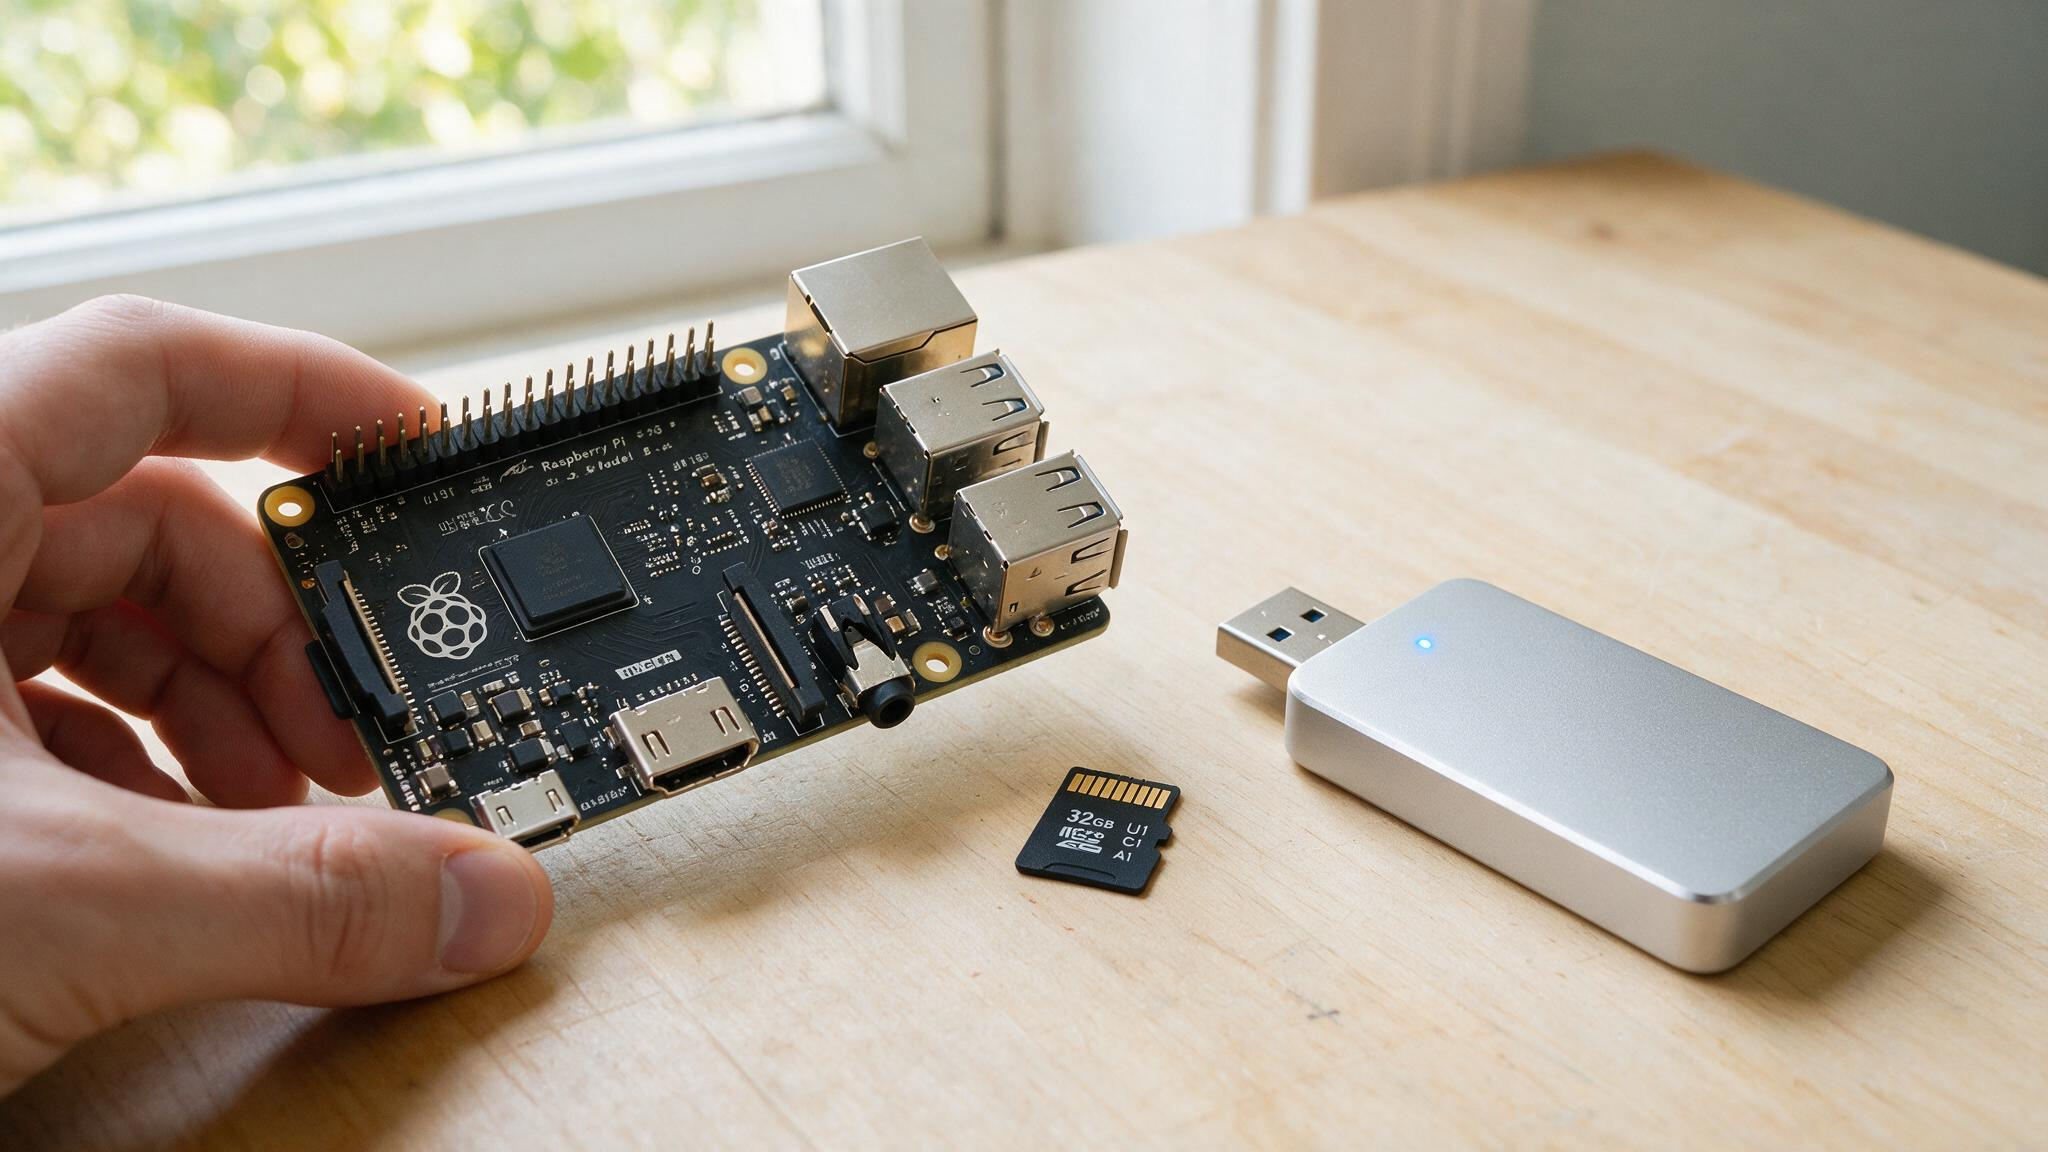
- Pi 3B+ ($50): 1GB RAM, quad-core Cortex-A53 processor. It works for starting out. I run roughly a dozen smart devices, a 3D printer, and a custom dashboard on mine without issue. But startup and updates are noticeably slower, and if you load up heavy add-ons like ESPHome, Node-RED, or the Home Assistant Community Store simultaneously, you’ll hit the RAM ceiling.
- Pi 4 (strongly recommended): More RAM and a faster CPU. The official Home Assistant guide recommends the Pi 4 for best performance. It’s the sweet spot for most people.
- Pi 5 ($80+): Cortex-A76 processor, PCIe support, better I/O. Can handle multiple services at once — great if you plan to run Zigbee2MQTT, InfluxDB, Grafana, and a Matter server alongside Home Assistant. The better GPU also means smoother dashboards on larger screens.
Storage: SD card vs SSD
MicroSD cards have limited write endurance. Home Assistant writes logs, state changes, and database entries constantly. After the first month, move your data partition to a USB-connected SSD. The Pi 3B+ can be finicky about booting entirely from an SSD — it’s easier to keep the OS on the microSD and offload the data to the SSD. The Pi 5 supports M.2 NVMe via a PCIe expansion board that fits inside the official case, if you want the fastest option.
The upgrade safety net
Home Assistant backups are reliable. You can move your entire installation to new hardware — even a different platform like an Intel NUC, without reconfiguring anything. I started on a Pi 4, outgrew it, and migrated to a VirtualBox VM on a NUC5i7RYH inside a passive-cooled case. Another user runs HA on a HA Yellow with a CM5 and a 1TB NVMe SSD, handling all those add-ons.
Start small, plan for growth. Your configuration isn’t tied to the Pi.
Installing Home Assistant on your Raspberry Pi
You don’t need to be a Linux wizard. The setup takes about 20 minutes, and most of that is waiting for the first boot.
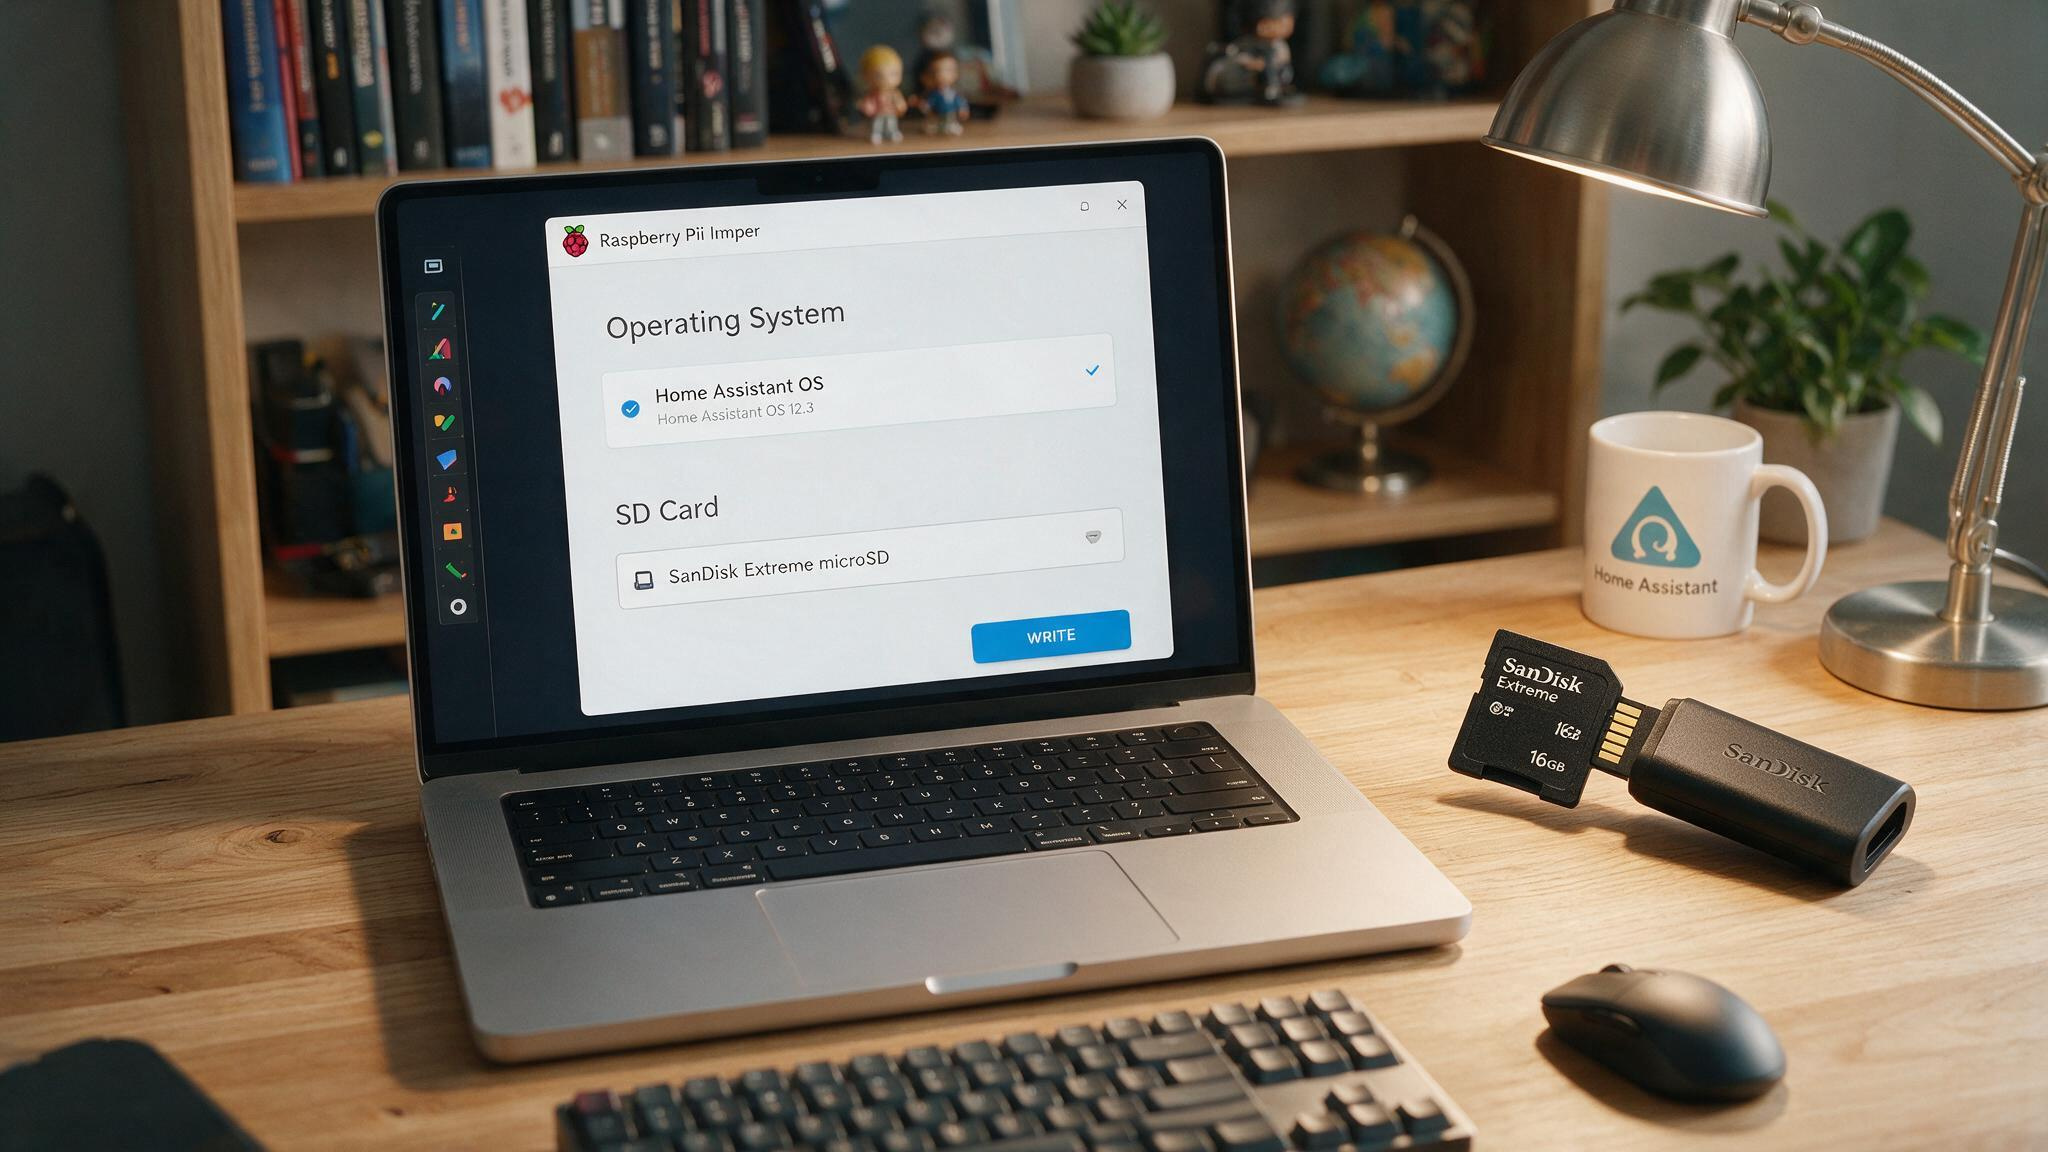
- Install Raspberry Pi Imager on your computer. It’s free.
- Put a 32GB or larger microSD card in your computer.
- In Imager: Choose OS > Other specific-purpose OS > Home assistants and home automation > Home Assistant. Pick the version that matches your Pi model (3 or 4/400).
- Write the image to the SD card. This takes a few minutes.
- Insert the SD card into the Pi, connect a wired Ethernet cable (Wi-Fi can be flaky during initial setup), and plug in power.
- Wait about 20 minutes. The first boot sets up default configurations — go make a coffee.
- Open a browser and go to
http://homeassistant:8123. - Create a user account and set your location accurately. That matters for sunrise/sunset automations.
- Home Assistant will automatically scan your network for smart devices it recognizes. You might already see a few.
A few caveats: This Pi should be dedicated to Home Assistant. Don’t try to run a media server or other apps on it — it causes instability. You don’t need a monitor or keyboard; everything happens from your laptop. And use wired Ethernet for setup; it’s just more reliable.
Choosing your wireless protocol: Zigbee, Z-Wave, Wi-Fi, and more
Buying a random mix of smart devices that use different wireless protocols leads to nothing talking to each other—a frustration that online entertainment platforms have already solved, as seen with best non gamstop casinos that offer instant account access and no registration friction. Here’s the practical breakdown.
Zigbee — the safe choice for battery sensors
Zigbee is mature, with hundreds of devices available. It’s medium range, power-efficient (great for battery-powered sensors, lights, and locks), and creates a mesh network that gets stronger the more powered devices you add. You’ll need a USB coordinator — something like the Sonoff Zigbee 3.0 Dongle Plus, which supports Bluetooth Low Energy and Zigbee, allowing it to act as a hub for many smart home devices without needing extra bridges. Zigbee connects directly to Home Assistant hardware, so it’s fast and doesn’t rely on brand servers for anything except optional firmware updates. This is my top recommendation for battery devices.
Wi-Fi — best for mains-powered devices
Wi-Fi has great range and doesn’t need an extra hub. But it uses more power, so it’s not ideal for battery sensors. Use it for cameras, smart plugs, and bulbs that are always plugged in. No additional hardware needed beyond your router.
Matter and Thread — not ready for a full setup
Matter and Thread are the new kids. They’re still quite barebones, with few compatible devices. Many Thread routers currently can’t add devices from other brands. The future looks promising, but don’t invest heavily yet. Stick with Zigbee for now.
Other protocols worth knowing
- Z-Wave: Similar to Zigbee but less common. Reliable for locks and thermostats.
- MQTT: A flexible messaging protocol for custom IoT sensors. Requires a broker (hub) but gives you a lot of control.
- IR/RF: Cheap and simple for controlling legacy TVs and appliances. A $20 Broadlink RM Mini blaster can make a non-smart air conditioner work with Home Assistant — I saved $100 by buying a standard AC and using this instead.
- Bluetooth: Low range, useful for locks and speakers.
Adding your first devices and integrations
Home Assistant automatically scanned your network and discovered some devices during setup — nice surprise, right? For everything else, you manually add an “integration.” Think of an integration as a software connector for an entire brand platform (like Philips Hue or IKEA Trådfri). One integration can manage multiple devices for busy parents.
Home Assistant supports over 1,000 devices out of the box, so chances are your gear is already covered.
To add one: go to Settings > Devices & Services > Add Integration. Search by brand or protocol — Zigbee Home Automation, TP-Link Kasa, Philips Hue, you name it. Home Assistant has over 2,500 integrations covering lights, security devices, media centres, printers, and even 3D printers. Consider smart home technology like keyless entry systems, video doorbells, or smart lighting controls to appeal to tech-savvy renters. If something isn’t supported, you can build your own.
Building your dashboard and first automation
This is the part that makes the setup worthwhile. The dashboard system is called Lovelace — it’s a blank canvas where you place whatever controls you want. To take manual control of the layout, click the three dots in the top right, then Edit Dashboard > take control.
Automations are where the magic happens. Go to Settings > Automations and set a trigger and an action. Simple example: when motion sensor triggers, turn on the lights. Because everything stays local, automations fire in milliseconds — no round trip to a cloud server.
Here’s a cross-brand example from my own setup: an IKEA wireless switch dims Xiaomi lights, turns on an LG air conditioner, and opens the Plex app on a webOS TV. These brands don’t natively work together, but Home Assistant bridges them. That’s the payoff.
Securing your hub and designing for reliability
Two things most beginner guides skip: security and fallback design. Let’s cover both.
Security checklist
- Use
ufw(Uncomplicated Firewall) to control traffic on the Pi. - Set up HTTPS for Home Assistant using Let’s Encrypt — it’s free.
- Make sure your router uses WPA3 or at least WPA2 encryption.
- If you use MQTT, enable authentication with a username and password.
- Avoid Telnet and FTP; use SSH and SFTP instead.
- Keep software updated.
- Automate backups with
rsyncor use Home Assistant’s built-in backup tool. - Move data to an SSD to avoid microSD write failure.
The fallback principle
Design rule: every critical system in your home should work without Home Assistant. Every light in my house can be switched via software AND via a hardware button. My thermostats are independent devices that gain smart features through integration but can function without Home Assistant. Don’t let custom software be the only thing keeping your heat on.
Planning for the future: when to upgrade your hardware
A Pi 3B+ with 1GB RAM handles roughly a dozen devices and a basic dashboard. But adding resource-heavy add-ons like ESPHome, Node-RED, and HACS simultaneously, and you’ll hit the RAM ceiling. One user reported that even InfluxDB and Grafana ran poorly on a Pi 4B. Because Home Assistant backups are robust, you can move your entire installation to new hardware without reconfiguring anything — just restore the backup on the new machine.
Upgrading is straightforward. You can move your entire Home Assistant installation to a more powerful machine — an old Intel NUC, a VirtualBox VM, a dedicated HA Yellow with a compute module. Tools like Z-Wave JS UI and NUT make it easy to migrate your Z-Wave and UPS configurations without starting over. My own upgrade path went from Pi 4B to a NUC5i7RYH in a passive-cooled case. Silent, and my config came with me.
If you’re doing audio or video processing (like security cameras), you’ll want an Intel CPU — more power, more electricity. For most people, the Pi 4 or 5 is plenty for a long time.
Going fully offline: the ultimate privacy setup
For a smart home that works even when the internet is down, that nobody can spy on, and that won’t break when a company goes under — here’s how.
- Use Zigbee devices from IKEA (Trådfri), Philips (Hue), Aqara, Aeotec, Sonoff, or Inovelli. Third Reality and Smartwings blinds come equipped with Zigbee, so they join your mesh without a separate bridge. Zooz and Lutron also offer reliable local-control options. They connect directly to your Pi hardware. Zero reliance on brand servers except optional firmware updates.
- For Wi-Fi lights, use Xiaomi’s Yeelight with LAN mode enabled.
- Robot vacuum: Flash it with Valetudo to keep it offline. Home Assistant officially supports Dreame and Roborock vacuums too.
- Legacy appliances: A Broadlink RM Mini IR blaster ($20) can control your old TV or AC.
- Avoid Tuya Wi-Fi products — they phone home constantly and are a privacy nightmare. If you already have some, use the Tuya Local custom integration and block them from the internet.
Every interaction is processed locally because no packets leave your network. Setup took me about a weekend. Maintenance is minimal — change a battery or reconnect a device every few months. A sub-$200 mini-PC can handle this setup easily if you prefer not to use a Raspberry Pi.
Troubleshooting is harder without remote access. I wouldn’t set this up for my parents because they’d call me every time something needed tweaking. This is a solution if you’re comfortable being your own tech support. For everyone else, it’s still a weekend project that gives you a private, locally controlled smart home.
And that’s the whole point. You own it. It works. And nobody can take it away.
Frequently Asked Questions
How to use Raspberry Pi for smart home?
You install Home Assistant on a Raspberry Pi (3B+ or 4 recommended) using the free Raspberry Pi Imager tool, then connect Zigbee or Wi-Fi smart devices through integrations. The Pi acts as a local hub that controls everything from lights to sensors without relying on cloud servers.
Is a Raspberry Pi 4 overkill for Home Assistant?
No — the Pi 4 is actually the sweet spot recommended by the official Home Assistant guide. It handles a dozen devices, a dashboard, and moderate add-ons without hitting the RAM ceiling, unlike the Pi 3B+ which struggles with heavier loads like ESPHome or Node-RED.