Are you stressed about how to clean a hoarders house and unsure where to begin? Hoarding disorder is an anxiety disorder causing people to struggle with letting go of belongings, creating cluttered or unsafe living spaces.
This blog will guide you through 10 clear steps—from gathering essential protective equipment and cleaning supplies, sorting sentimental items, tackling rubbish removal safely, to completing a full deep clean—to restore comfort in the home.
Keep reading for practical hoarding cleaning tips that make this tough task easier.
Key Takeaways
Check first for safety risks—blocked exits, mold buildup, pests hiding around, or potential fire hazards—before you tackle the cleanup.
Put on protective gear like N95 masks, sturdy gloves, and safety goggles to guard yourself against dust particles, mold spores, or hidden hazards.
Set up four clearly marked zones with color-coded bins: green for items to keep, blue to donate, yellow for recycling, and red for trash.
Clear pathways and entrance areas first, then move room-by-room, to keep the cleanup manageable and less stressful.
After clearing clutter, sanitize surfaces thoroughly using disinfectants—try mixing one part bleach with nine parts water for a strong cleaning solution.
Table of Contents
Evaluate the Situation

The first step to tackle a hoarder’s house is to figure out just how bad things have gotten. You need to spot dangers like blocked exits, mold growth, or pest issues before you start the cleanup process.
Assess the severity of the hoarding

Hoarding can range from mild clutter to severe, unsafe living conditions—and it’s usually broken down into five clear stages. At Stage 2, you might find one or two rooms crowded with extra belongings, unpleasant odors, and signs of neglectful cleaning habits.
But Stage 5 is far more serious: rodents invading the home, rooms completely inaccessible, and major health hazards.
To tackle hoarding properly, you first need an honest look at the situation. Check carefully for clear signs of danger—like blocked exits or piles that could catch fire. Be alert for health threats, too, from mold buildup to insects and pests.
Notice how clutter impacts emotional wellness, since stress from excess stuff adds up quickly.
The path to recovery begins with a clear assessment of where you stand today. Every journey starts with seeing things as they truly are.
Once you clearly assess conditions inside, it’s easier to create an effective cleanout plan. Look around for fire risks from stacks of newspapers or magazines. See if essential spaces like cooking, sleeping, and bathing areas remain accessible and usable.
Notice if certain rooms are completely off-limits, filled with things requiring immediate removal.
Many women find it helpful to set aside a special area for sorting and organizing later. For bigger hoarding conditions—or if things look unsafe—think about calling a professional cleanup crew.
Companies like South Texas Dumpsters know how to safely handle heavy-duty cleanup tasks and remove hazardous clutter without risk.
Identify safety hazards
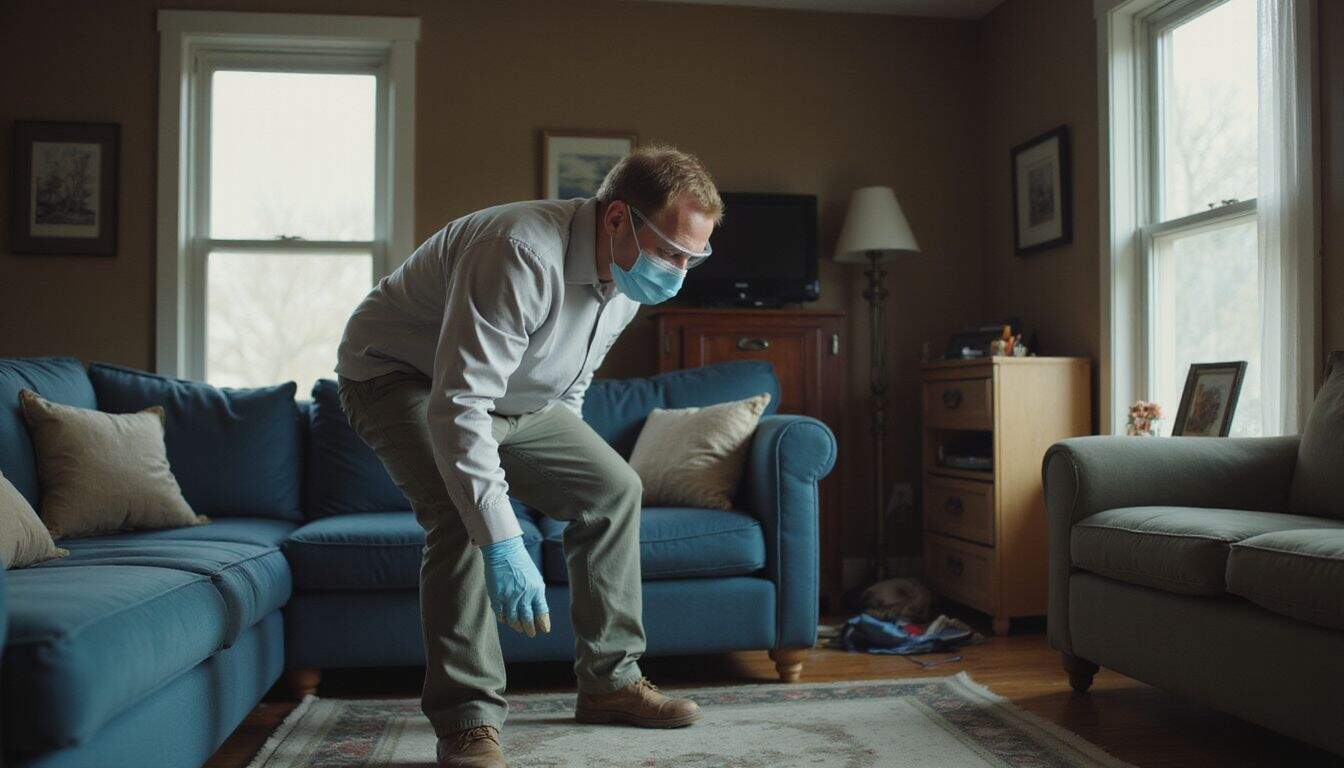
Safety should always be your first step in any cleanup involving hoarded homes. These places often hide dangers you’ll need to spot before tackling the clutter. Damp areas breed mold—and mold spores can seriously harm your lungs.
Harmful chemicals might sit unnoticed in bottles without labels, posing hidden risks. I once helped clean my aunt’s cluttered home and found mouse droppings buried behind piles of newspapers—a clear health hazard! Check carefully for pests, looking out for chewed wires and animal droppings.
Clutter might also block exits, trapping you if there’s an emergency. Rotting food tends to attract insects and can warn you of trouble ahead by smell alone. Papers stacked near heaters or appliances greatly increase fire danger.
Always wear protective gear like masks, gloves, goggles, and sturdy closed-toe shoes to shield yourself from these hazards. Animal waste and other biohazards also demand extra caution and special handling methods.
Structural problems sometimes hide beneath piles of junk, making inspections crucial. Floors can weaken or sag under heavy objects, and water leaks might leave walls and floors dangerously soft.
Once, during a cleanup job, my team discovered a kitchen sink that had leaked quietly for months, badly damaging the floor underneath. Snap detailed photos of every hazard you find; this helps you track progress and plan your next steps.
Planning out the trash removal requires careful thought, too, depending on the waste you uncover. Certain things—like materials containing toxic substances—might require special disposal methods.
Next, create clear timelines and goals to organize the cleanup efficiently.
Plan the Cleanup Process
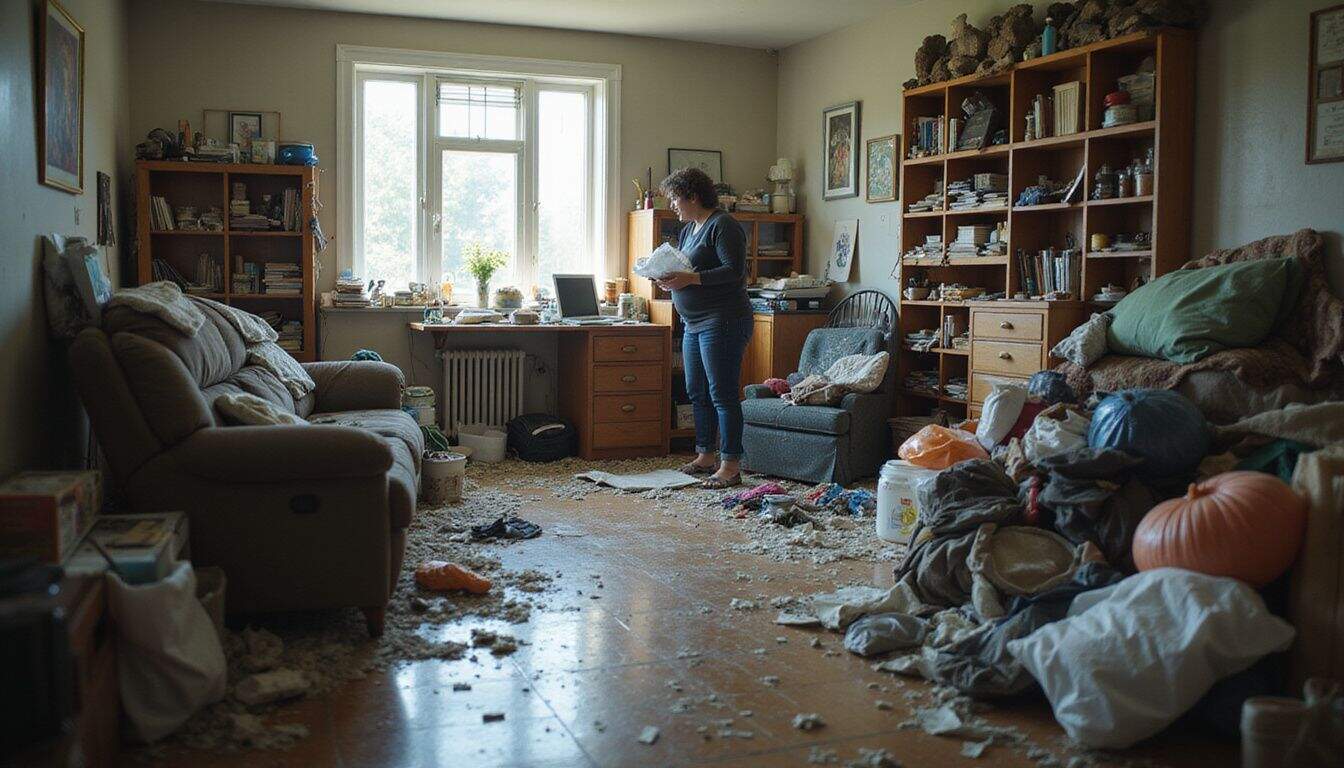
Planning helps you tackle a hoarder’s house without feeling lost or giving up. You need a clear roadmap with set dates and goals before you touch a single item.
Set realistic goals and a timeline
Handling a hoarder house works best with simple, reachable goals. Break down larger chores into smaller tasks you can finish easily—like “clear the kitchen counter” rather than “clean the entire kitchen”.
A do-it-yourself cleanup for a hoarder home usually takes weeks, while professionals might finish a severe case in about four to five days. Your timeframe depends mainly on your amount of stuff and available help.
Create a basic chart that clearly shows which rooms you’ll tackle each day.
Small steps lead to big progress when cleaning a hoarder house.
Write your goals down and choose a sorting method that fits your style. Some people like using the three-box method—keep, donate, and trash—to make sorting easier. Others prefer grouping by item type, such as clothing, books, or kitchenware.
Junk removal expenses can run into the thousands of dollars for more severe cases, so consider both cost and time based on your home’s real conditions. Set realistic daily tasks in your cleanup plan, leaving enough energy and motivation to keep working the next day.
Create designated sorting areas
First, set clear goals and a realistic timeline. Once that’s done, make room for the sorting process—trust me, you’ll thank yourself later. Create four distinct sorting areas in your home: keep, donate, recycle, and trash.
I highly recommend using colored bins to simplify the job: green for keeper items, blue for donations, yellow for recycling, and red for garbage. This colorful method speeds up decisions when you’re facing piles of clutter.
Next, set up these bins somewhere spacious, like the living room or garage, so you have plenty of room to sort efficiently. Label each bin clearly, using large, bold letters, so everyone who’s helping you knows exactly where each item goes—no confusion!
This easy-to-follow sorting system (keep, donate or store, toss out) brings clarity to cluttered spaces. During my mom’s house cleanup, we grabbed sturdy trash bags for garbage and clear plastic storage containers for things she wanted to keep.
Setting up these sorting zones ahead of time saves tons of energy and cuts down your stress levels. It’s also a lifesaver if you need to clean a home office or tackle other rooms overflowing with notebooks, yarn balls, snacks, or stacks of old mail.
Gather Essential Supplies

You’ll need the right tools before tackling a hoarder’s house cleanup. Stock up on heavy duty trash bags, gloves, masks, and disinfectants to make the job safer and more efficient.
Protective gear
The right safety equipment is your best protection during a hoarder cleanout. Heavy-duty gloves shield your hands from sharp objects, and protective masks guard your lungs against dust, mold spores, and harmful particles.
Hard hats keep you safe from items falling off unstable piles—while sturdy boots protect your feet from hidden injuries. Keep a first aid kit close by, so you can quickly handle any small cuts or scrapes that happen as you work.
Safety isn’t expensive, it’s priceless when tackling a hoarding situation.
Every corner of a hoarded home can hide potential hazards, making quality protective gear essential for cleanup tasks. Animal droppings often collect beneath piles of junk, posing serious health risks for anyone working there.
Spoiled food brings pests and bacteria that can lead to sickness. Old cleaning chemicals or other dangerous substances might have leaked—even small spills can create toxic spots.
Always inspect your safety gear closely for rips or damage before starting your cleanup; damaged equipment won’t protect you from serious dangers.
Cleaning tools and disinfectants
You’ll need reliable gear to safely handle a hoarding cleanup. Start by grabbing heavy-duty trash bags—they hold more trash without tearing apart. Buckets, mops, cleaning rags, and sponges take care of everyday messes.
Also, keep a broom and dustpan handy, they sweep up loose dirt fast. A sturdy vacuum cleaner quickly gets rid of dust and tiny bits scattered around the area.
All-purpose cleaners are great for basic scrubbing, but disinfectants help you go a step further. They eliminate germs that quietly build up over months or even years—keeping everyone safer and healthier.
Pest repellents become handy, too, especially if mice, roaches, or insects leave obvious evidence behind.
Plenty of professional cleaners offer specialized products made specifically to loosen tough grime found during hoarding cleanups. Set aside a staging spot to neatly organize supplies before tackling each room or section.
Doing this keeps things manageable and cuts down on stress around how much you have left to do. For seniors struggling with hoarding, labels—bold and clear—can simplify choosing the right cleaning products, easing everyone’s work.
Safeguard Yourself and Others

Cleaning a hoarder’s home puts you at risk for dust, mold, and hidden dangers. You must shield your body with proper gear like N95 masks and thick gloves before touching any items.
Wear masks and gloves
Safety is the top priority in any hoarding cleanup—it protects your health and well-being. Gloves keep your hands safe from grime, germs, and hidden hazards like sharp glass or rusty metal.
Years ago, while helping my aunt clear out her cluttered home, an unnoticed razor blade left me with a nasty cut—I won’t make that mistake again! Use thick work gloves for heavy-duty junk, and switch to disposable gloves if items might carry germs or toxins.
Your hands come into contact with almost everything during cleanup, so wearing gloves can save you from serious health issues.
Protection isn’t optional – it’s your first line of defense against the unknown.
Masks keep harmful particles out of your lungs
Dust, mold spores, and bad odors can cause allergic reactions or make breathing difficult. A good face mask, like an N95 recommended by senior care experts, filters out these harmful substances, especially in severe hoarding cases involving mold.
Goggles also help prevent eye injuries from dust, debris, or airborne irritants. Sure, masks and goggles might feel a bit weird or uncomfortable at first—but the protection you gain easily makes up for that.
Ensure proper ventilation
Fresh air can greatly improve the experience of cleaning a hoarder’s house—trust me, I know from helping my aunt clean her place. She had collected countless items for years, and proper airflow saved us from feeling sick during the task.
Just open all windows and doors, creating a steady breeze throughout the rooms. Doing this, along with wearing your mask, helps remove dust particles, mold spores, and strong smells that could irritate your lungs.
Good ventilation clears out harmful particles that usually collect inside closed-up spaces. Using fans near open windows helps push stale air out and brings fresh air inside. This simple method makes the cleanup safer and healthier for everyone involved.
Many professional cleaning companies highlight the importance of good ventilation since it lowers health risks during big cleanups. There are plenty of articles and tips on the internet about air quality and staying safe during these major cleaning sessions, especially if you plan to purge your house of unwanted belongings.
Start with High-Traffic Areas

Clearing paths in high-traffic areas creates a safer space for the cleanup team to work. Focus on doorways and main walkways first to build early progress that will boost your spirits.
Clear hallways and walkways first
Safety is your number-one priority—for any hoarding cleanup job. Start by opening pathways and halls to make movement safer and easier. Clear spaces stop falls that might happen if you’re stepping over stuff.
Many people with hoarding issues face serious risks in emergencies due to blocked exits and doorways. To keep things moving smoothly, set aside a sorting zone near the main entrance.
This spot lets you divide items quickly into separate piles: keep, donate, or trash.
The path to order begins with a single step—literally clearing the way forward.
Focus first on the main paths through your home. Remove items blocking access to doors, stairs, and hallways to create safer walkways. Even this small change can greatly improve your comfort and confidence about the cleaning task ahead.
People may find it tough to get rid of hobby-related items—like yarn for knitters or boxes of cookies saved for baking projects. Clear pathways ensure everyone’s safety, particularly after a stressful event that may have led to the clutter issue.
Approaching the cleanup this way makes the process more manageable, giving you energy to handle bigger projects next.
Focus on exits and entry points
Entryways and exits must come first in a hoarder’s home. Clearing a spacious path to doors and windows ensures everyone can safely escape during fires or emergencies. Hoarding often begins after emotional trauma, so letting go of clutter blocking these paths isn’t easy for homeowners.
First, move furniture, boxes, and clutter heaps away from doors and hallways. Taking this basic action keeps people safe, preventing dangerous falls, while opening up free movement inside the house.
A helpful approach is creating a “staging area” by placing boxes close to doors. These boxes let you sort things quickly as paths become clear. Always ask permission before handling someone’s personal belongings—hoarders usually feel very attached to their items.
Cleaning experts usually clear doorways first, since they need open paths to carry in tools and cleaning supplies. After clearing entryways, it’s easier to focus on cleaning other rooms effectively, tackling them one at a time.
Work Room by Room
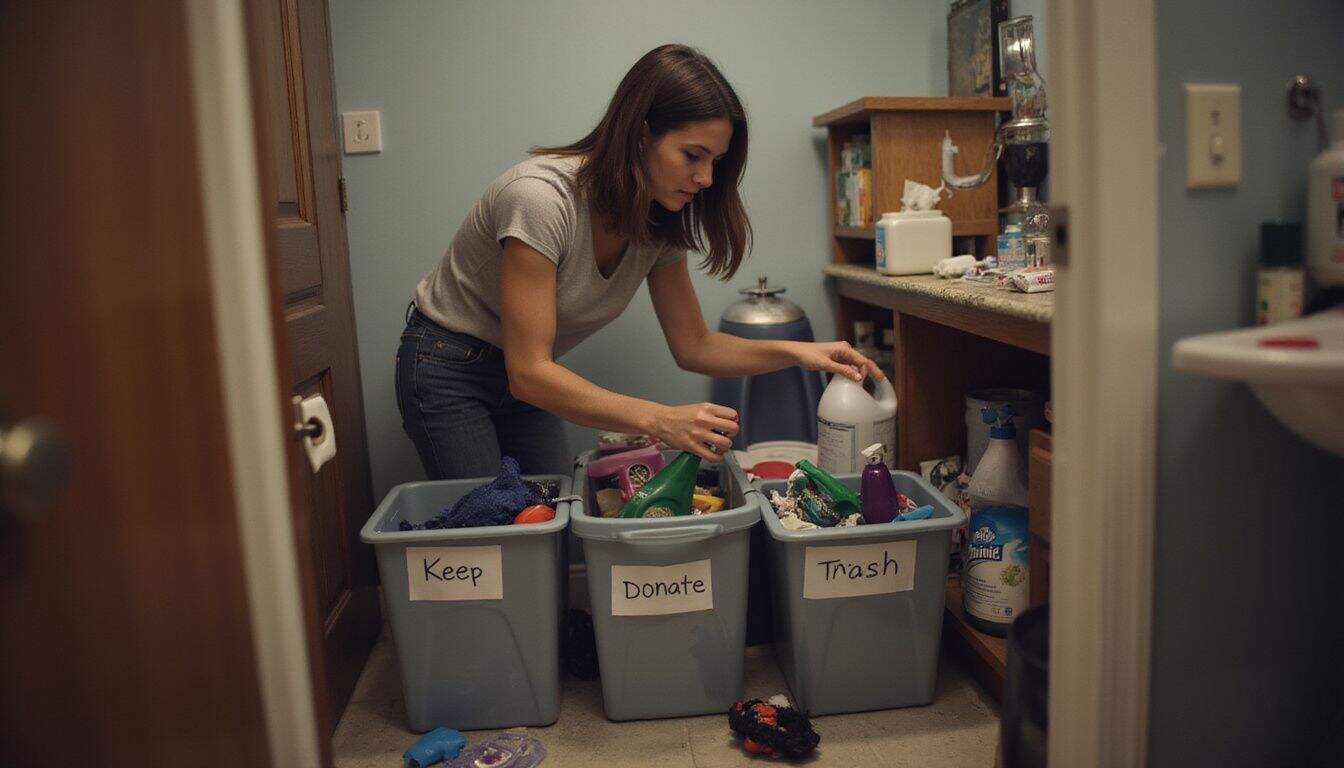
Breaking down the cleanup into rooms makes the task less scary. Start with one space, like a bathroom, and sort everything with clear rules before moving to the next area.
Tackle one room at a time
Tackling a hoarding cleanup feels less overwhelming once you break it down into smaller, manageable tasks. I discovered this firsthand while supporting my aunt through her own struggle with hoarding after a stressful event.
You can start by fully finishing one room at a time before moving on. This keeps the clutter from spreading around, and each completed room boosts your morale.
Bathrooms are often the simplest places to start, helping you build confidence before moving into tougher areas like kitchens and bedrooms. Within each room, start at the top first, such as clearing shelves or counters.
Then gradually move down to items on the floor. Separate objects clearly into piles—like trash, donate, recycle, and keep. Compulsive tendencies sometimes make letting go difficult, so even small progress deserves celebration.
It’s also crucial to have the permission and active involvement of the person whose home you’re cleaning. Feeling comfortable with the entire process helps them stick with these changes in the long run.
Sort items into categories: keep, donate, dispose
After choosing the room you’ll organize, sorting items is your next major step. A simple and effective method is using four labeled boxes: keep, donate, discard, and unsure. Clear plastic bins, rather than cardboard ones, let you easily identify the contents as you sort.
Place these bins near your workspace and swiftly make decisions about each object.
The 90/90 guideline simplifies decision-making. Ask yourself two easy questions about each piece: “Have I touched this within the past 90 days?” and “Will I need it within the upcoming 90?” If the answer’s “no” both times—it’s probably safe to let go.
With this rule, I managed to clear three rooms at my mom’s home after a traumatic event worsened her hoarding. Items that are still in good condition can be donated or recycled, provided the owner agrees.
It’s essential, though, to stay patient and sensitive during this process, especially around people struggling with hoarding disorders.
Proper Disposal of Items
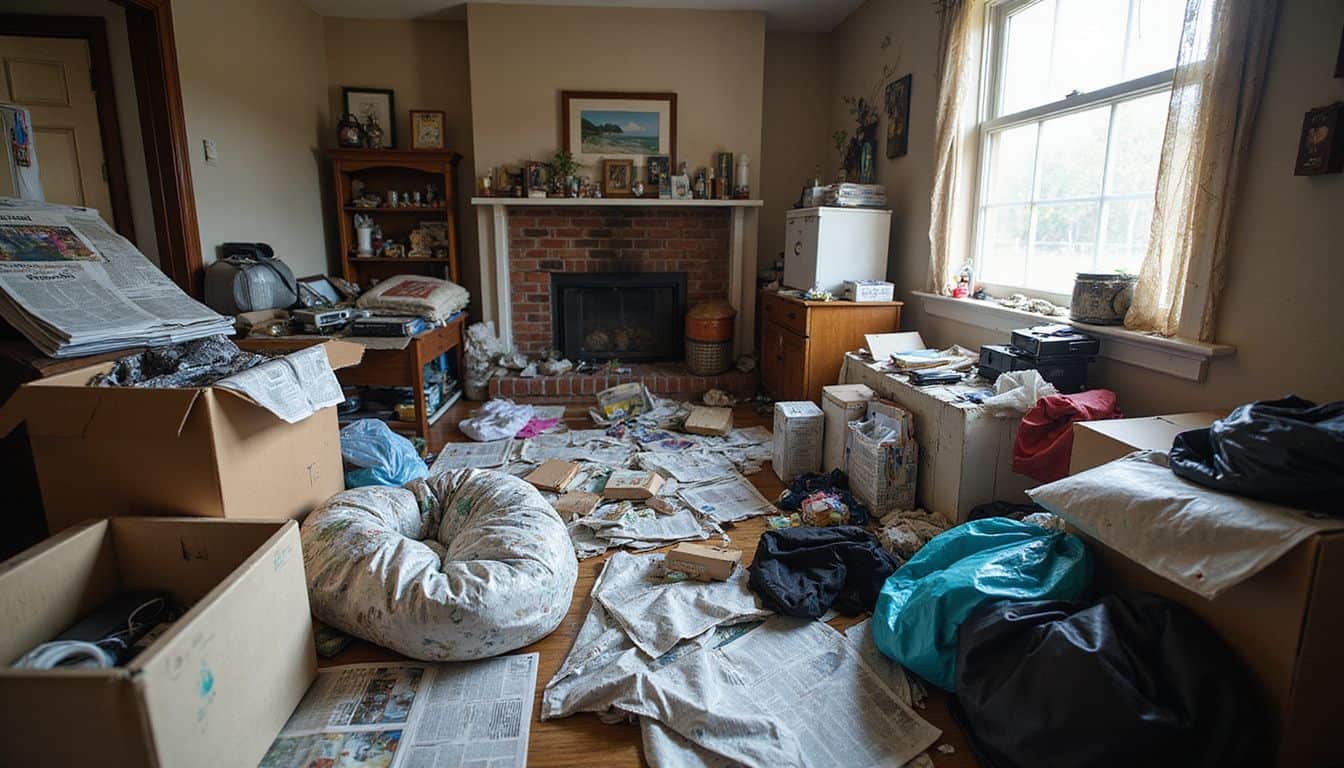
Getting rid of items from a hoarder’s house needs a clear plan for trash, donations, and recycling. You’ll need to work with local waste services or a professional cleaning company to handle large amounts of garbage and special items like electronics.
Arrange for trash removal
Trash removal takes careful planning during a hoarding cleanup—it’s not as simple as tossing everything out at once. Your city likely has limits on weekly waste pickup amounts, so check in first with the local waste management office.
Hoarding habits often result in stacks of stuff far beyond what normal trash collection services handle. I remember clearing my aunt’s place—there was so much clutter that we ended up renting a dumpster for three whole days.
Local professional cleaning companies usually know trusted trash removal providers who are comfortable with large-scale cleanups.
Safe waste disposal matters—it helps keep our air, soil, and water free from pollution. Special care is needed for hazardous items, as improper handling can lead to serious contamination risks.
Importantly, the person involved must agree to throw things away; always respect their wishes about what’s discarded. After sorting, many items can still be useful to others through donations or recycling programs.
Recycle or donate salvageable items
Many usable things from a hoarder’s home can get a fresh start through donation. I helped my aunt sort her crowded garage and found dozens of perfect-condition books, which we gave to the local library.
Thrift stores happily accept clean clothing, working appliances, and undamaged furniture. These donations help others who need them, and reduce what ends up at the dump. Most nationwide chains like Goodwill even offer pickup service for bigger items, making things simpler for you.
Recycling is another vital step to clear clutter responsibly. You can fill bins with old papers, magazines, or cardboard boxes instead of loading them into garbage bags. Electronics contain dangerous materials that should never end up in regular landfills.
Many cities run special collection events, giving you convenient spots to drop off outdated phones, TVs, or computers to keep them out of the trash. With permission from the homeowner, you might also earn cash selling scrap metal or vintage goods.
Next up, we’ll cover tips for deep cleaning the space—now that you’ve cleared out all the unwanted stuff.
Deep Clean the Space
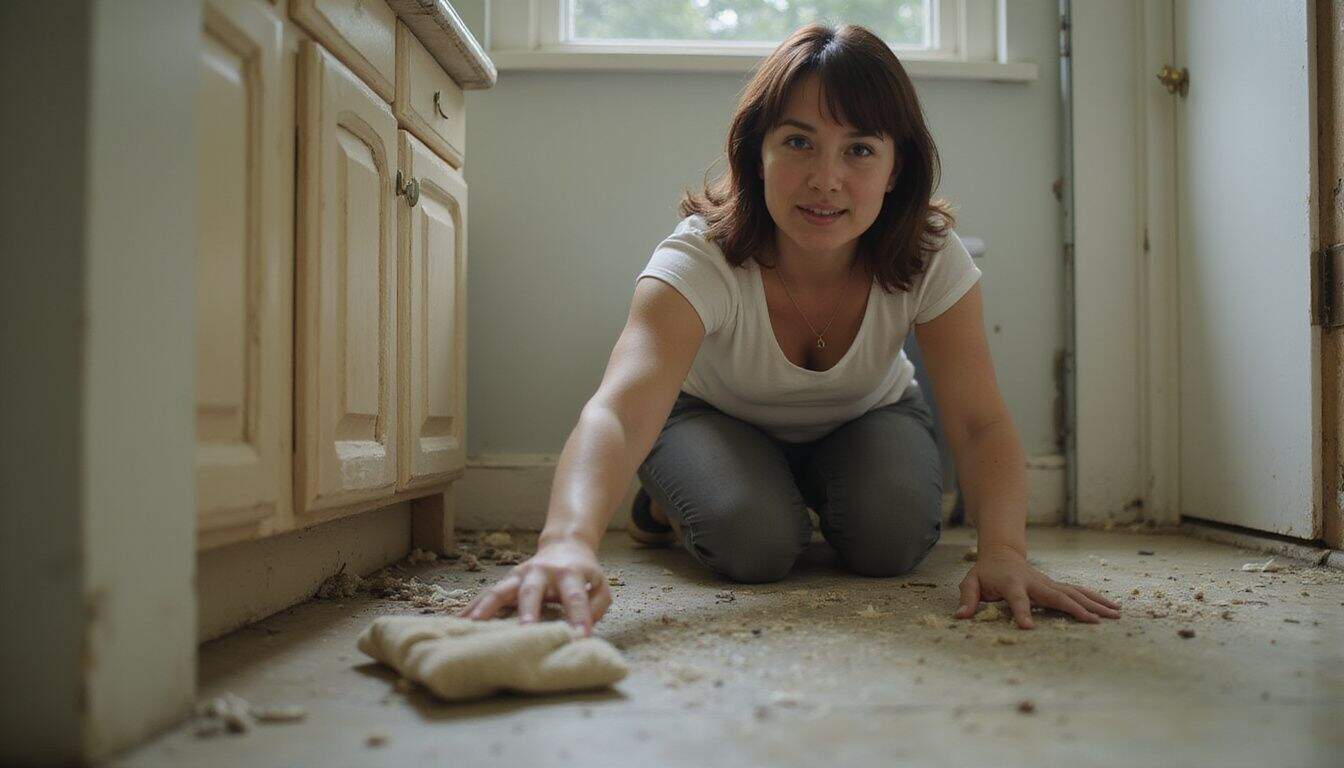
Once the clutter is gone, you’ll need to scrub every inch of the space with strong cleaners. This step matters most for health reasons, as dust, mold, and hidden pests often lurk in homes with hoarding issues.
Sanitize surfaces
Sanitizing surfaces is a big part of any hoarding cleanup job. To create a strong disinfectant, I mix one part bleach and nine parts water. Spray this solution on counters, floors, walls, and other solid surfaces after removing all visible debris.
Let the mixture sit for about ten minutes—this gives it enough time to kill harmful germs—then wipe everything clean. Mold and mildew love damp spots, especially bathrooms and kitchens, and they often hide in cluttered homes.
Pay extra attention to these moist spaces to keep mold away. Using effective disinfectants also protects your health and prevents pest problems down the line.
For stubborn dirt or tough stains, consider using a steam cleaner to break down grime with heat instead of harsh chemicals. Pay close attention to high-touch surfaces like cabinet handles, doorknobs, and light switches.
Germs gather on these spots more often, so they need extra cleaning effort. After removing dirt and grime, spray these highly used areas with disinfectant, and let them fully dry. This two-step cleaning method removes built-up dirt and kills germs completely—leaving your space fresh and healthy for good.
Address any structural damage
Structural damage in a hoarder’s home calls for quick action to protect everyone’s safety. Issues like pest infestations, water leaks, or sewage backups can create serious hazards.
Before putting belongings back into the area, you have to resolve these problems. Luckily, many cleanup franchises offer specialized repair services to help. These companies partner closely with experts—people who know exactly how to tackle walls, floors, plumbing, and more—even after years of neglect.
Homeowner consent is also essential before starting repairs in hoarding situations. Often, individuals struggling with hoarding strongly attach to their living spaces, even if conditions are clearly harmful.
Quality franchisors train cleanup crews to handle such cases with kindness, patience, and respect. They carefully explain why repairs matter and clearly outline any necessary changes.
Repairing structural issues isn’t about improving appearances alone—it’s also crucial for restoring a home’s safety and livability.
Maintain the Progress

Keeping a tidy home after a major cleanup needs daily work and smart habits. Set up simple systems like labeled bins and quick five-minute pickup routines to fight compulsions that lead to clutter.
Develop a system to prevent future hoarding
To stop hoarding from returning, you need a simple plan. I use the four-box method at home—containers labeled keep, donate, sell, and trash. This clear system lets me quickly sort new stuff the second it enters my home.
My friend Sarah prefers the “one-in, one-out” rule: each time she buys something new, she tosses or donates something old.
It’s important to set regular cleaning times and actually stick to them. Many women like short, 15-minute decluttering sessions each day more than long cleaning days on weekends. Small daily habits stop clutter from piling up, breaking the cycle before it begins.
Professional organizers often recommend giving every item in your home its own spot. I’ve found this trick works best when storage matches actual daily routines. Bills belong near the place I pay them—not buried deep in a distant filing cabinet.
Each week, try giving your counters and mail spaces a five-minute scan for stray items. Deeper monthly checks can also catch clutter early, before things start to spiral. At first, setting these routines might feel odd—but they quickly become as comfortable and automatic as brushing your teeth.
Encourage ongoing organization habits
Daily habits help maintain a tidy home and prevent clutter from creeping back in. Start easy with a five-minute pickup each morning or evening—just a quick sweep through each room.
A basket placed in every area makes clutter control simple and immediate. Sort your mail right away, so it doesn’t stack up and overwhelm you later. A lot of women swear by the “one-in, one-out” rule: Each time you bring home a new shirt, donate an old one to balance things out.
Set aside 30 minutes on your calendar every week to tackle organizing projects like filing papers or clearing off countertops.
Family and friends can offer support in building your tidying routines. Ask someone you trust to check your weekly progress or invite them over for regular clean-up sessions. Simple storage tools—labeled containers, hooks behind doors, even baskets tucked in corners—can help keep your spaces neat and organized without much effort.
Making quick decisions about what stays or goes gets easier the more often you practice. These small but steady routines form strong habits that naturally protect your home from clutter creeping back in.
How Will Hoarding Cleanup Practices Evolve in 2025?

By 2025, hoarding cleanup services will focus more on mental health. Cleanup crews will team up with counselors to tackle clutter and its causes directly. Smart home technology will join the effort—apps will track cleaning progress, and sensors will alert family members to new clutter spots.
I’ve personally seen how this combined strategy helps folks keep their homes cleaner, even after our teams leave.
Tech advancements will also make disposal greener. Recycling robots could soon rapidly sort through waste, making eco-friendly disposal fast and easy. Virtual reality might even help people part with cherished items by creating digital memories to keep instead.
Growing fire and fall hazards from extreme clutter will encourage insurance companies to cover cleanup expenses more often. With insurance stepping in, more women can access professional cleaning support without being overwhelmed by huge bills.
People Also Ask
What safety gear should I wear when cleaning a hoarder’s house?
Always use protective gloves, a good-quality face mask, and sturdy closed-toe shoes. These items guard you against dust, mold spores, and sharp objects hidden under clutter—keeping you safe from injury or infection.
How do I start cleaning a severely cluttered home?
Start by mapping a clear plan, then gather your cleaning supplies and tools. Clear pathways first, to help you move safely around the house, and focus on small manageable areas at a time. Working this way reduces stress and makes noticeable progress quicker—and feels way less overwhelming.
Should I involve the hoarder in the cleaning process?
Yes—include them carefully and respectfully. Have them participate in decisions about items to save or discard, but set firm guidelines. Be supportive and understanding, yet encourage them to let go of unnecessary belongings.
How long does it take to clean a hoarder’s house?
Cleaning a hoarder’s home could last days, weeks, or even months. The amount of time depends heavily on how large the home is and how severe the clutter problem has become. Severe hoarding in large houses might require steady effort over several months to restore complete order.
References
https://www.zbmclean.com/10-safety-tips-for-hoarding-clean-up (2023-09-20)
https://servicemasteroflakeshore.com/how-to-declutter-hoarders-house/ (2024-10-14)
https://lifecycletransitions.com/10-useful-decluttering-tips-for-hoarders-to-overcome-their-stuff/ (2023-07-24)
https://www.jiffyjunk.com/blog/hoarding-guide/ (2022-10-21)
https://pureoneservices.com/blog/the-ultimate-guide-to-essential-tools-and-equipment-for-hoarder-cleanup/ (2024-06-12)
https://cleancurerestoration.us/blog/how-to-clean-a-hoarder-s-house-a-step-by-step-guide
https://www.servicemastersanfrancisco.com/clean-hoarders-house/
https://firedawgsjunkremoval.com/10-tips-for-cleaning-a-hoarders-house/
https://www.servicemasterbyzaba.com/blog/how-to-help-a-hoarder-steps/
https://thetinylife.com/decluttering-when-youre-a-hoarder/
https://findthehomepros.com/10-best-hacks-to-tackle-a-hoarders-house-fast/
https://beginagaindecon.com/navigating-hoarding-cleanup-cost/
https://www.greatlakestinyhome.com/declutter-tips-for-hoarders/
https://www.traumaclean24seven.co.uk/hoarding-clean-up/start-the-new-year-with-a-hoarding-clean-up/
