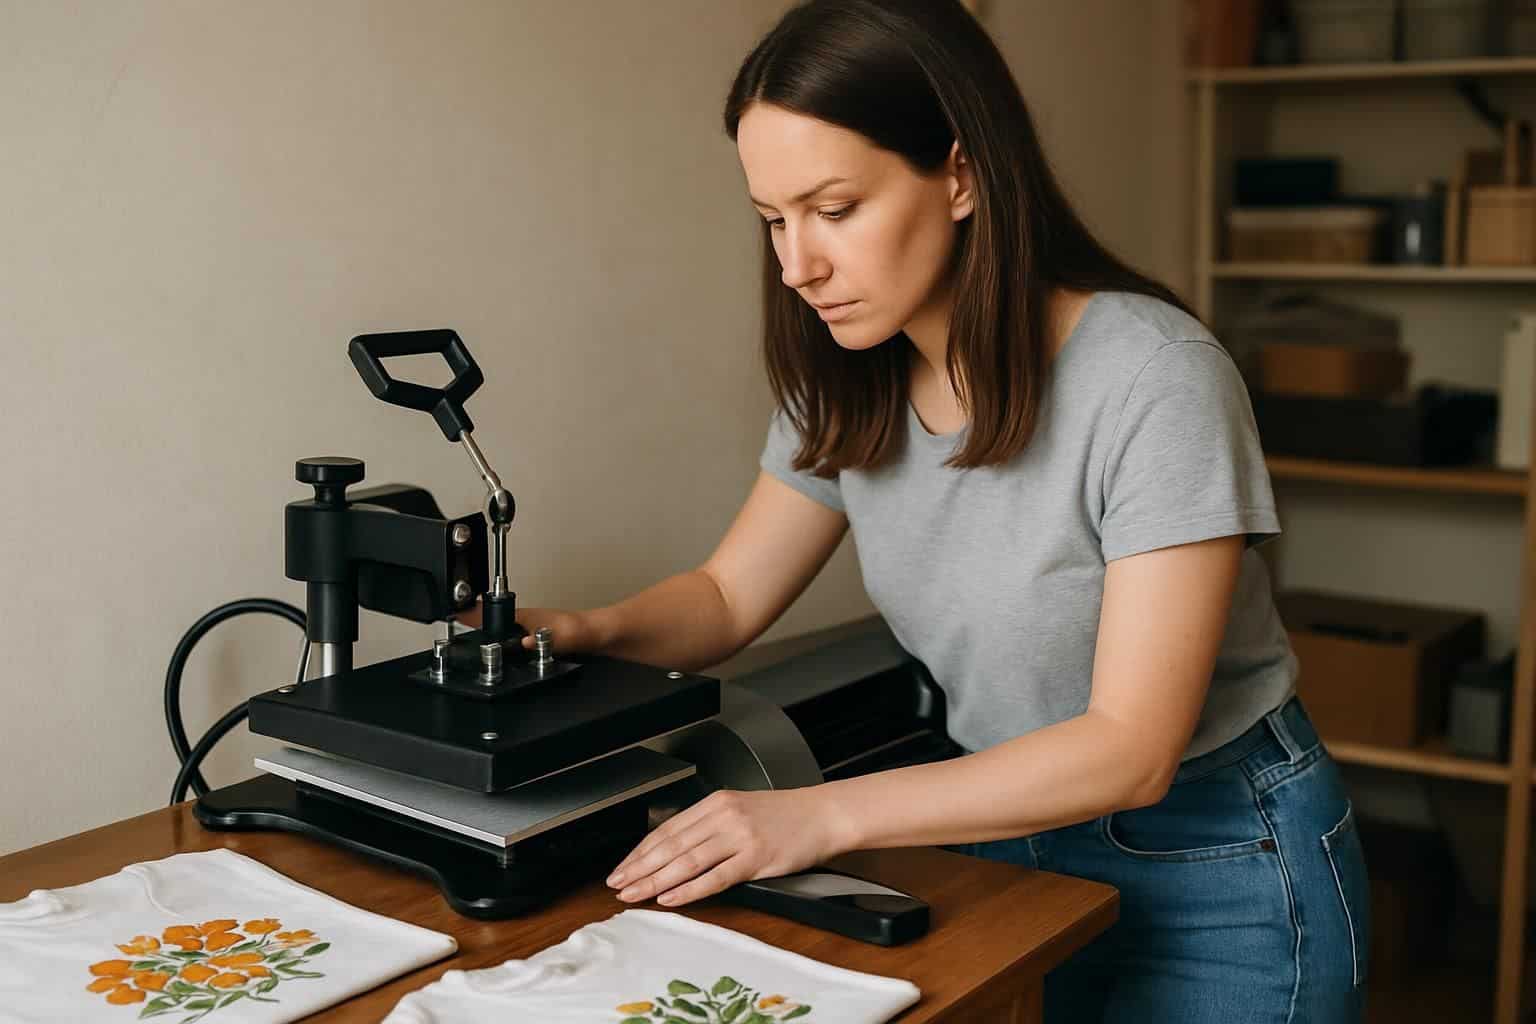
Are you tired of paying high prices for custom t-shirts or waiting weeks to get them delivered? Learning how to print designs on shirts at home is simpler than most people think, and you don’t need special skills.
In this post, you’ll find easy tips and clear guides on methods like heat transfer vinyl printing and sublimation printing. Keep reading to learn how easily you can start making your own stylish custom t-shirts today!
Key Takeaways
Heat Transfer Vinyl (HTV) printing is great for cotton shirts, easy for beginners, and starter bundles run from $12 to $38—perfect if you’re on a budget and just getting started.
Sublimation printing permanently infuses ink into polyester fabric by heating at 400°F for about 60 seconds; this keeps your designs bright, washable, and free from peeling or cracking.
A heat press evenly applies heat and firm pressure, outperforming home irons—you only need about 320°F and around 15 seconds to achieve professional-looking results on most cotton tees.
Screen printing costs roughly $55 to get started, and from setup through drying takes around five hours; it turns faster and cheaper once you print many identical shirts.
Fabric paint is ideal if you want distinct creativity; all you need are paints and brushes—letting you craft artistic, original designs without investing in fancy gear.
Table of Contents
Essential Tools and Materials for Printing Shirts at Home
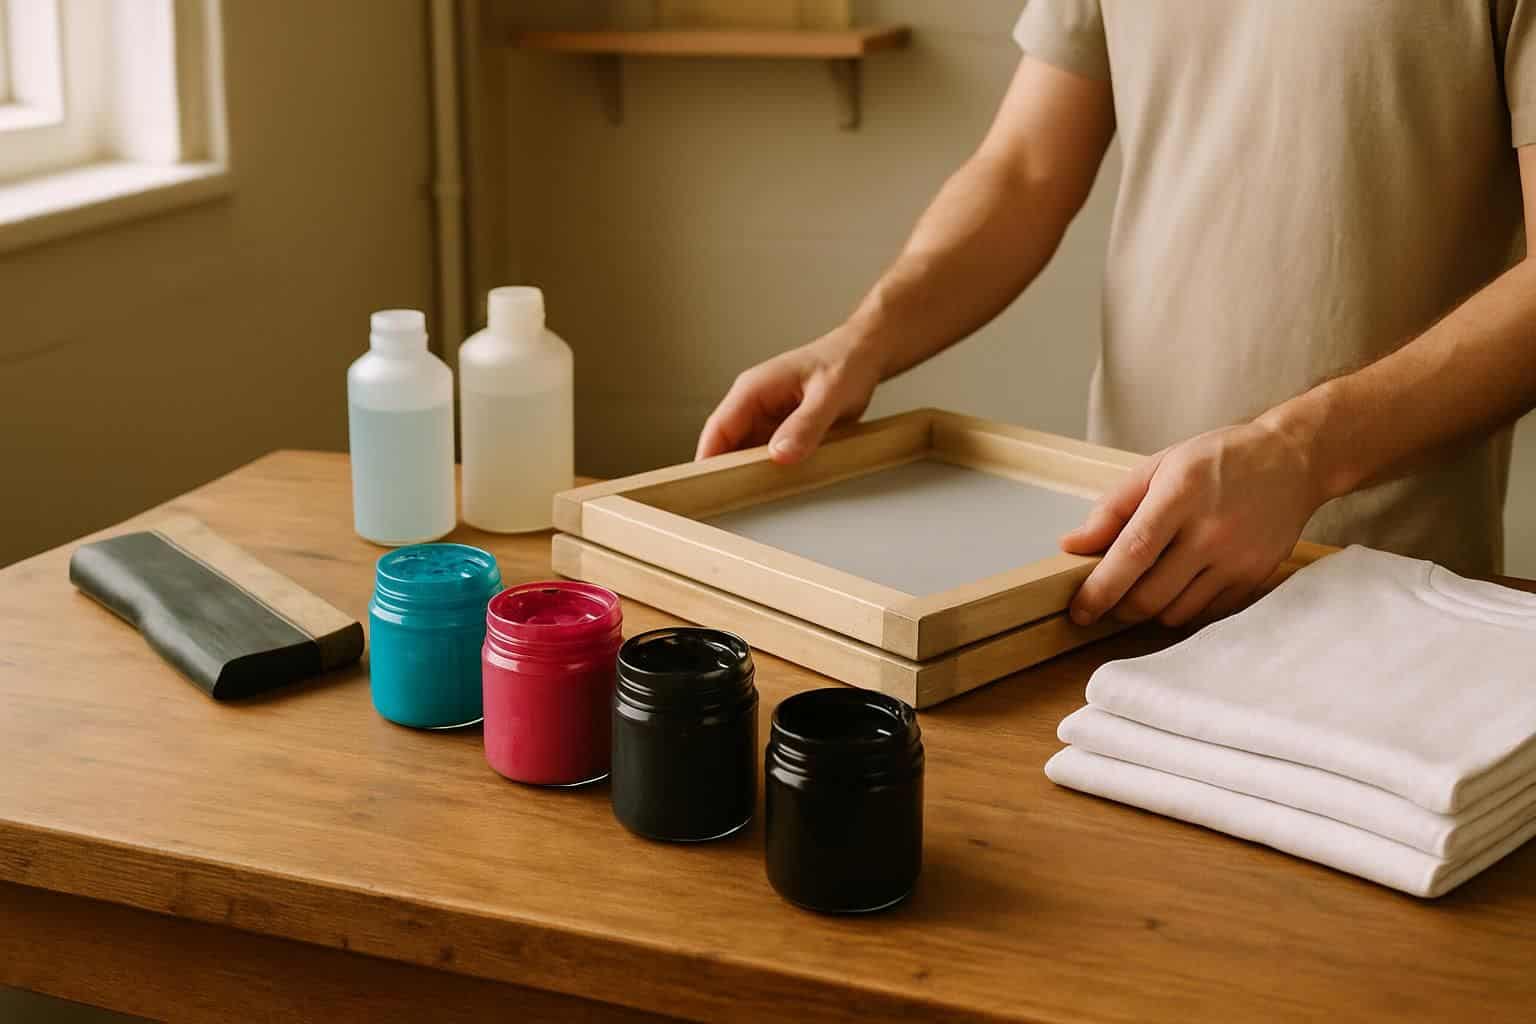
You’ll need the right gear to start printing shirts at home. A good setup includes basic equipment and supplies that fit your budget and design goals.
Heat Press Machine
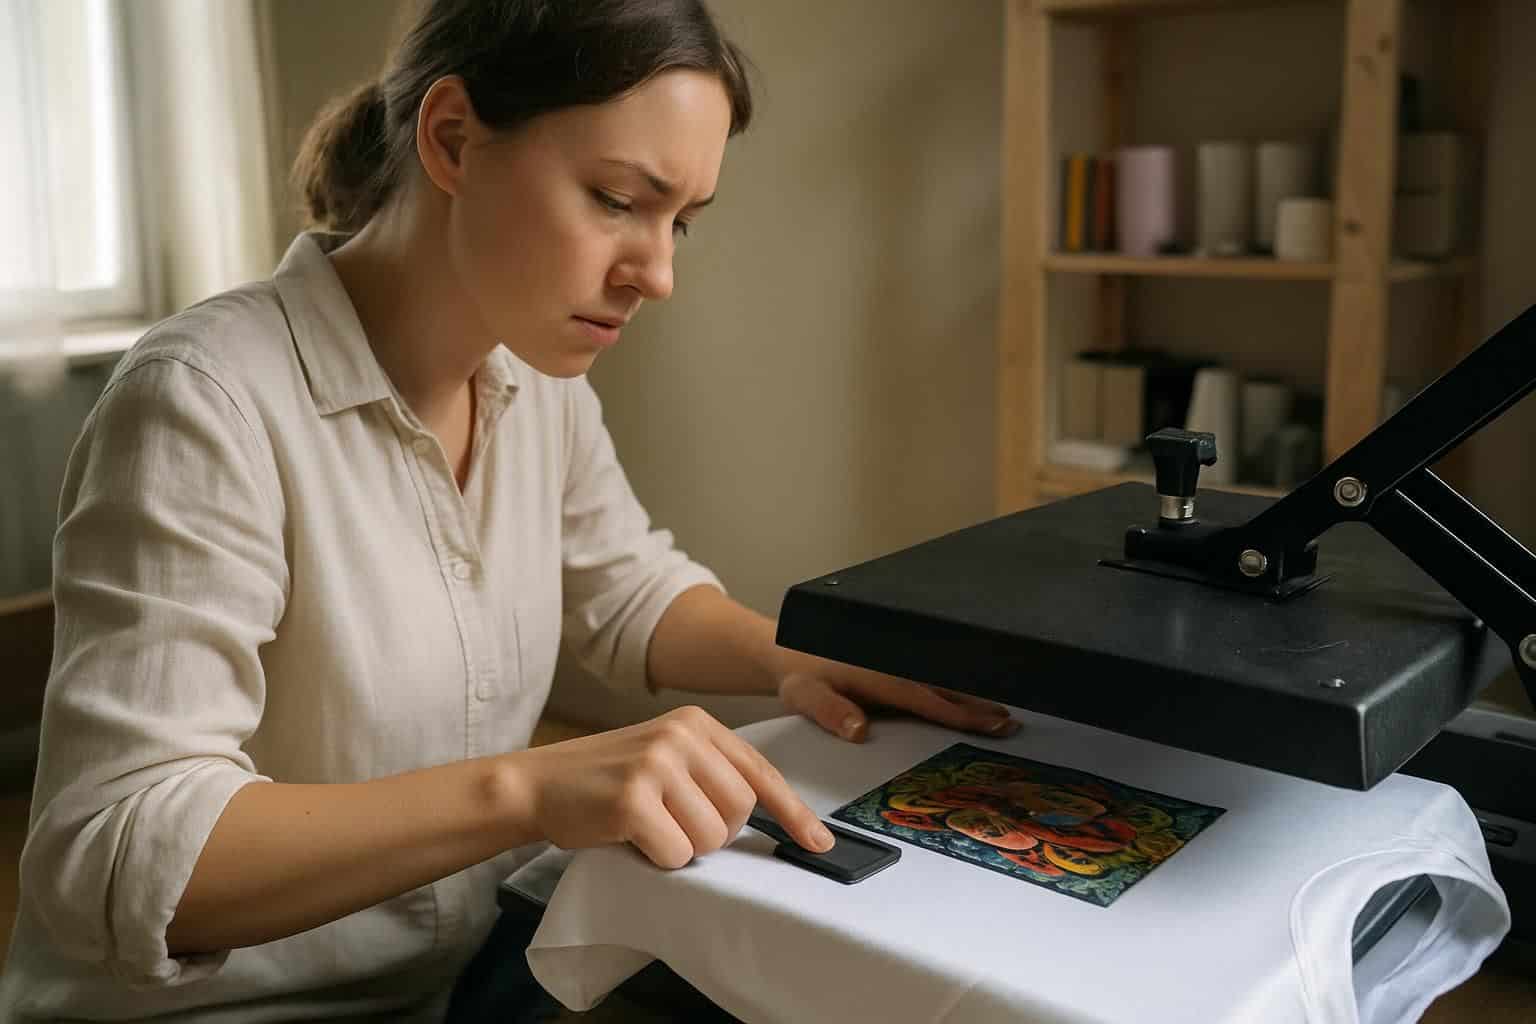
A heat press machine is the core of any home shirt printing operation. Sure—it might cost a few hundred dollars—but the perfect prints you get make it worth every penny. This tool evenly transfers your custom designs onto fabric through steady heat and pressure.
In contrast to regular household irons, heat presses distribute consistent heat across the entire area at the same time. That means your printed shirts last longer, without cracking or peeling in the wash.
Many top models even offer digital controls to set precise temperatures and timing.
Balancing heat and pressure correctly is essential for great printing results. Using too much heat can scorch or ruin the fabric, yet too little won’t bond your design completely. For most cotton shirts, around 320°F for 15 seconds with firm pressure is ideal.
Up next, we’ll look at how sublimation printers pair perfectly with your heat press, creating vibrant, colorful designs.
Sublimation Printer
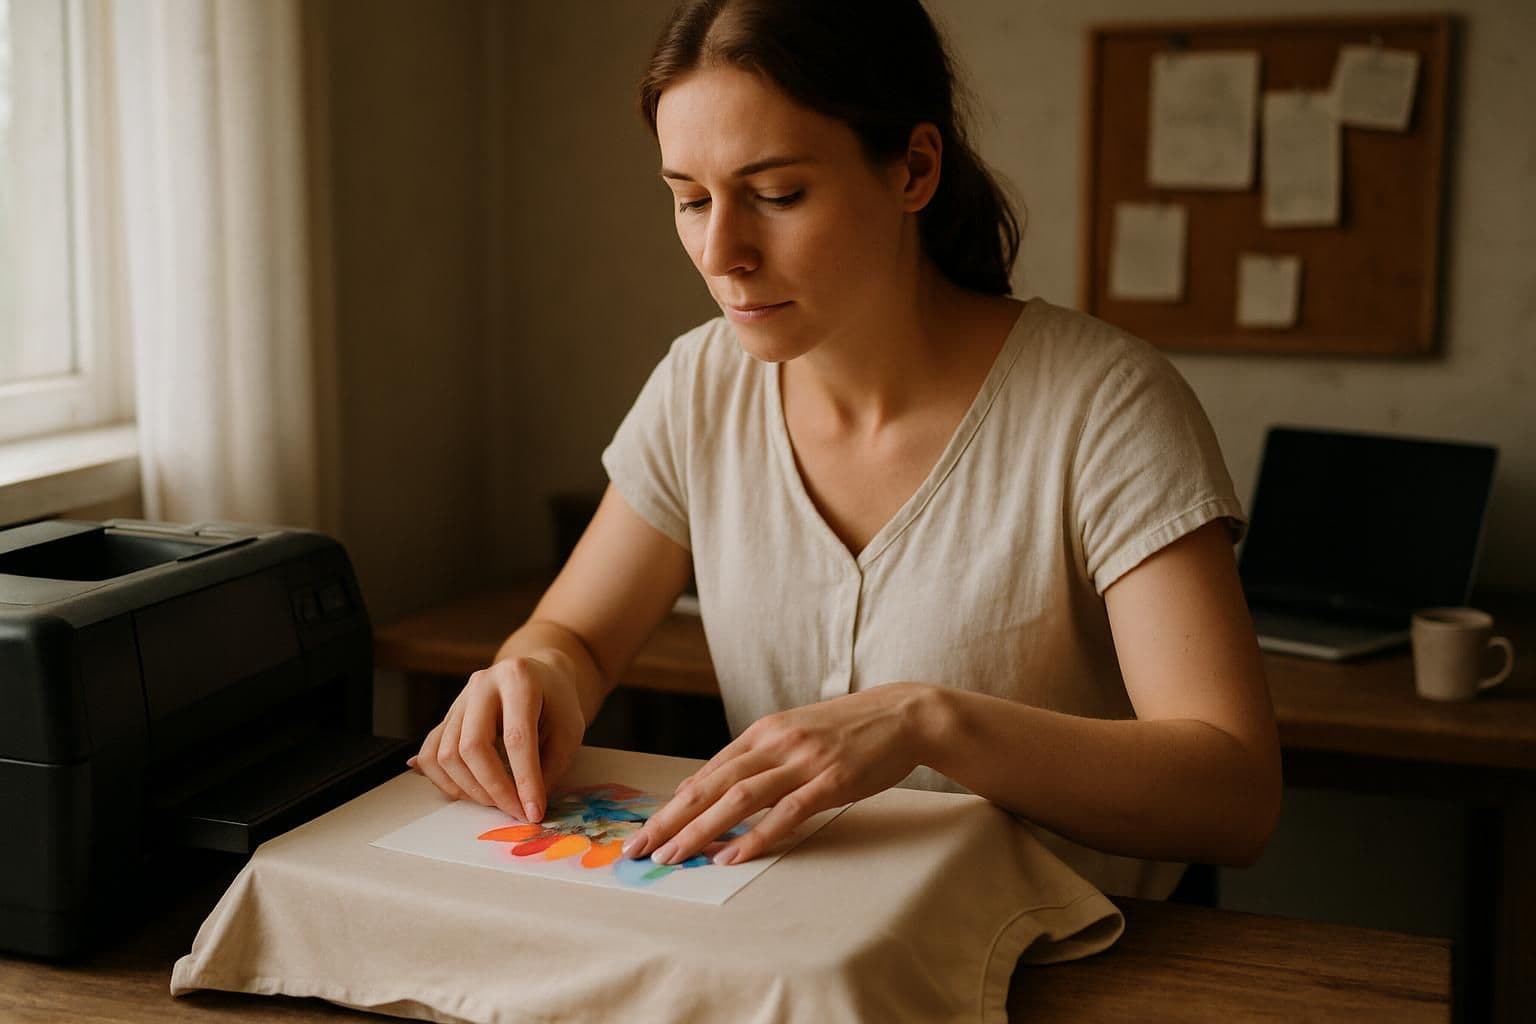
A sublimation printer is the heart of your DIY shirt-printing project. These unique printers use special inks that change directly from solid into gas under heat. Unlike standard printing methods, sublimation designs don’t crack, peel, or fade—even after countless washes.
The ink simply bonds into the fabric and stays put permanently. Expect to spend between $300 and $600 for a reliable printer, but the impressive results justify every penny. Many women discover that sublimation printers for sale provide plenty of models at various price points, meeting diverse needs and budgets.
Your sublimation prints work best on light-colored polyester shirts. Cotton fabrics don’t hold sublimation dyes effectively, so choosing the right fabric is key. Polyester clothing keeps your designs vibrant and ensures they last long-term.
Sublimation printing also creates smooth, professional-quality artwork that feels soft against your skin. Now, we’ll cover sublimation paper—the next essential you’ll need to transfer your creative, colorful designs.
Inkjet Printer
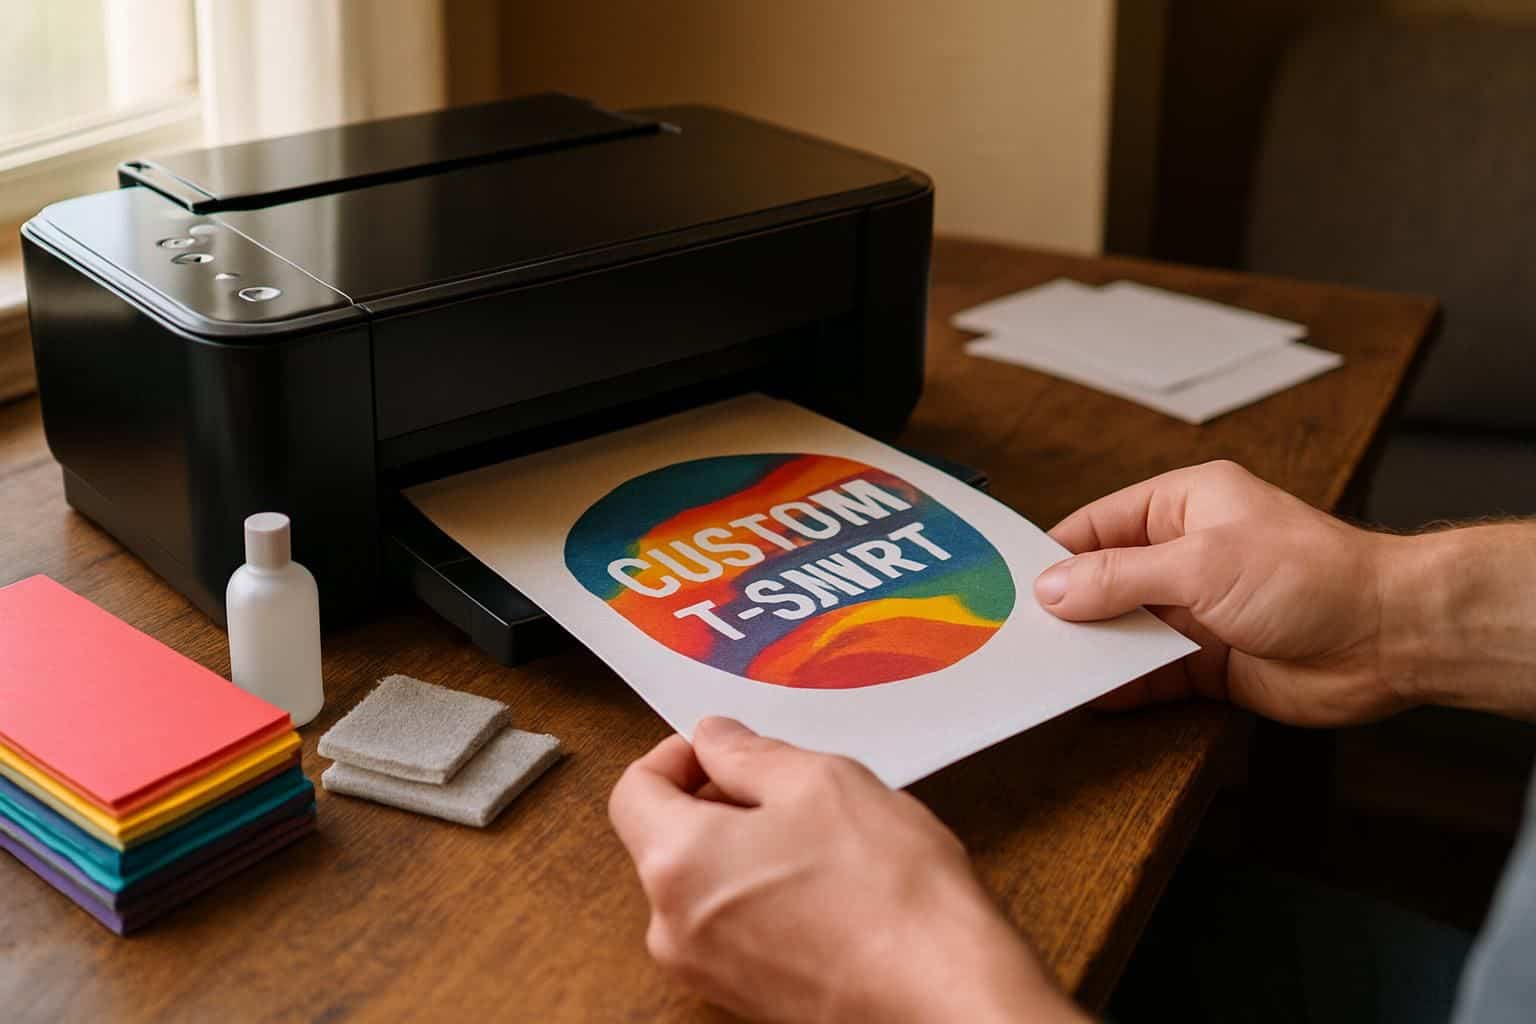
Sublimation printers work best on polyester fabrics—but standard inkjet printers give you more choices for DIY shirt printing. Inkjet models form the backbone for many home-based t-shirt methods.
You’ll simply pair your printer with special transfer paper, capturing designs and moving them onto fabric easily. These printers spray tiny droplets of liquid ink onto the paper, resulting in clear, vibrant images for your personalized apparel.
The right printer turns your creative ideas into wearable art that lasts.
Perform regular printer maintenance to keep your equipment running smoothly. Clean the print heads once a month—this stops clogs and keeps your shirt designs crisp. For better results, choose an inkjet printer that offers high resolution printing, since this directly affects your graphic quality on fabrics.
Many women running small home t-shirt businesses agree that investing in a high-quality inkjet model delivers professional, appealing products—without costly commercial printing fees.
Cutting Machine
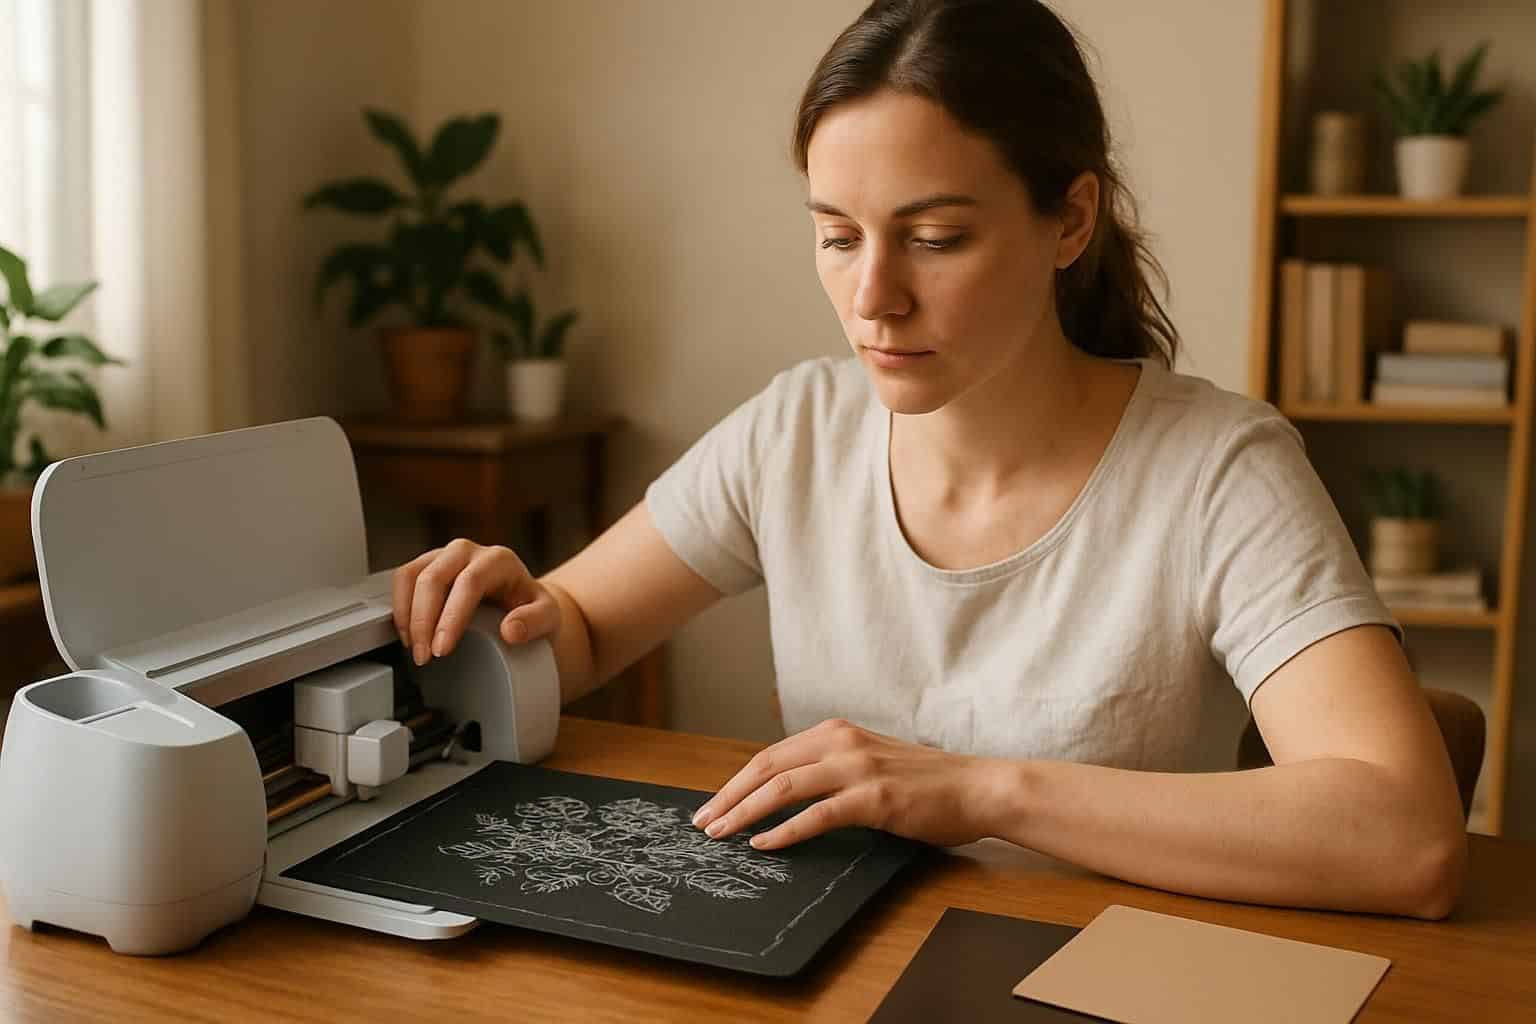
A digital cutting machine is your best bet for creating amazing DIY shirts using heat transfer vinyl. This handy tool delivers precise designs that would be impossible to achieve with scissors alone.
Last year, I got my Cricut, and it totally upgraded my t-shirt projects—no more messy edges or shaky lines!
These devices connect easily to your phone or computer and carefully follow each line you design. First, you create or upload your image into user-friendly software like those popular brands offer—Cricut’s Design Space is super simple to use.
Next, the cutting machine carefully slices through vinyl sheets, preparing them to transfer onto your fabric.
Vector images—graphics made of clear lines and curves—work best, letting your machine produce sharp, crisp outlines. Your machine uses its tiny blade to carefully carve detailed shapes from heat transfer vinyl, even delicate letters or tiny graphic details.
Finding the perfect settings takes a minute or two, so always do a test cut on spare vinyl before moving onto your good material.
Having a reliable cutting machine can mean the difference between casual crafts and professional-quality tees. It’s a tool worth investing in if you want your shirts to stand out—the improvement in detail alone is well worth the cost.
Heat Transfer Vinyl
Heat Transfer Vinyl (HTV) ranks among the best, most durable materials for making custom shirts at home. It offers endless color options and various finishes—perfect for creative DIY t-shirt designs.
Starter packs typically range from $12 up to $38, making it simple to begin your shirt-printing projects without spending much. For larger tasks, puff HTV is available in bigger rolls: a 5-foot roll costs around $13.90, while an 82-foot roll runs about $165.
The puff vinyl creates raised, textured designs that give your shirts a polished, professional feel.
You’ll need a few basic tools to use HTV. First, have a vinyl cutter ready to trim your design into shape. Next, a weeder tool helps peel away leftover vinyl. Finally, you’ll use a heat press machine to seal your design onto the fabric.
The actual application is easy—just cut the design in reverse, remove extra vinyl carefully, and press with heat to attach your design firmly onto the shirt. Next up, we’ll break down sublimation printing step-by-step—another great home method for customized shirts.
Sublimation Paper
Sublimation paper is like magic for your DIY shirt-making. This special paper holds your design firmly, ready to transfer onto fabric without smudging or blurring. Your best bet is printing artwork at 300 DPI on a sublimation printer.
I once used regular printing paper instead—a big mistake—and ended up with a blurry, faded mess! High-quality sublimation sheets ensure vibrant colors and sharp, clear lines. Always slip protective paper between the fabric and your heat press, just to keep stray ink from ruining the project.
The right sublimation paper transforms ordinary shirts into wearable art that lasts through countless washes.
During the heat transfer, the printed ink turns into gas and fuses directly with polyester fibers. The ideal fabric choice is 100% polyester, though blends with at least 50% polyester also work.
White shirts make your designs pop vividly, giving brighter and more intense colors. Sublimation sheets come in different sizes, from small logo-friendly sheets to larger sizes for full-shirt prints.
Next, consider screen printing, another popular technique for custom shirt-making.
Fabric Paint and Brushes
Fabric paint gives you endless ways to get creative with DIY shirt projects. You can easily apply your favorite designs onto cotton shirts using brushes, stamps, stencils, or simple sponges.
High-quality fabric paints stick securely to clothing fibers, unlike basic craft paints, and won’t fade or crack after washing. It’s helpful to keep several paintbrush sizes handy—thin tips for small details and wide brushes to easily cover large sections.
Heat-setting painted designs makes sure they hold up through frequent washing and regular wear. Most fabric paints need heat to fully bond the color, usually done by ironing the painted area from behind or tossing your shirt briefly in a hot dryer once completely dry.
Many women love fabric painting—it lets them create unique clothes on a budget, while also enjoying some relaxing creative time. The next part covers other fun ways to put designs onto shirts, moving beyond simple painting methods.
Popular Methods for Printing Designs on Shirts
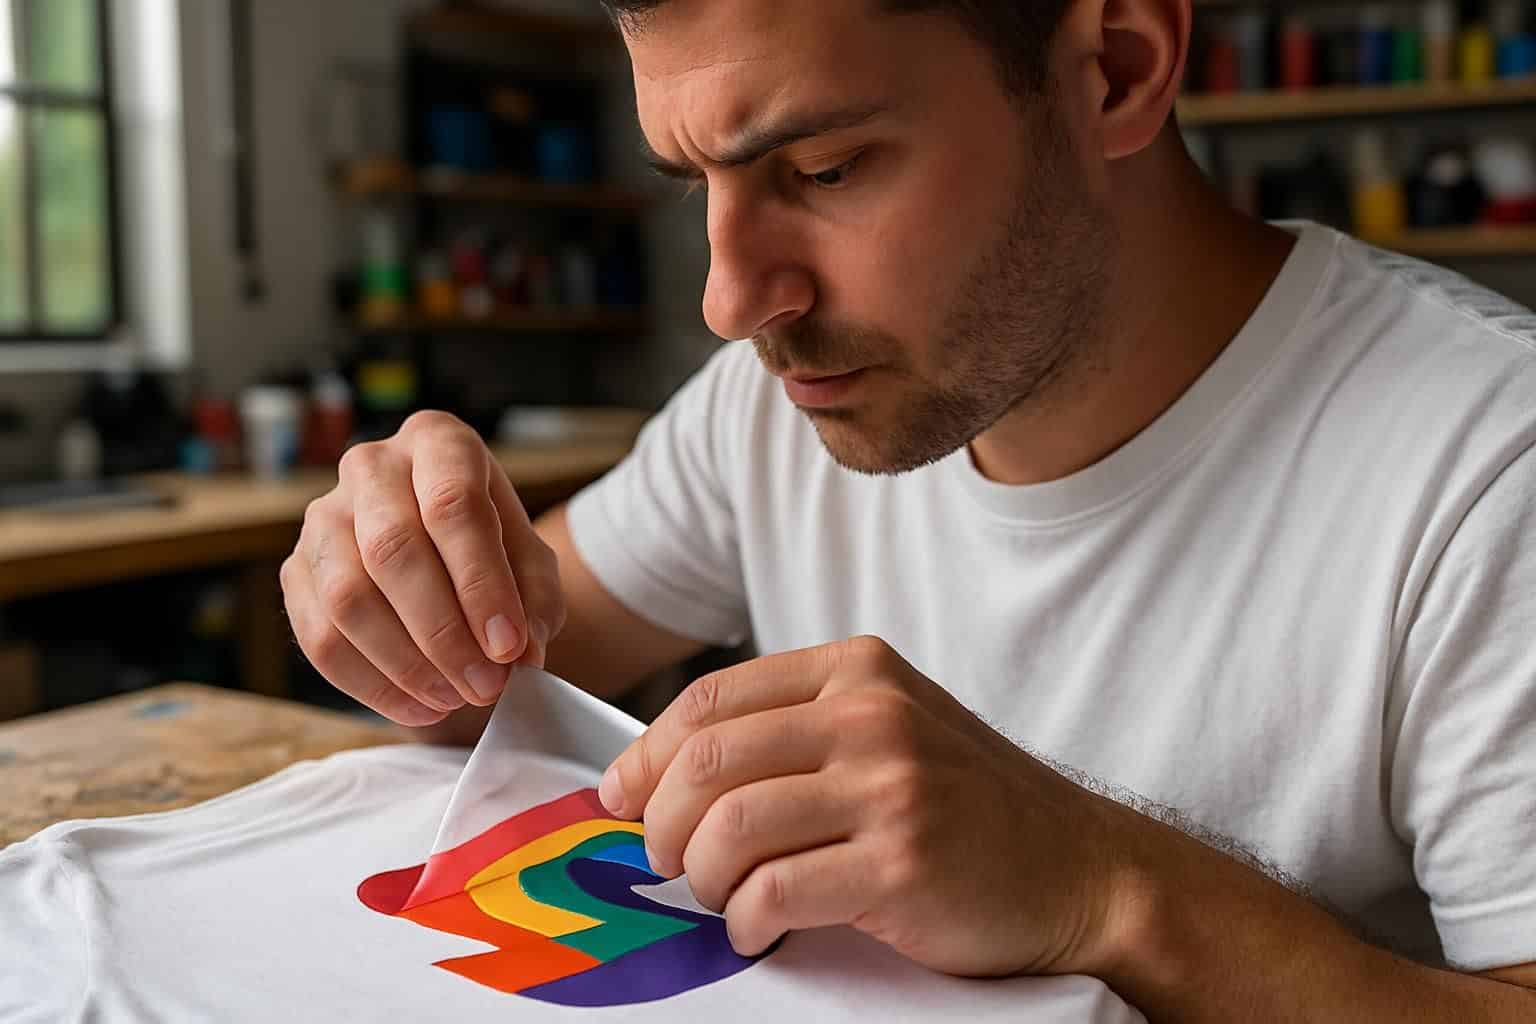
From heat transfer vinyl to screen printing, you’ll find several ways to create custom shirts that match your style — learn these methods to turn plain tees into wearable art that lasts through many washes.
Heat Transfer Vinyl Printing
Heat transfer vinyl lets you easily create custom-designed shirts right at home. This simple method works perfectly on cotton t-shirts—and many other fabrics too—giving you total freedom to show off your personal style.
You’ll just need a vinyl cutter to make the design and a heat press to stick it onto your shirt. I got started with a basic beginner set for just $15, and I created adorable birthday shirts for my daughter’s party—they honestly looked store-made!
Vinyl comes in tons of different choices, from regular finishes to specialty puff HTV that gives your creations a fun texture. Prices vary: smaller starter packs are budget-friendly ($12-$38), while bigger rolls suit frequent crafters better ($13.90 for 5 feet or $165 for an 82-foot roll).
The right tools turn simple vinyl into wearable art that lasts through countless washes.
The method itself is simple: design your idea, cut it out, weed the extra vinyl away, then press it firmly onto your shirt. A cutting machine, like Cricut, does the detailed cutting, letting you stay focused on creativity.
Lots of women even run successful online t-shirt shops right from their homes using this same easy method. The sturdy results mean it’s perfect for making comfy and stylish work from home outfits or custom activewear that stays looking great even after regular use.
With its low-cost entry point and great finished quality, vinyl printing makes personalized fashion easy—even if you’re brand new to crafting.
Sublimation Printing
Unlike heat transfer vinyl—which just sticks to the fabric surface—sublimation printing seeps right into the shirt fibers. It works by turning special inks into gas, bonding securely with polyester materials.
In my experience, choosing a light-colored polyester shirt gives the brightest results. The colors come out brilliant, and the design won’t fade, peel, or crack—even after lots of washing and drying.
To try sublimation printing yourself, you’ll just need a sublimation printer and the right transfer paper. Print out your chosen design, place it carefully onto the fabric, and press it for 60 seconds at 400°F using a heat press machine.
At this high heat, the ink quickly turns into gas, blending smoothly into the shirt. My first shirt looked great immediately—and months later, it still hasn’t faded. Sublimation printing provides unmatched staying power, perfect for shirts you plan to use regularly.
Screen Printing
Screen printing is an amazing technique to make custom shirts right at home—with results that look truly professional. Getting started costs around $55, and the designs you create will stay bright even after plenty of washes.
The basic materials include a screen printing frame, photo emulsion, and a squeegee to evenly spread ink across your stencil. From personal experience, this method shines for creating multiple shirts with identical designs.
After the initial setup, each shirt printed becomes faster, easier, and more budget-friendly.
The whole process, from setup to finished product, typically takes around five hours—but the effort pays off in quality. First, a stencil goes onto a mesh screen; you then push ink through the stencil onto your shirt.
Instead of seeping into the fabric, the ink stays on the surface, resulting in crisp lines and vivid colors. Many women running small home-based t-shirt businesses prefer screen printing, especially for bigger orders, because it offers better value per shirt and long-lasting prints.
Direct-to-Garment (DTG) Printing
Direct-to-Garment (DTG) printing uses inkjet technology to produce vibrant, colorful designs directly on shirts. It’s similar to using your home printer—but instead of paper, the ink goes straight onto fabric.
The printer sprays ink onto the shirt, creating sharp, detailed images with vivid colors that really pop. Many women prefer DTG for small orders or detailed art with multiple colors, because it offers flexibility and outstanding quality.
Starting a DTG t-shirt business from home can get expensive, since even beginner-level printers come with a hefty price tag. But the results often justify the investment: DTG prints look professional, resist peeling and cracking, and stay fresh-looking after many washes.
Shirts stay soft too, since the ink seeps right into the fabric fibers instead of coating the surface.
Now, let’s check out another common printing method—a process that uses heat and specialized paper to put bright, eye-catching designs onto t-shirts.
Hand Painting Designs
Fabric paint gives you endless ways to get creative with custom shirt designs. You can brush paint onto fabric, stamp it, or use stencils for completely original styles. With this technique, you control every color choice, texture detail, and artistic expression in ways other printing options just can’t match.
Many women like this approach because it requires very little equipment—a few brushes and some fabric paint.
Beginners often appreciate pre-made designs to follow, while more artsy creators might prefer freehand painting. Just make sure your artwork is original to avoid any copyright issues later.
Before you start painting, wash the shirt first, then stretch it flat over a piece of cardboard. After fully drying, most fabric paints need ironing to permanently set the design for washing.
This simple personalization method works well for crafting unique gifts or even launching a small online shop with original shirts people will love.
Step-by-Step Guide to Heat Transfer Vinyl Printing
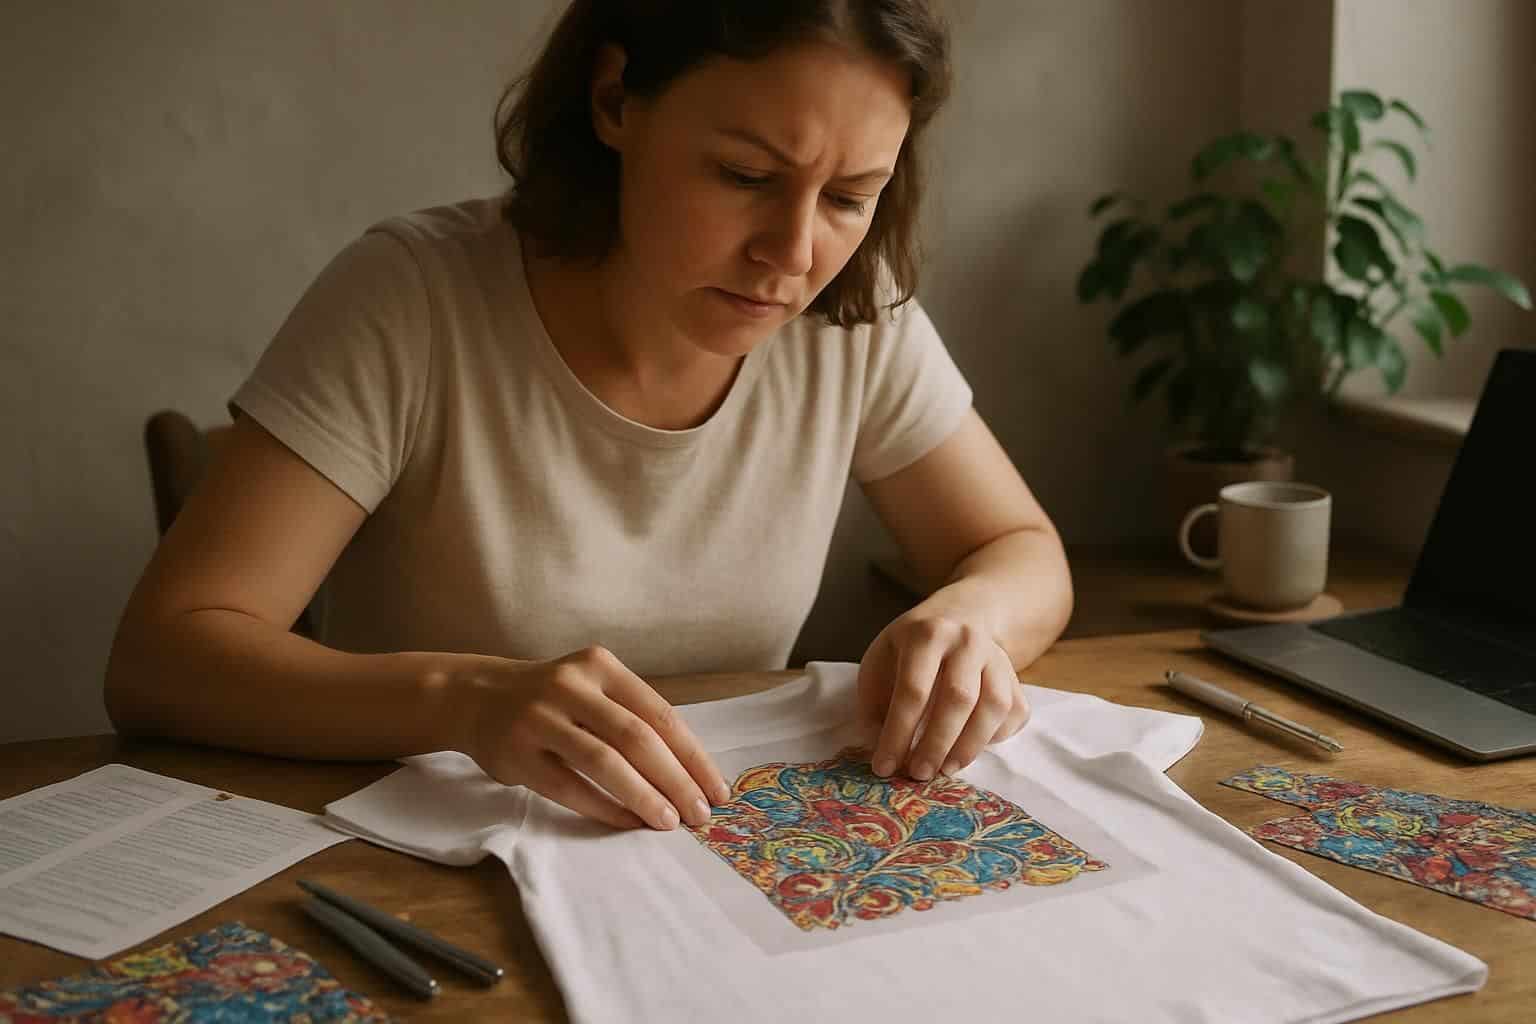
Our heat transfer vinyl printing guide walks you through each step from design to finished shirt, with tips to make your first project shine. Read on to learn how to create custom shirts that won’t crack or peel after washing!
Gather Supplies
Gathering the right shirt printing supplies sets your DIY project up for success. To launch a home-based t-shirt business, you’ll first need heat transfer paper and a heat press machine.
Starter packs cost around $12 to $38—an affordable way to get going with your new hobby. A reliable heat press machine can cost hundreds of dollars, but it pays off quickly if you’re planning to print several shirts.
You’ll also need to stock up on quality cotton shirts, sharp scissors, and set up a tidy work area. Selecting good image editing software matters, too—Photoshop and Cricut Design Space are popular choices for crafting unique designs.
Double-check your inkjet printer beforehand, making sure there’s enough ink ready for your designs. Once your supplies are set, you can move ahead to creating or uploading images for printing.
Create or Upload a Design
Great shirt designs start with quality artwork. You can use image-editing software like Adobe Photoshop—or even basic tools like MS Paint—to make your own unique designs. For beginners, simple shapes and clear text often come out best.
Or, you might grab free images from creative marketplaces such as Etsy, or even use personal photos. Just make sure your artwork has high enough resolution (pixels per inch), so it prints clearly later.
Most cutting machines require vector files, which you can resize easily without losing any detail.
Once your design is ready, the next step is to prep it for cutting. Convenient tools like the xTool M1 Ultra let you quickly import and adjust designs. If you’re using heat transfer vinyl, be sure to flip your image first—otherwise, it’ll appear backwards on your shirt.
The software usually helps guide sizing based on shirt measurements, making the process super simple. Many women love adding personal details—like their names or special quotes—to create shirts that feel truly unique.
Cut the Design Using a Cutting Machine
Your digital cutter can create amazing shirt designs—it’s like magic! Load the heat transfer vinyl into the machine, shiny side facing down. The blade will precisely cut through only the vinyl layer, leaving the backing intact.
Most cutters link easily to your computer or tablet, letting you arrange and resize designs. If you’re just starting out, go with basic shapes to keep things simple. The machine follows your digital layout exactly, so double-check every detail before pressing “cut”.
Once the vinyl is cut, you’ll “weed” the design—that’s just removing the extra vinyl around your image. Use a pair of tweezers or a weeding hook to gently lift off the unneeded bits.
Each vinyl type requires specific blade settings, so take a quick look at your machine’s manual for correct pressure and depth. Glitter or metallic styles usually require deeper settings compared to standard colors.
Before using your best vinyl, always run a small test cut first—better safe than sorry!
Transfer the Design with a Heat Press Machine
This next step is really fun—time to place the shirt neatly onto the heat press surface and position the vinyl exactly where it looks best. For ideal results, adjust your heat press carefully: if you’re pressing a cotton shirt, set it at 315°F for about 15 seconds.
From personal trial and error, consistent heat along with steady, even pressure greatly improves how well your vinyl sticks. Firmly press down, holding the machine perfectly still for the full recommended time.
After the timer ends, carefully peel away the vinyl carrier sheet—check first whether your vinyl needs peeling hot or cold.
To get the clearest, brightest results, use a Teflon protective sheet over your design—it helps prevent accidental scorch marks. This small detail protects the shirt and the heating surface alike, keeping everything safe and clean.
Many women who launch a t-shirt printing business often finish by washing the garment 24 hours later, helping the design set firmly into place for good.
Proper heat press technique helps DTG prints and vinyl transfers stay bright and clear, even after several washes. Up next, we’ll walk through sublimation printing—another common way to create stunning custom designs on shirts.
Step-by-Step Guide to Sublimation Printing
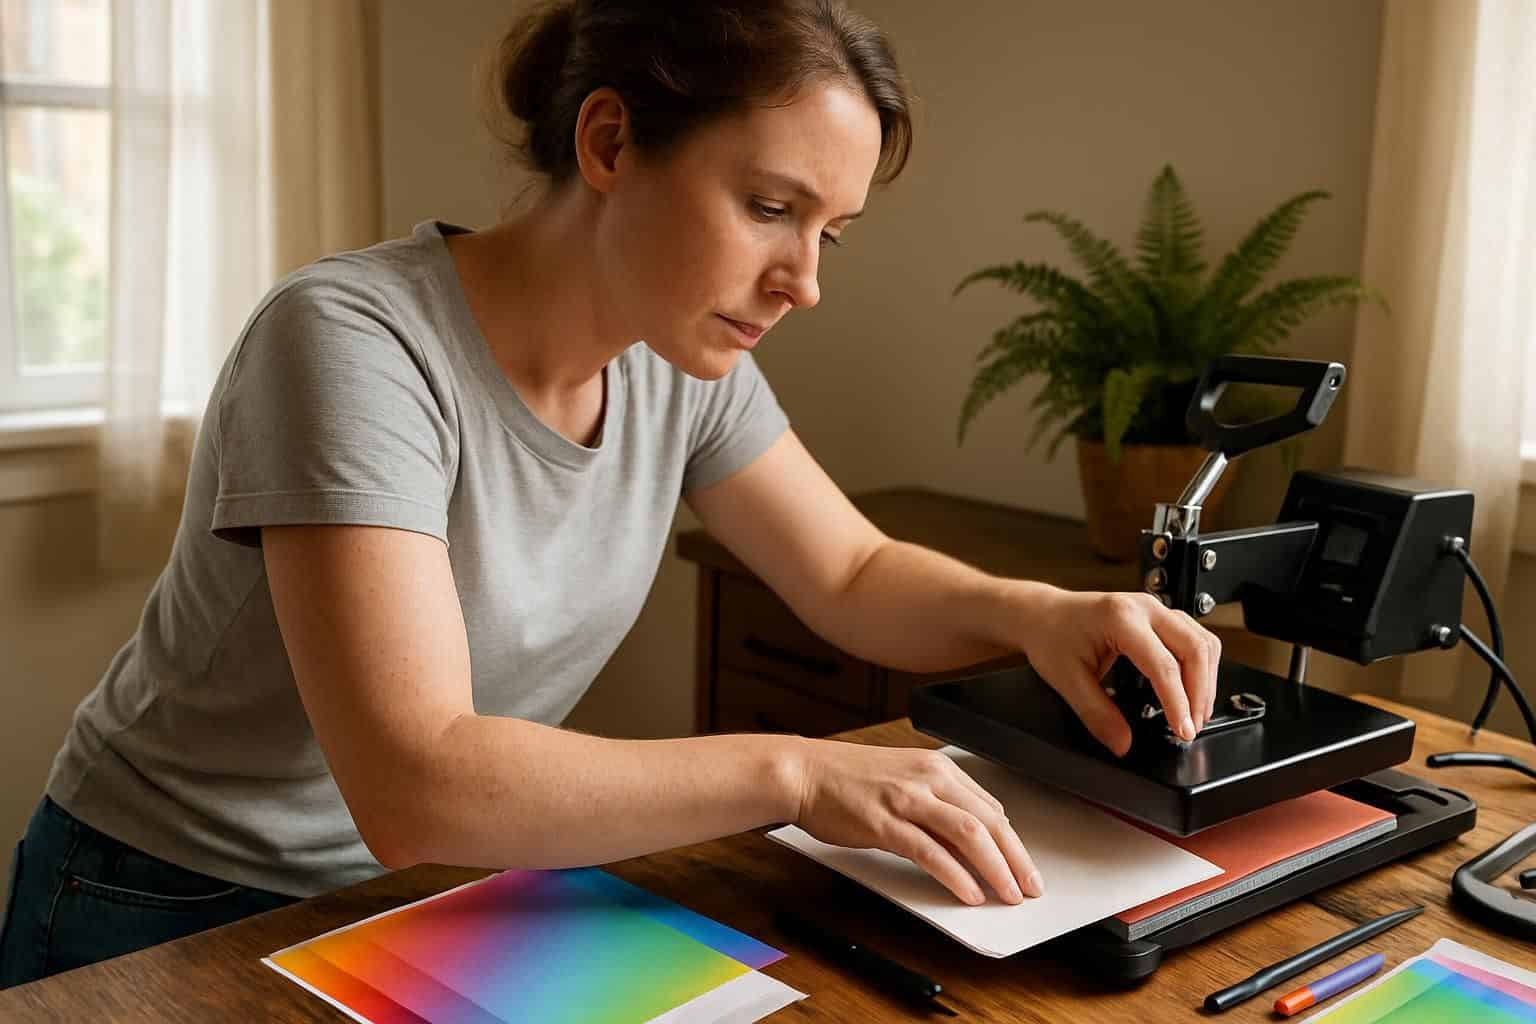
Sublimation printing lets you create bright, lasting designs that won’t crack or peel off your shirts. With a few basic tools and some practice, you can transform plain tees into custom masterpieces right in your home craft space.
Prepare a Sublimation Design
A good sublimation print starts with reliable design software. For simple tasks, I prefer Canva—it’s user-friendly and hassle-free. For detailed graphics, Adobe Photoshop offers more flexibility.
Your final design should be at least 150 DPI resolution. That ensures sharp details and clean edges, instead of fuzzy lines and blurred prints. Printful’s Design Maker has free templates to simplify sizing, perfect for someone just starting out.
Always check your color profile settings carefully. Colors appear differently on fabric than on your computer screen, so make your digital design slightly brighter than usual. Sublimation ink tends to look darker once printed on shirts—just a helpful tip to keep your designs vibrant.
Save the file in PNG format, preserving a transparent background that’s ideal for most t-shirt designs. With your artwork set and saved, you’re ready to print onto sublimation paper and move to the next step.
Print the Design on Sublimation Paper
Once you’re happy with your design, it’s time to print onto special sublimation paper. Load the sublimation sheet into your ink-jet printer, making sure the white side faces upward.
This special paper holds dyes that transfer your image clearly onto fabric during heating. Before printing, set your printer options to match the paper type, and select “high” for print quality for the clearest outcome.
PNG and JPEG files deliver the sharpest details and brightest colors in sublimation prints.
At first, your printed image may seem faded or dull—but that’s totally normal. The colors become vibrant only after heat pressing activates the dyes. Always do a quick test print to check colors and alignment before using your quality paper for the final print.
Handle the printed sheet carefully to prevent smudges or stray fingerprints from getting transferred onto your shirt. Sublimation printing creates professional-looking images that stay smooth and colorful even after repeated washes—ideal if you’re launching your own t-shirt shop online or customizing clothes for yourself.
Use a Heat Press to Transfer the Design
Here comes the exciting part—the moment your design fuses into the shirt itself! First, adjust your heat press to 400°F, then carefully position your sublimation paper face-down on your shirt.
A heat press machine uses high heat and firm pressure to transfer ink directly into the fabric fibers. Press down firmly for exactly 60 seconds—the perfect timing to fully imprint your design.
Be patient here, because the reward is a print that truly becomes one with your shirt. During pressing, the ink heats up and turns into gas, sticking permanently inside the polyester fabric.
Once pressed, wait about a minute to let the shirt cool slightly, then peel off the sublimation paper carefully. Your colorful design will now appear embedded smoothly into the fabric—no raised edges or peeling spots like regular iron-on prints.
To keep your sublimated shirts vibrant and fresh, always wash them inside out, and dry gently using low heat settings or simply air-dry. Proper care will keep those vivid colors bright even after multiple washes.
With careful technique and a bit of patience, your homemade sublimation printing will easily look good enough for selling online or proudly wearing yourself.
Basics of Screen Printing at Home
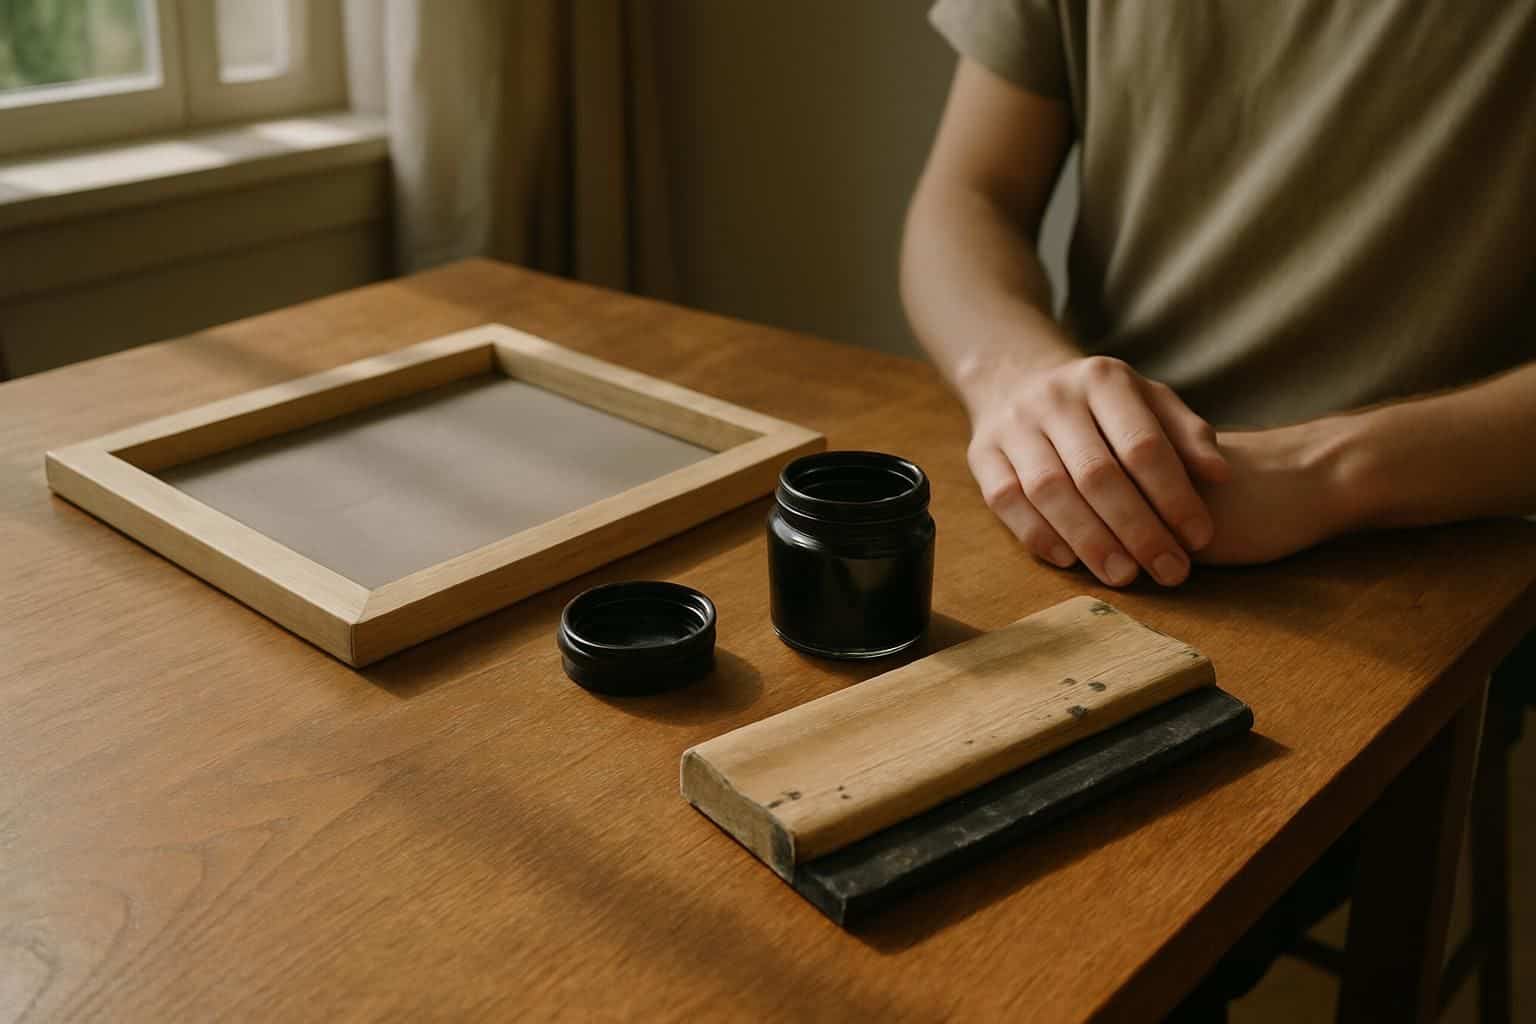
Screen printing at home lets you create custom shirts with a classic look using simple tools like frames, screens, and ink – learn how to set up your workspace, prep your screens, and apply ink for pro-level results in our full guide!
Create a Screen Printing Frame
Making your own frame for screen printing saves cash, and lets you control every detail of your shirt designs. All you’ll need is some 2×2 lumber and 110 polyester mesh—simple stuff you can grab at your hardware or fabric store.
In total, it costs around 20 dollars, perfect if you’re starting your own little t-shirt business right from home. Just cut the lumber down to size, form a rectangle, and secure the corners tightly with screws or nails.
Once you’ve built your rectangle, lay the polyester mesh on it and staple securely around the edges. Pull firmly to make sure the surface stays tight and smooth—no wrinkles or loose spots—for sharp, vibrant prints every single time.
These homemade frames handle plastisol inks beautifully and hold up nicely, even after multiple washes and reuse. Many women prefer DIY frames over ready-made ones, especially if they’re printing in small batches at home.
Prepare and Burn the Screen
The process of preparing your screen for printing begins in a dimly lit space, where you’ll carefully coat your screen printing frame with emulsion. Spread this emulsion smoothly on both sides of the screen, using a coating tool.
Allow the layer to dry fully in complete darkness—light will ruin it at this stage. After drying, you’re ready for the exposure phase, to create your stencil. Lay your artwork on the dried emulsion and expose it under a 150-watt incandescent bulb.
The exposure lasts about 15 minutes, within a total prep time that’s usually around five hours.
Once exposed, move your screen to a sink or tub area. Spray it gently but thoroughly with lukewarm water, using a decent amount of pressure. The water clears away any emulsion untouched by the light and leaves behind your design as a stencil.
Areas that came into contact with the bulb’s light will harden—the rest washes clear, forming open spaces. These openings let ink through onto your chosen material. Now your screen is set, you’re all set to start applying ink and bring your creation to life.
Apply Ink to the Design
Now it’s time for the fun part—screen printing! Pick up your squeegee and put a generous line of ink along the top edge of the screen frame. Go ahead, use plenty—it makes sense, since you’ve already invested around $55 in materials.
Press firmly and pull the squeegee smoothly toward your body in one motion. Doing this pushes ink through open spots on the screen and onto your shirt below. Most beginners tend to skimp on ink, which leaves messy areas behind, so be sure to add enough.
Try out different squeegee pressures, because every design turns out differently. Soft cotton shirts typically need lighter pressure compared to thick sweatshirt material. After the first pull, gently lift the screen and peek underneath to spot any missed areas.
Some prints might need another swipe or two for bold results.
Silk screen printing gives shirts a polished, store-quality finish—without spending tons on pricey DTG machines or complicated embroidery setups. Once you’ve gotten good at this skill, it’s easy to produce personalized shirts for yourself, gifts for friends, or even launch a small clothing brand right from your own home.
Cure the Ink
Once you’re done screen printing your shirt, the ink needs curing to stay locked in. This step permanently fuses the print onto the fabric. You’ll need either a flash dryer or heat gun, and the process usually adds about five hours to your project timeline.
Proper curing heats the ink just enough to bond securely with the shirt fibers.
Before starting, put on gloves and an apron—this keeps your hands and clothes protected from heat and ink. Hold your heat gun roughly six inches from the printed surface, gently moving it back and forth across the design.
Once the ink cures correctly, you’ll notice it turns slightly duller and loses its initial gloss. Many DIY printers skip this crucial step, then later find their designs fading after laundry.
So let’s quickly cover some common errors that can ruin your shirt printing project.
Tips for Successful DIY Shirt Printing
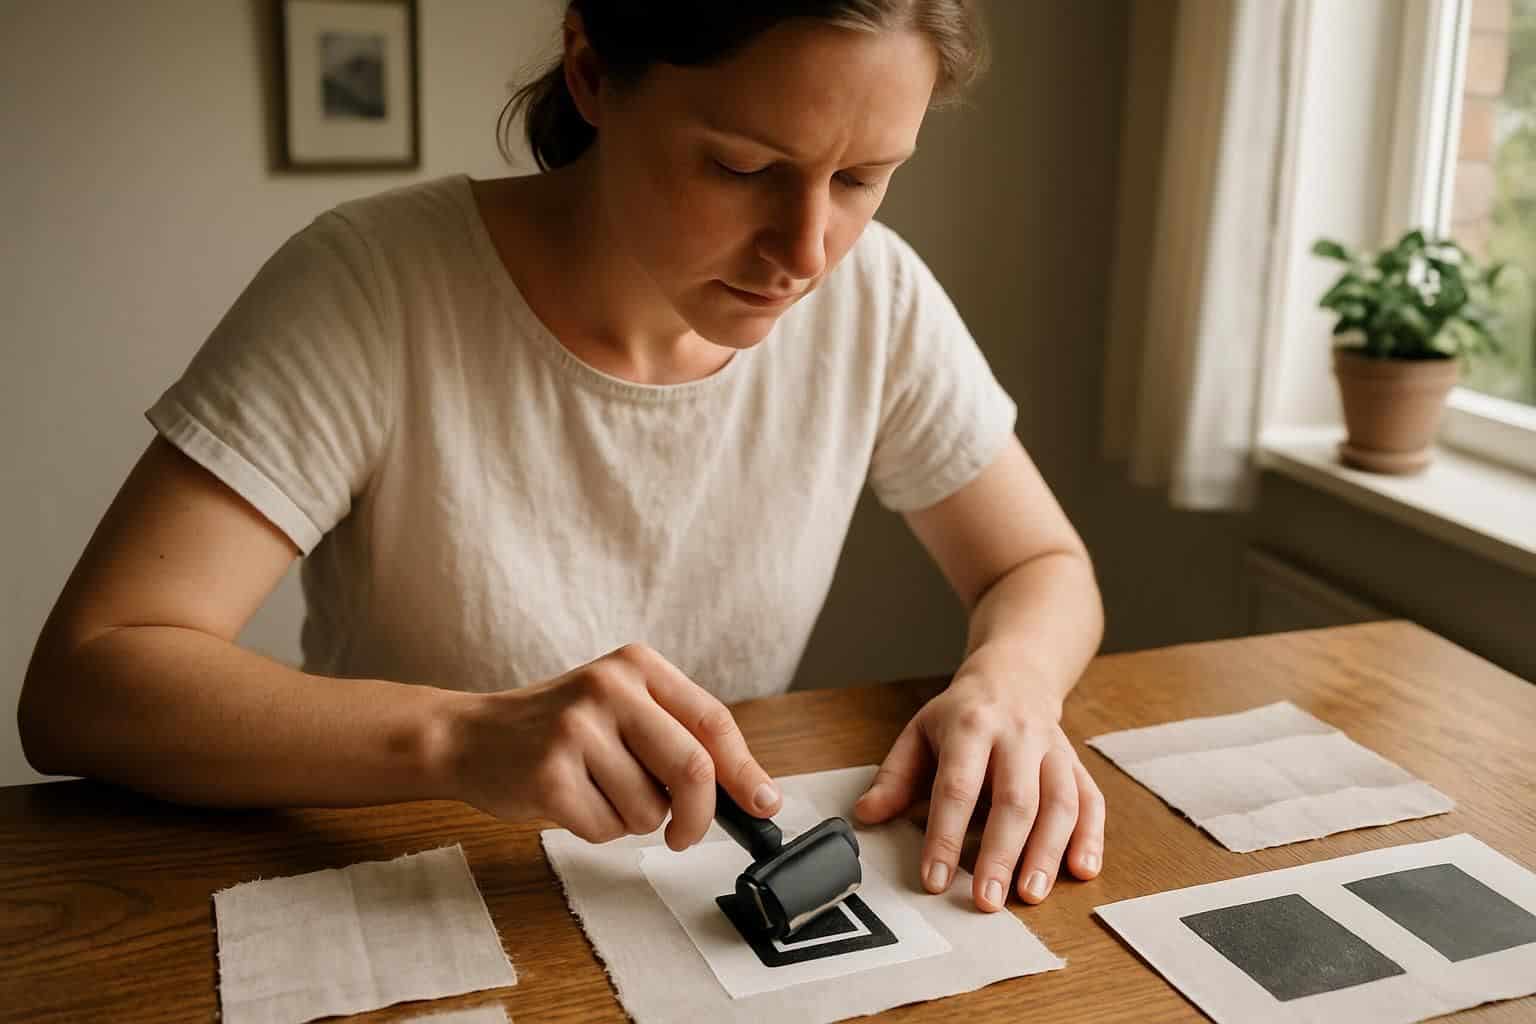
The right tips will save you time and money when printing shirts at home. Learn how to pick the best fabric types, test your methods first, and keep your tools in top shape for perfect results every time.
Choose the Right Fabric
Fabric choice can truly shape your DIY shirt printing success. Pure cotton shirts soak up designs nicely, locking in vibrant colors that stay vivid wash after wash. Blended cottons also perform well—giving you soft comfort while still showing off crisp artwork clearly.
Moisture-wicking shirts offer yet another great choice, perfect for athletic gear or summertime tees that handle sweat without dulling your graphics.
Material type directly affects how sharp and bright your printed designs remain. Cotton tees have tight fabric weaves, trapping ink precisely and showing off bold lines and clear images.
Before placing large orders for your online T-shirt store, always try test prints on smaller fabric squares. This easy check prevents wasted money and headaches, ensuring compatibility with your heat-press, sublimation printer, or screen printing gear.
Test the Process on Practice Fabric
Always test your design on scrap fabric before working on your favorite shirts. Once, I skipped this step and ruined three costly cotton tees—lesson learned! Old t-shirts, leftover fabric scraps, or inexpensive dollar-store shirts are all excellent choices for test runs.
Practicing first helps you catch problems like ink bleeding, poor color matches, and incorrect heat settings that can ruin your good stuff. It also boosts your comfort level using the tools, so you feel prepared for the actual project.
Most hobby stores sell tiny pieces of fabric made specifically for testing purposes.
Make sure your test fabric closely matches your final project’s fabric material. Polyester reacts to heat differently than cotton or blended fabrics. Blends and pure materials differ a lot in how they respond to your printing setup.
Adjusting these small details early can save you money, time, and headaches down the road. Now, let’s check out how fabric choices affect your printing results.
Maintain Your Equipment Regularly
Keeping your shirt printing equipment clean helps it run smoothly—and look like new. Ink buildup and dust can clog printer heads or wear down your heat press over time. Every week, I gently wipe down my sublimation printer with a soft cloth and inspect it for paper jams, which can scratch up the rollers.
For the heat press, I give it a quick wipe after each use, while the plate is warm—but not too hot.
Your cutting machine deserves some care as well! Swap out dull blades early, so they don’t tear up your vinyl projects, and use a lint roller on your cutting mat to pick up tiny scraps.
A friend of mine ruined her beloved DTG printer by neglecting regular upkeep for several months. Just five minutes of cleaning up after each project can save you from expensive repairs, making sure your shirts come out looking fantastic every time.
Clean equipment creates great designs—it’s really that simple.
Common Mistakes to Avoid
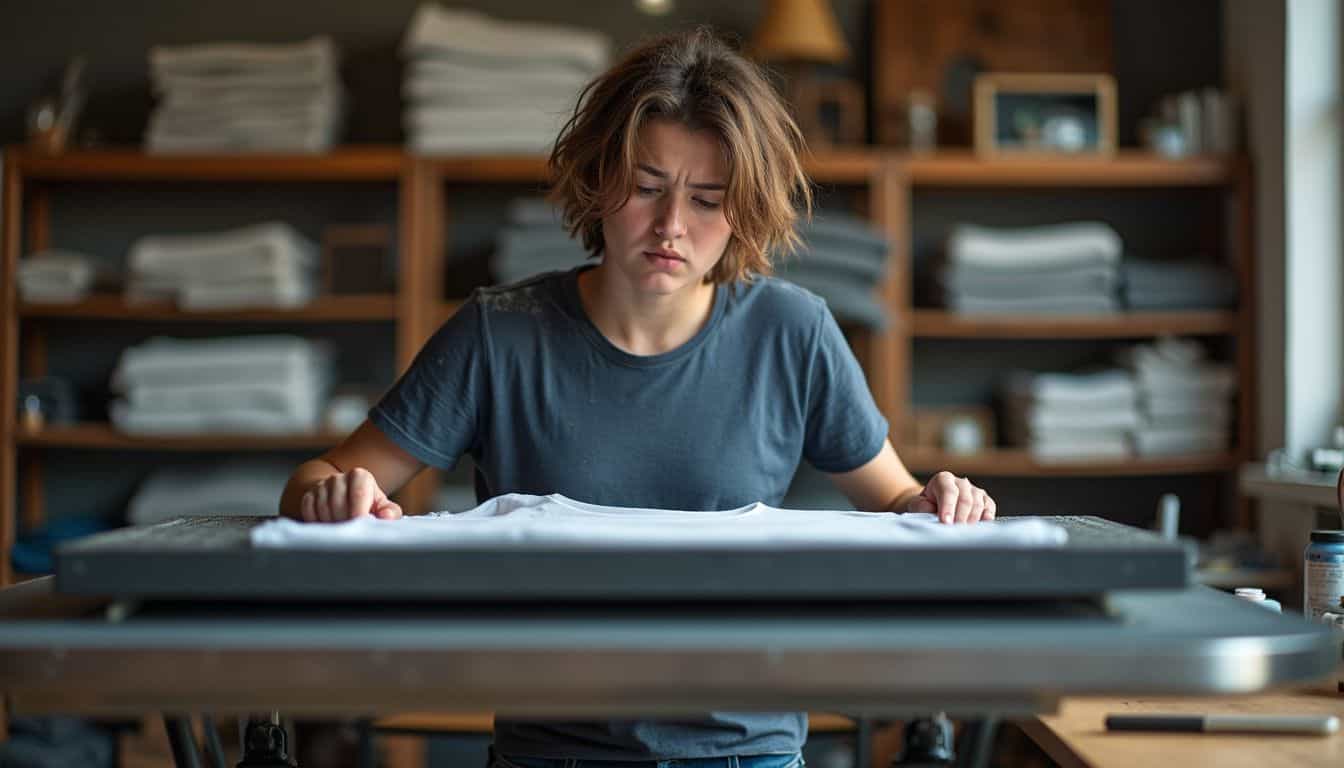
Avoid these common shirt printing errors to save time, money, and fabric – from setting wrong heat levels to misaligning designs and buying cheap supplies that won’t last through washing.
Using Incorrect Heat Settings
Heat settings can either make your shirt project perfect—or mess it up completely. Last summer, I ruined three shirts by setting my heat press to the wrong temperature. Cotton shirts need about 310°F, but polyester shirts only take around 280 to 300°F, or they’ll scorch.
Beginners often set their heat press the same way for every fabric, causing damage to both the shirt and design. Even your DTF transfers have special instructions: set heat at 310°F, medium to firm pressure, and press exactly 13 seconds.
Exact settings like these help your designs stay fresh and intact.
Be sure to place a protective cover sheet between the heat source and your shirt. Doing this easy step protects the fabric from direct heat damage. After learning to handle heat settings correctly, my sister launched her own online t-shirt business.
She always practices first, testing out each new fabric on scraps. This habit saves money—and the painful frustration of seeing your perfect design ruined by too much heat.
Not Aligning the Design Properly
Setting the correct temperature is important—but placing your design properly is just as crucial for a successful shirt project. I once wrecked my favorite cotton tee because I positioned the graphic two inches above where it belonged.
If you want a polished look, getting placement right is essential. On adult shirts, designs usually look best about 3 to 4 inches below the collar. For kids’ shirts, try placing it about 2 to 3 inches beneath the neckline.
The type of graphic matters too, since placement depends on the design’s shape and purpose. Smaller logos typically look great on the left chest area, while larger illustrations fit better centered on the shirt’s front or back.
Your shirt’s fabric also affects your alignment process. Fabrics that stretch easily can shift during pressing, so handle them carefully. Now, I always use a ruler and T-square to measure exactly before pressing anything down.
Many crafters even create simple paper templates first, testing placement before applying the actual heat transfer. Doing this easy step can save your shirts, your budget, and your sanity.
Mixing up placements can add extra visual interest—like a small logo on the front and a bigger graphic on the back. This combination can give your shirts a more professional, appealing look.
Choosing Low-Quality Materials
Low-quality materials can quickly wreck your DIY shirt printing projects. Cheap shirts tend to pill, shrink, or fade after just a few washes, ruining all your careful effort. Even if you’re extra cautious while printing, a great design won’t hold up on poor-quality fabric.
Many beginners try saving money by choosing cheaper blank shirts—but this choice usually backfires, resulting in unhappy customers if you’re selling shirts.
Quality really matters, way more than cutting corners on supplies. Choose blanks made from 100% cotton, blended cotton, or moisture-wicking fabrics for optimal results. These materials help your custom designs stay vibrant, fresh, and crisp, even after many laundry cycles.
The right fabric prevents your screen prints, iron-on transfers, or DTG prints from peeling, cracking, or fading. People clearly notice shirts that hold shape and color, compared to clothing that quickly loses its appeal—it’s always worth investing in decent-quality basics.
How Will DIY Shirt Printing Evolve in 2025?
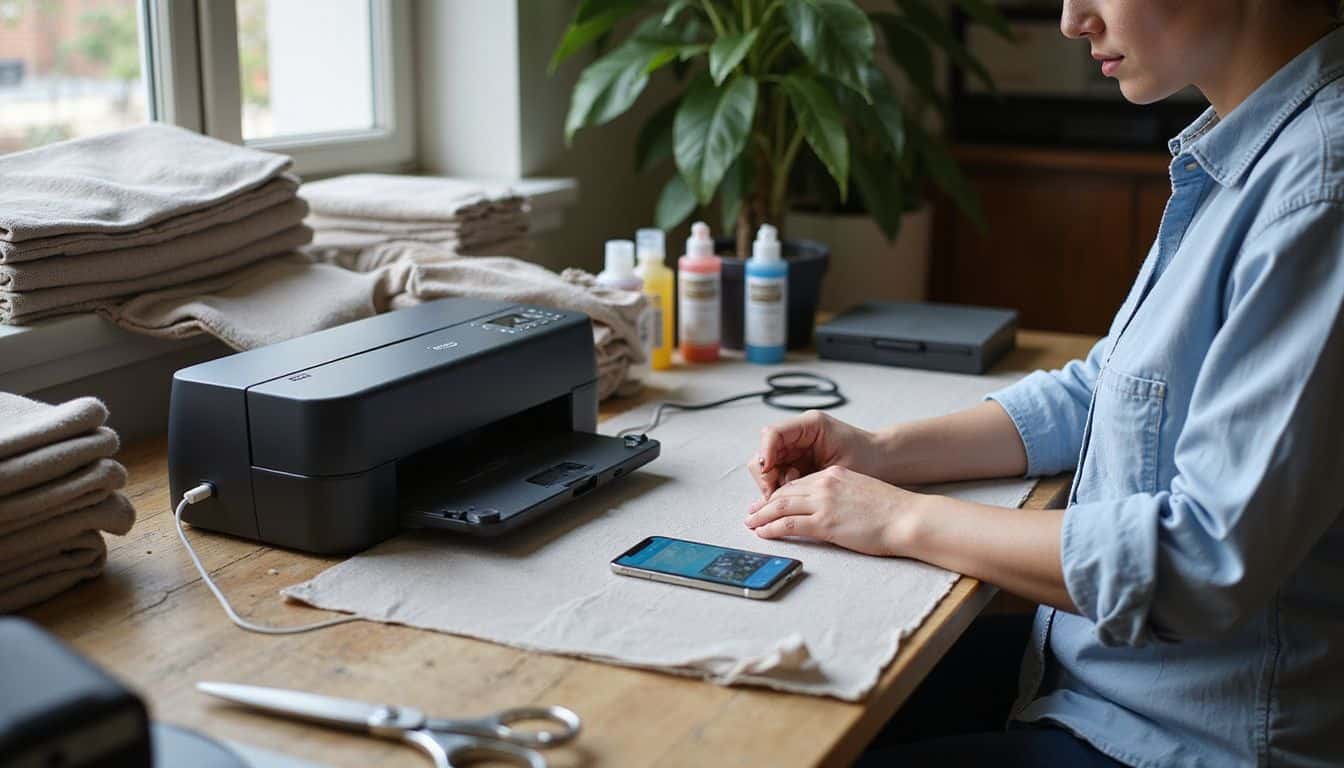
DIY shirt printing is set for huge changes by 2025. Digital printing technology is quickly becoming the top choice for home studios, driving major market growth. In my recent projects, I’ve found eco-friendly materials easier than ever to get—especially water-based inks, which replace harsh chemical options.
Soon, your home studio might even feature compact DTG printers that connect right to your phone, making custom shirt designs fast, easy, and fun.
Personalization options will also greatly expand, with cutting machines and affordable print-on-demand services becoming common in homes. Several women from my craft group already switched to earth-friendly methods, choosing organic fabrics and low-waste printing techniques.
Automated tools are on the way too, offering fewer errors and higher-quality images—great stuff for your online store or personal hobby. Social media interest in handmade shirts will keep growing, since shoppers increasingly favor one-of-a-kind, eco-conscious fashion over mass-produced clothing.
People Also Ask
What materials do I need to print designs on shirts at home?
You’ll need a shirt, iron-on transfer paper, scissors, an iron, and a digital image file. For certain printing techniques, extras like inkodye for dye sublimation—or a silkscreen setup using acrylic paints and plexiglass—might be necessary.
Which printing method is best for beginners?
Iron-on transfers make a great starting point for beginners. You simply print your design onto specialized paper, trim it neatly, and press firmly onto your shirt using an iron. Direct-to-garment (DTG) printing creates sharper, longer-lasting images but costs more and requires advanced equipment.
How do I prepare my image file before printing on a shirt?
Open your image in editing software to flip it horizontally—especially important if there’s text involved. Check your design’s size to make sure it matches your shirt. Creating a quick test mock-up is helpful so you can preview exactly how it’ll appear.
Can I wash shirts with my DIY prints?
Absolutely—you can wash shirts you’ve printed yourself—but how well prints hold up will depend on your method. Iron-on designs can fade and crack over time, so flipping your shirt inside out before washing helps a bit. Dye sublimation offers greater durability, as colors bond directly into the fabric fibers.
What fabrics work best for home shirt printing?
Cotton fabric usually works best, especially with iron-on techniques. Polyester fabric shines with dye sublimation methods. Stretchy knit materials might distort prints, and natural fabrics like linen sometimes require special preparation to ensure the best results.
How can I start selling my printed shirts?
Starting as a sole proprietorship is easiest at first, but forming an LLC can protect your personal assets from business liabilities. Promote your shirts through a marketing plan, leveraging social media and partnering with influencers who appeal to your ideal customers. Consider Shopify or print-on-demand platforms—they can streamline logistics and manage your inventory.
References
https://printify.com/blog/what-do-i-need-to-print-t-shirts-at-home/ (2025-01-29)
https://printify.com/blog/how-to-make-shirts-at-home/
https://printify.com/blog/how-to-make-sublimation-shirts/ (2023-08-29)
https://jennifermaker.com/sublimation-t-shirt/ (2022-06-17)
https://www.theartofdoingstuff.com/how-to-screen-printsilkscreening-at-home/
https://ordant.com/what-is-direct-to-garment-printing/
https://www.instructables.com/Hand-Painted-T-shirts/
https://www.instructables.com/DIY-How-To-Paint-T-shirts/
https://www.craftstash.co.uk/inspiration/custom-vinyl-t-shirt-printing-guide/
https://www.instructables.com/Beginner-Heat-Press-Printing-HTVRONT-Review/
https://www.printful.com/blog/how-to-create-sublimation-designs (2024-10-21)
https://www.instructables.com/Screen-Printing:-Cheap,-Dirty,-and-At-Home/
https://www.instructables.com/How-to-Screen-Print-for-Beginners-1/
https://www.instructables.com/DIY-T-shirt-Screen-Printing/
https://www.tpop.com/en/blog/top-9-tshirt-design-mistakes
https://www.theqgentleman.com/post/2025-01-10-common-mistakes-to-avoid-in-custom-t-shirt-printing/ (2025-01-18)
https://tfetimes.com/the-evolution-of-t-shirt-printing-trends-and-techniques-to-watch-in-2025/ (2024-11-24)
