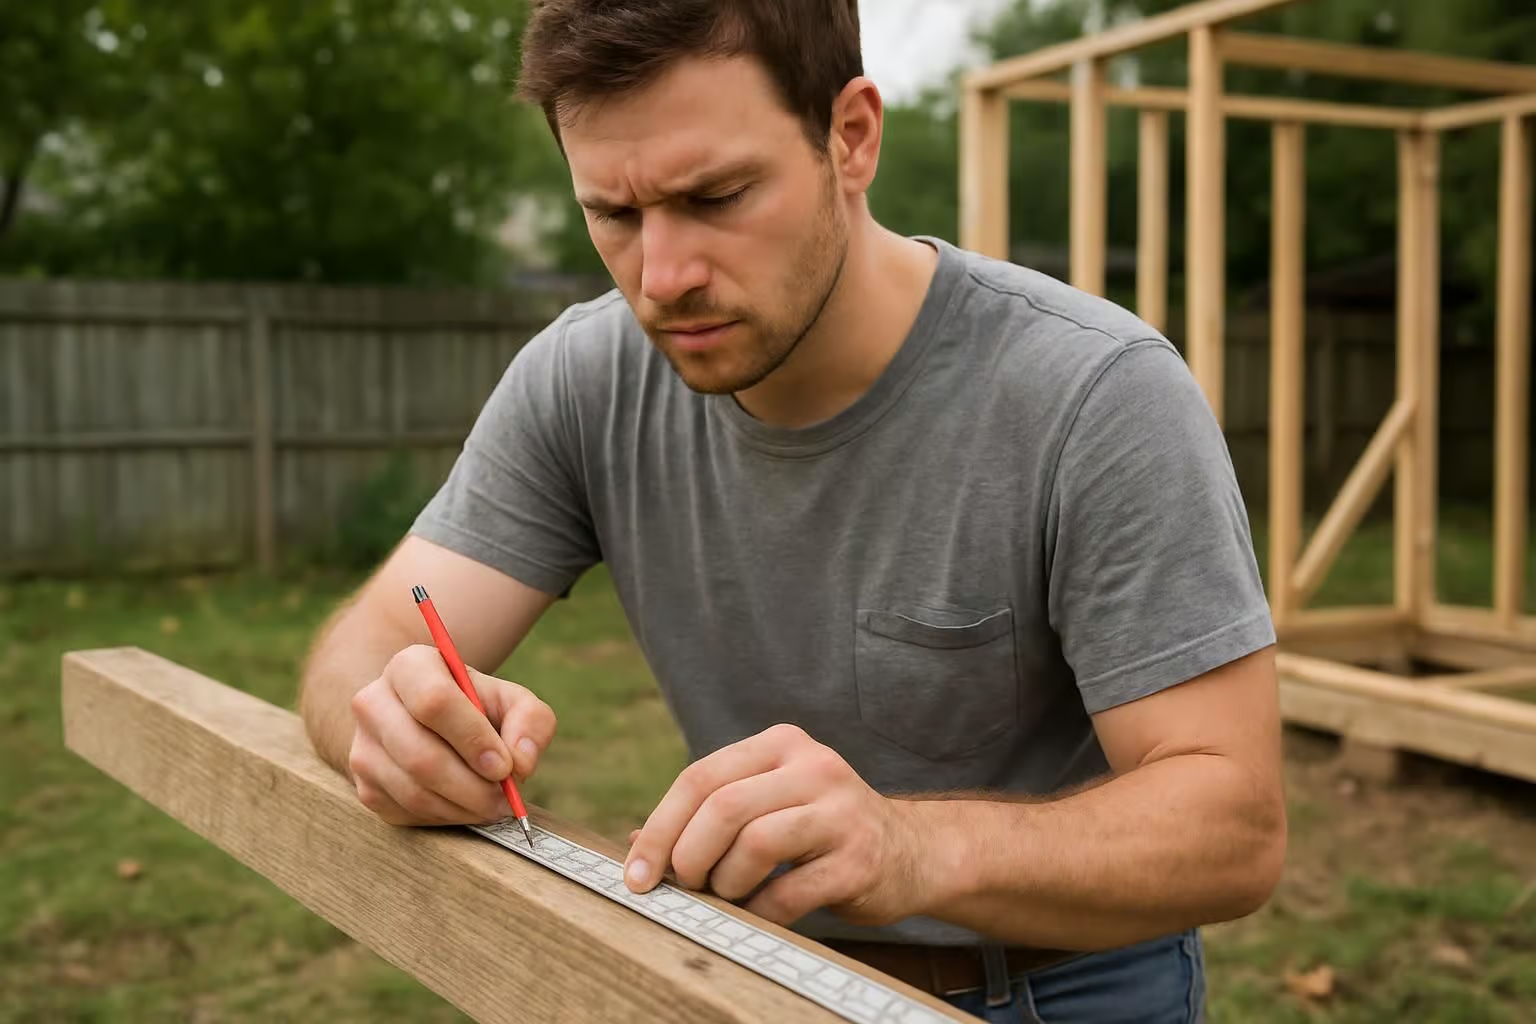
Are you confused about how to build a tiny home and unsure where to begin? Nearly 60% of DIY tiny home builders underestimate critical steps like zoning laws, proper insulation, and correct framing methods.
This simple guide gives clear instructions for each stage—from planning your budget and choosing the right tiny house trailer—to final touches like roofing material and kitchen setup.
Avoid costly mistakes by reading these 12 essential steps first.
Key Takeaways
DIY tiny homes usually run between $30,000 and $70,000—hiring pros could push it closer to $150,000. Save an extra 10-15% for surprise expenses.
Always double-check local zoning rules first—lots of cities restrict houses under 400 square feet or limit tiny homes on wheels to RV parks only.
Wheeled tiny homes (150-400 sq. ft.) give you mobility, but foundation-based builds offer steadiness and space for standard-sized appliances.
Clever storage makes all the difference—built-ins, furniture with several uses, shelves up high, and lighter colors help tiny spaces feel roomy.
By 2025, expect tiny homes with increased solar panel use, better battery systems, creative designs suited to different life phases, and easier financing.
Table of Contents
Set Your Budget
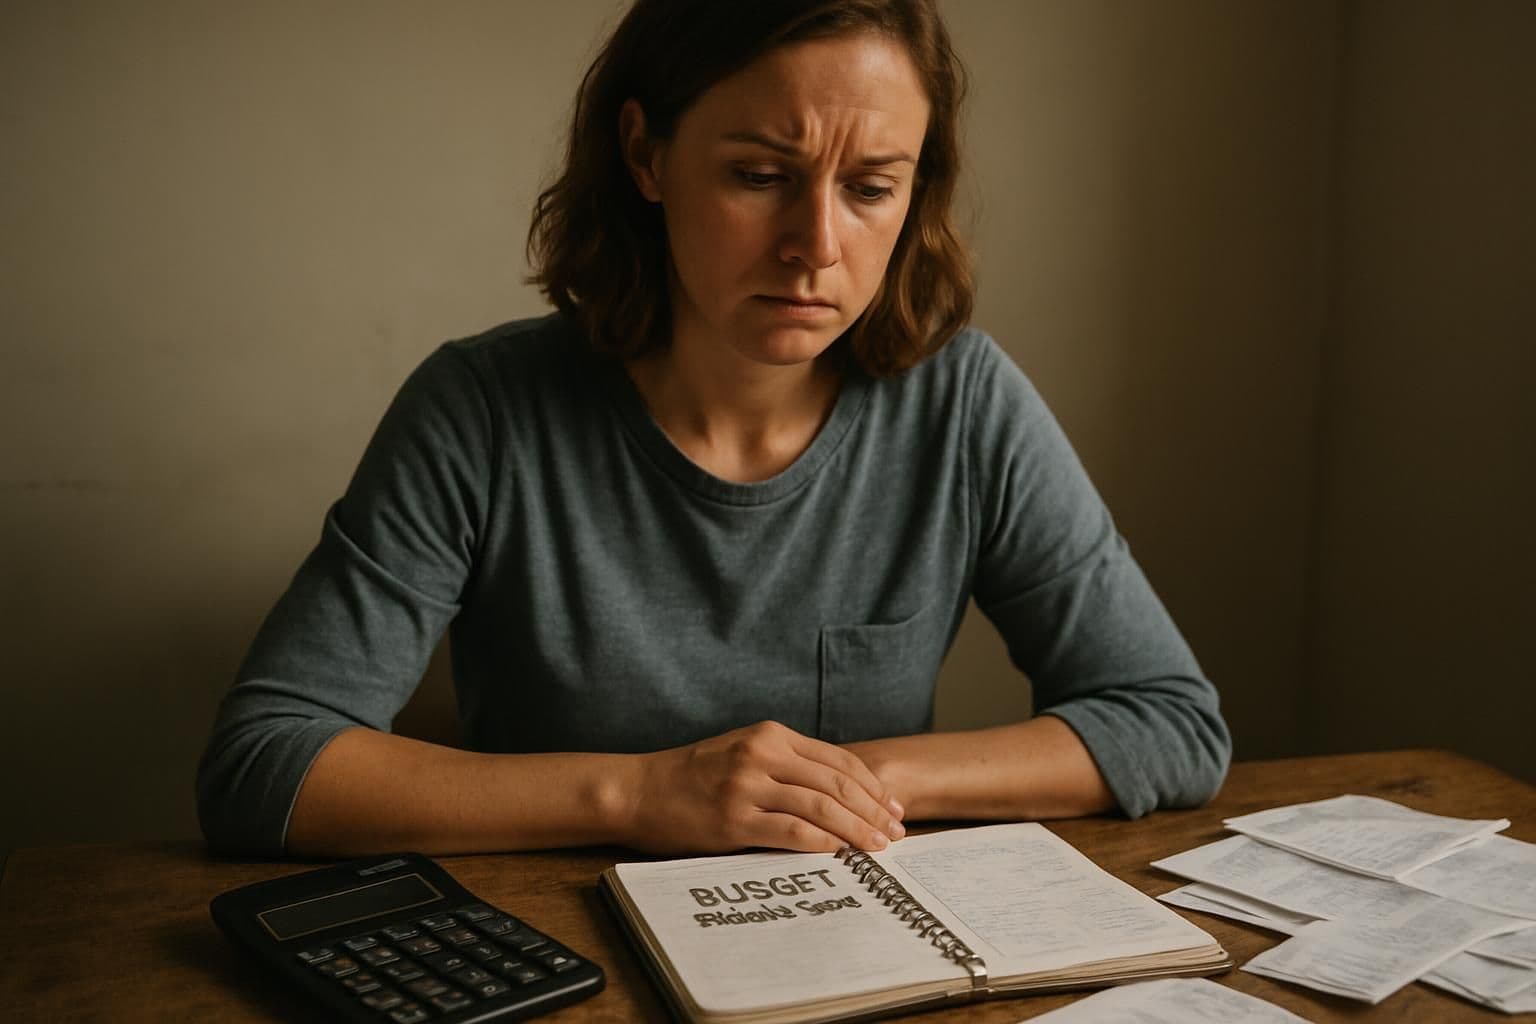
Ready to jump into your tiny home adventure? First, get your budget sorted out clearly—that’s key. DIY tiny houses typically run between $30,000 and $70,000. Hiring pros can push that cost up to $150,000.
On average, a tiny home is about $52,000, roughly 87% cheaper than regular houses. Expect to spend around $150 per square foot.
Make sure your budget covers the price of land, building supplies, permits, and hooking up utilities. Set aside an extra 10-15% for surprise costs—they always happen during construction.
Build it yourself, and you could save up to half on labor alone. You can also trim costs easily by going with recycled or eco-friendly materials. And don’t skip planning for post-construction cleaning.
A quick and thorough clean from pros like Compass Cleaning Solutions gets your tiny home ready immediately for move-in day.
Choose a Tiny Home Type
You must pick the right tiny home style for your needs. Your choice between a wheeled model or fixed structure will shape all your next steps.
Tiny home on wheels
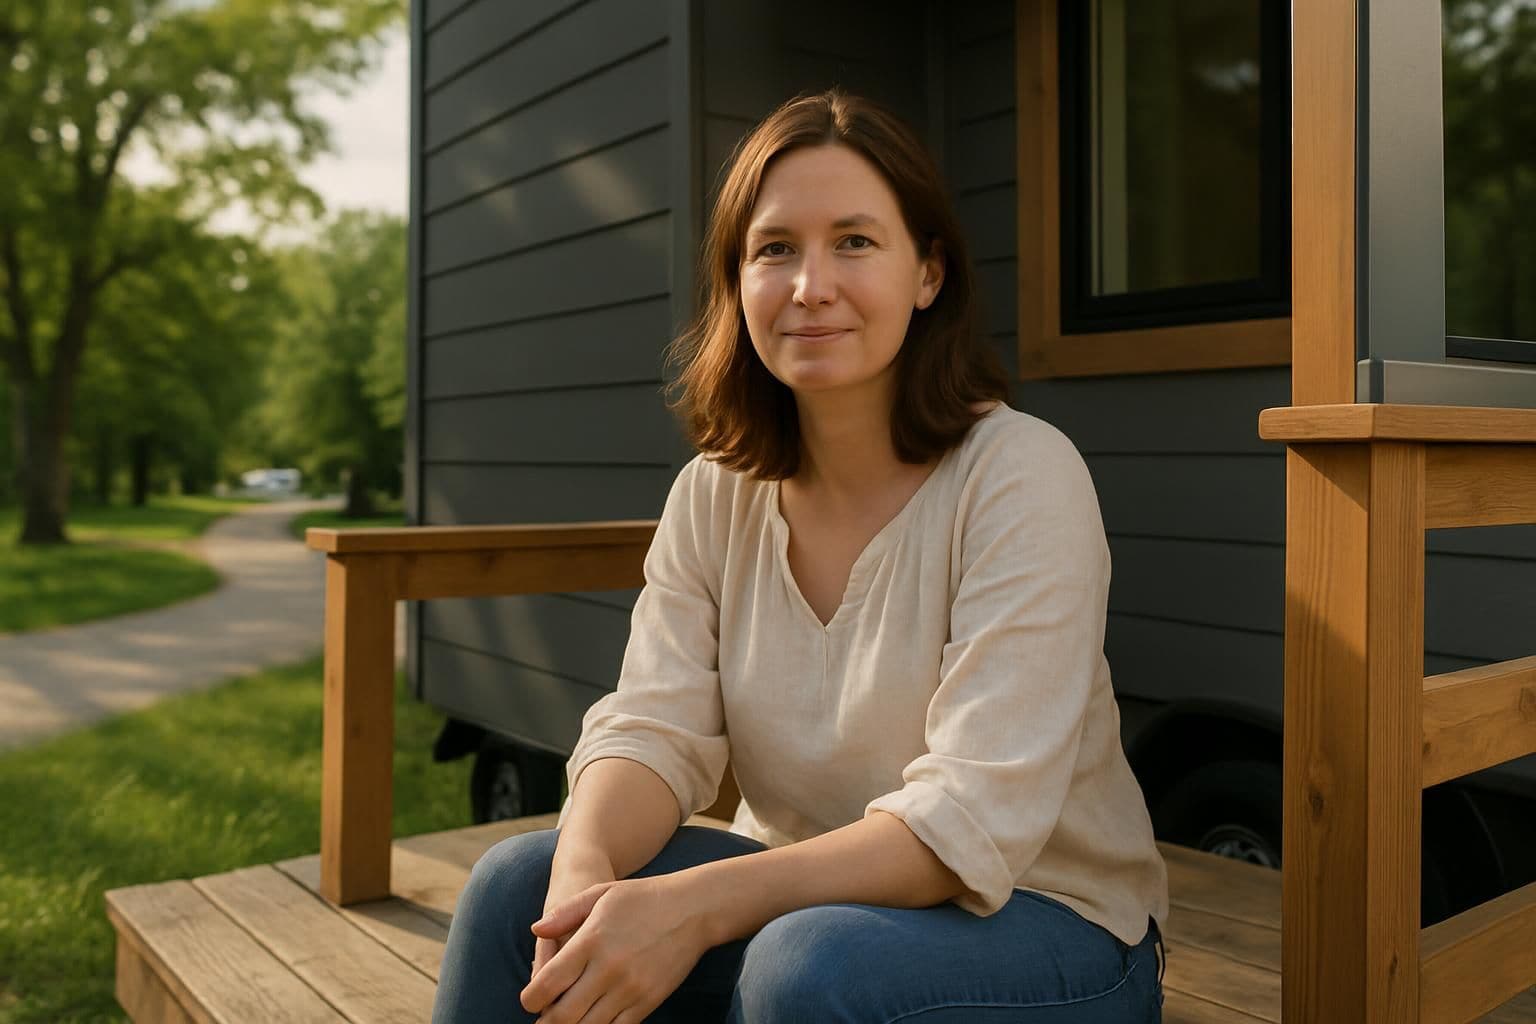
Tiny homes on wheels offer total freedom—take your home wherever life leads you. These houses sit on trailers, not permanent foundations, making them ideal for women who travel or move frequently.
The trailer itself has to be sturdy enough to safely handle the home’s weight and meet all road safety regulations. Most tiny homes on wheels measure between 150 and 400 square feet, so smart design becomes essential in every corner of your space.
You can still enjoy all the comforts of a regular home—just smaller and simpler. Choosing wheels instead of a fixed location saves money by avoiding pricey land purchases, but it does mean facing some limits.
Due to zoning rules, many cities only permit these homes at RV parks or campgrounds. Before starting your build, carefully check local laws on where you’re allowed to park—both short-term and for longer stays.
Tiny home on a foundation
Foundation-based tiny homes have become super popular lately. They’re solid and steady, unlike homes on wheels, and can hold regular-sized appliances without trouble. Sure, building them costs more—like a slab foundation costing roughly $1,000 to $2,000—but you get a permanent, cozy home that can even include cool features like a secret room.
A solid foundation creates endless possibilities for your tiny home design.
Local codes play a big role here—especially in California, where zoning laws get tricky. You’ve got a few foundation choices: concrete slabs work great in warm climates, crawlspaces offer easy access to plumbing or wiring, and sealed crawlspaces can cut down moisture issues.
Pier foundations lift your home safely above flood level. Always double-check your city’s building rules before choosing the foundation you’ll use.
Select a Location

Finding the right spot for your tiny home starts with checking local rules. You need to know what the city allows before you buy land or start building.
Buy or lease land
Land choice is crucial for your tiny home setup. Local zoning laws differ widely, and some places have strict minimum size requirements. Many cities don’t allow homes smaller than 400 square feet, so always check local codes first.
Leasing land can be a smart option—just make sure your lease clearly explains rental rates, lease length, and utilities. Look for spots close to roads, water, and power hookups, since that keeps added service expenses low.
The type of land you choose also affects the kind of foundation you’ll need for your tiny home—so choose carefully.
Check zoning laws and permits
Zoning rules can either help—or hurt—your tiny home project. In Georgia, each county has its own zoning guidelines. So, your first step is calling your local zoning office. Most counties allow tiny homes on wheels only in RV parks or campgrounds.
And watch out—some places ban tiny homes outright, while others are super welcoming about them.
Know the rules before you build – it saves time, money, and heartache.
Visit your zoning office in person, bringing along your floor plan. Ask clearly about size restrictions, building requirements, and needed permits. A surprising number of women skip this step and later wind up paying fines or relocating their homes.
Permit approval sometimes takes weeks or months—so give yourself plenty of lead time. If you build without the right paperwork, it can create problems with insurance, loans, and hooking up utilities like water or electricity.
Design Your Tiny Home
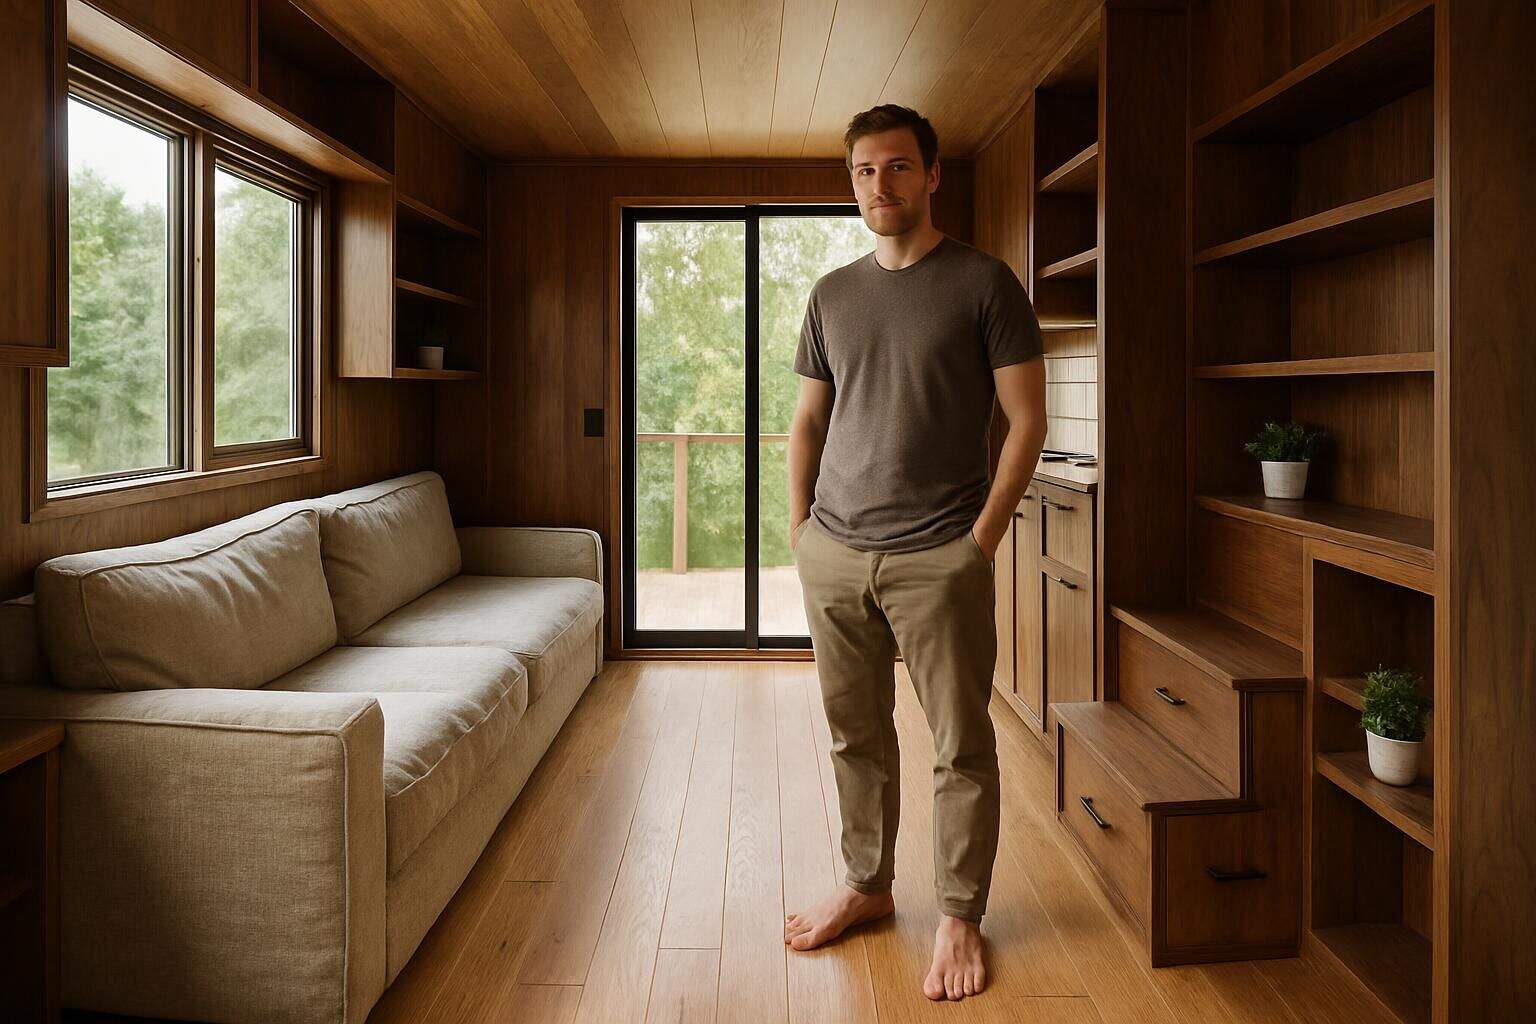
Design sets the stage for your tiny home success – it’s where dreams meet real-world limits. A good floor plan makes the most of every inch while matching your daily needs and style.
Create a floor plan
Kick off your tiny house project with a simple hand-drawn layout on graph paper. Make each square equal real-world sizes—like 1 inch equals 1 foot—so your plan stays accurate. Draw walls first, then doors and windows.
After that, sketch furniture pieces exactly to scale, so it all fits nicely later on. Include clear spots for your kitchen, bed, bathroom, plus any storage you’ll need. Oh, and leave enough room for doors to swing open and for comfortable pathways to walk through.
The trick with tiny homes is figuring out smart ways to use limited space. Browse tiny home websites and books to get clever ideas. And definitely chat with tiny-house experts, because they can notice stuff you’ll miss—like how to squeeze in a shower, or find sneaky storage areas that hide clutter.
Spending time on a solid layout at the start means fewer surprises later as you begin building walls and framing your home.
Focus on space optimization
Space is everything in a tiny home—every inch matters! Start planning your layout early, with smart storage as your focus. Built-in cabinets beneath stairs…pull-out drawers…shelves mounted on walls—these all free up valuable floor space.
Furniture with more than one function, such as sofa beds or fold-down tables, lets you enjoy comfort without cluttering your rooms. Computer software helps you map the exact sizes you need before you build, making sure no inch goes to waste.
Don’t forget to use vertical space, too: high walls fit extra storage, and loft areas can become cozy sleeping spots. Know clearly what’s necessary versus what’s just nice to have.
Good planning makes even tiny homes feel open and inviting.
Use each room in several ways to maximize limited square footage. Your kitchen counters can serve as desks; the dining table easily turns into a workspace. Pocket doors slide discreetly into walls, freeing up room for storage or furniture.
Murphy beds let you tuck away your sleeping area during daytime hours. Choose lighter colors and thin materials to give an airy, open look. Try clever tiny home storage tricks like magnetic strips to hold knives or hooks for pots and jackets.
Vacuum storage bags can reduce clothing volume by about half. Also, pick the right insulation—foam insulation uses less space and keeps your home warmer or cooler more effectively than fiberglass batt.
Gather Materials and Tools
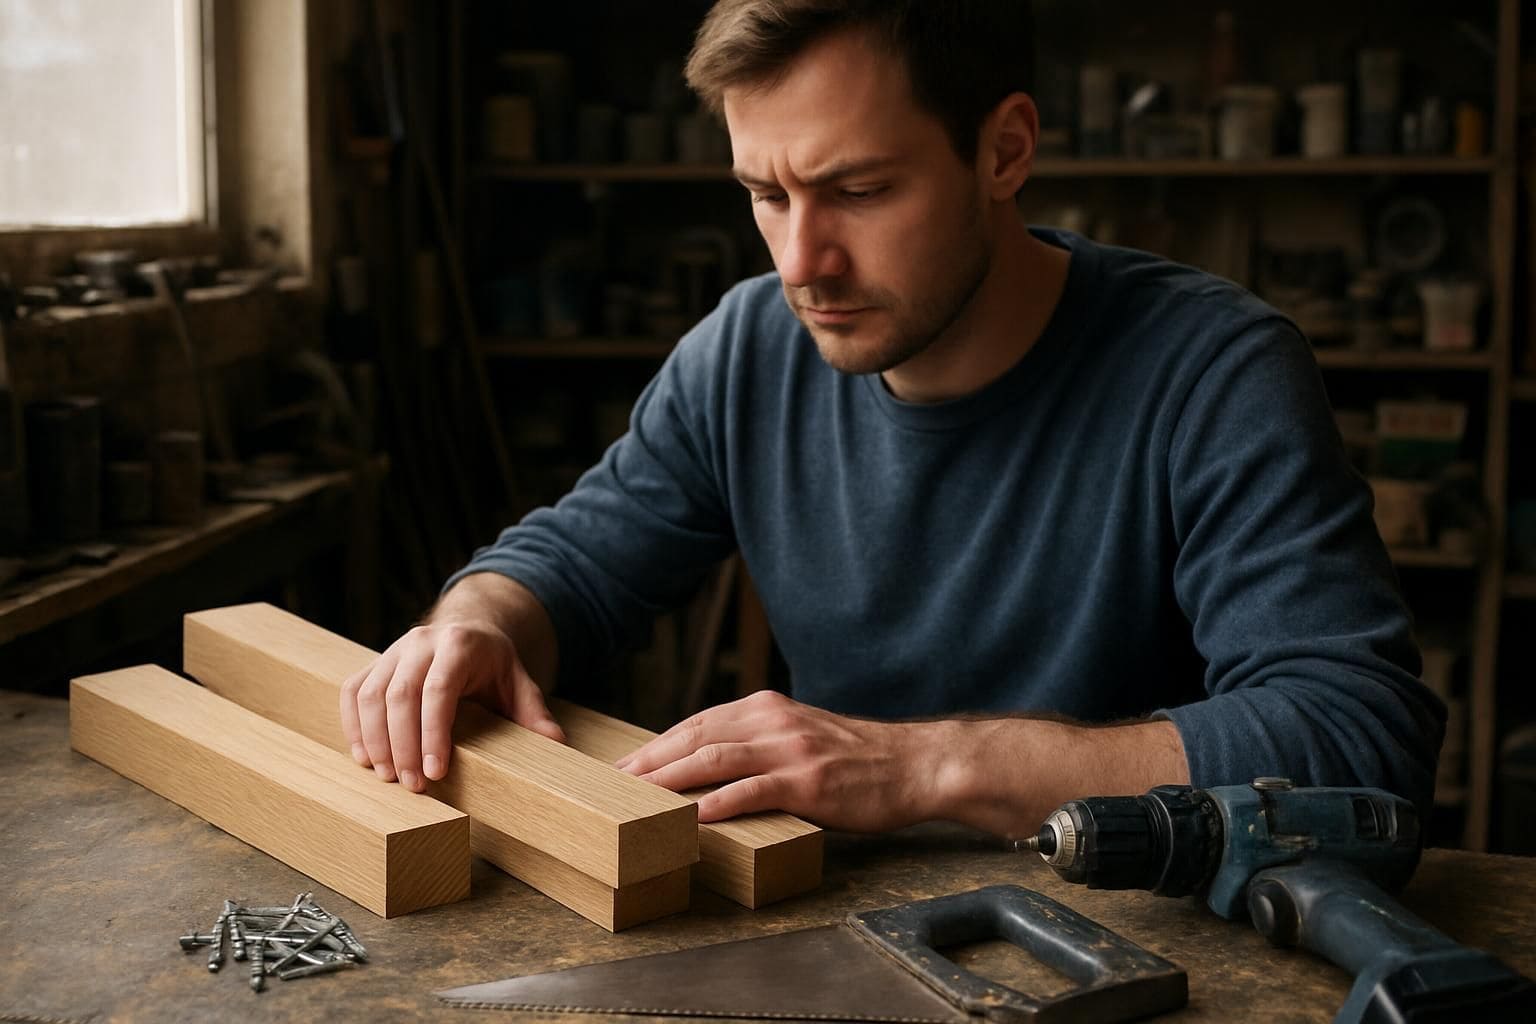
You need the right stuff to build your tiny home. Get your lumber, screws, and tools ready before you start – a good drill and saw will save you time.
Sustainable materials
Reclaimed wood adds charm to your tiny home and saves cash along the way. Old barn planks, shipping pallets, or salvaged doors give your space character—you can’t fake that kind of charm.
Metal roofing is also a great choice—it holds up for decades and is totally recyclable later on. Bamboo floors bring in warm, natural beauty, and bamboo grows fast—way faster than traditional hardwood trees.
Natural paints skip harmful chemicals often found in regular paints, leaving your air cleaner and safer to breathe. Eco-friendly choices like these protect the planet, keep your home healthier, and look fantastic too.
Before building, grab the right tools to bring your sustainable tiny home dream to life.
Essential tools for construction
Once you pick sustainable materials, you’ll need the right tools—tools that fit right into tiny house construction. These tools fall into five main groups: hand tools, cordless tools, power tools, measuring tools, and pneumatic tools.
Your basic set will have hammers, vice grip pliers, and screwdrivers from reliable names you know.
Expect to spend around $2,000 to buy brand-new tools. But you can save money—yard sales often have quality used items at lower prices. For big or specialty gear like a skid steer or telehandler, renting might be the smarter move.
Most tool shops offer daily rental rates, perfect for items you’ll only need briefly during your build. Smart women builders make good choices about what to buy and what to rent or borrow.
Build the Foundation
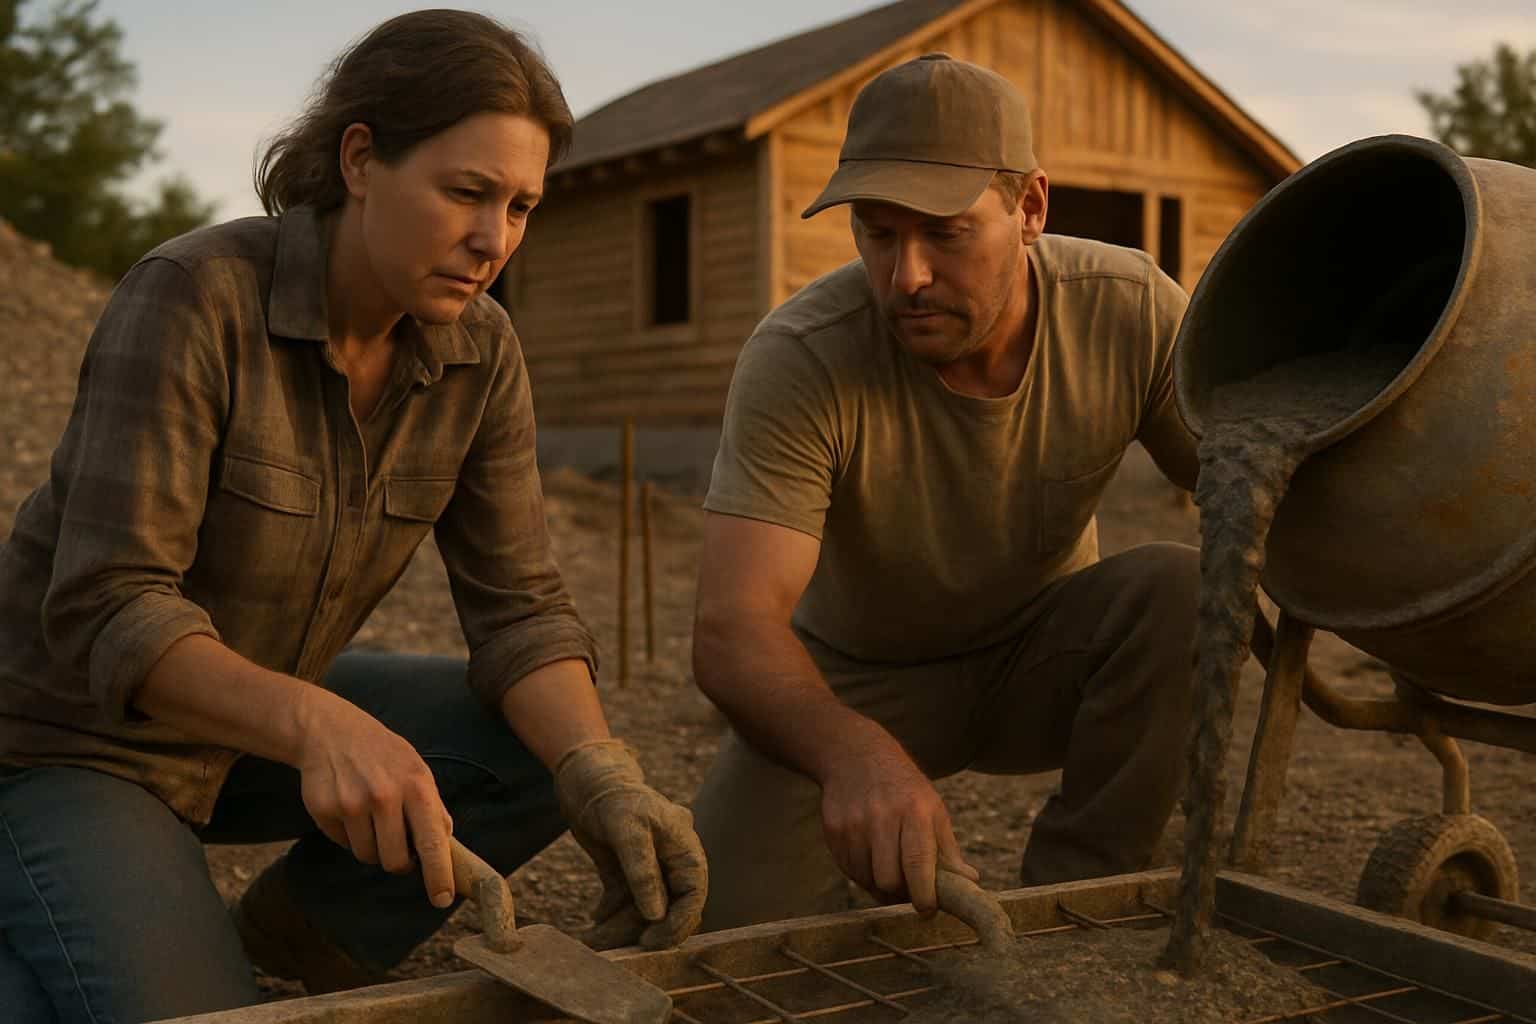
Your foundation makes or breaks your tiny home project. A solid base keeps your tiny house safe from water damage and helps it stand up to bad weather.
Trailer preparation
Kicking off your tiny home project means choosing the best trailer. Go with a flat one—avoid dovetail trailers, since they often cause headaches down the road. First step is leveling the trailer using jack stands, and then you can modify the frame if needed.
Make sure you weld solid anchors onto the trailer—they’ll keep your tiny home strongly secured during travel or rough weather. Welding can feel challenging, especially for many women doing this step solo, but the results make it worth the work.
The trailer acts as the home’s foundation, so getting this part done right matters a lot. Steel trailers offer great strength compared to other options. For moving heavy things around, renting a skip loader can help you position everything properly.
Double-check the trailer rating to be certain it can hold the full weight of your tiny house before building begins.
Traditional foundation setup
Mobile tiny homes work well with trailer setups—but fixed tiny houses need solid foundations. Common options are concrete slabs, crawlspaces, and sealed crawlspaces. Concrete slabs run about $1,000 to $2,000; they’re fast, affordable, and simple to put down.
But they make it tricky to reach pipes or wiring later on.
Crawlspaces lift the home, giving room underneath for utilities. They’re handy for repairs—but might let moisture build up. Sealed crawlspaces fix this moisture issue and even give extra storage.
The downside? They’re pricier.
Which type you pick really hinges on cost, local weather, and how you’ll use your tiny house. And be sure to double-check local codes before getting started.
Construct the Framework
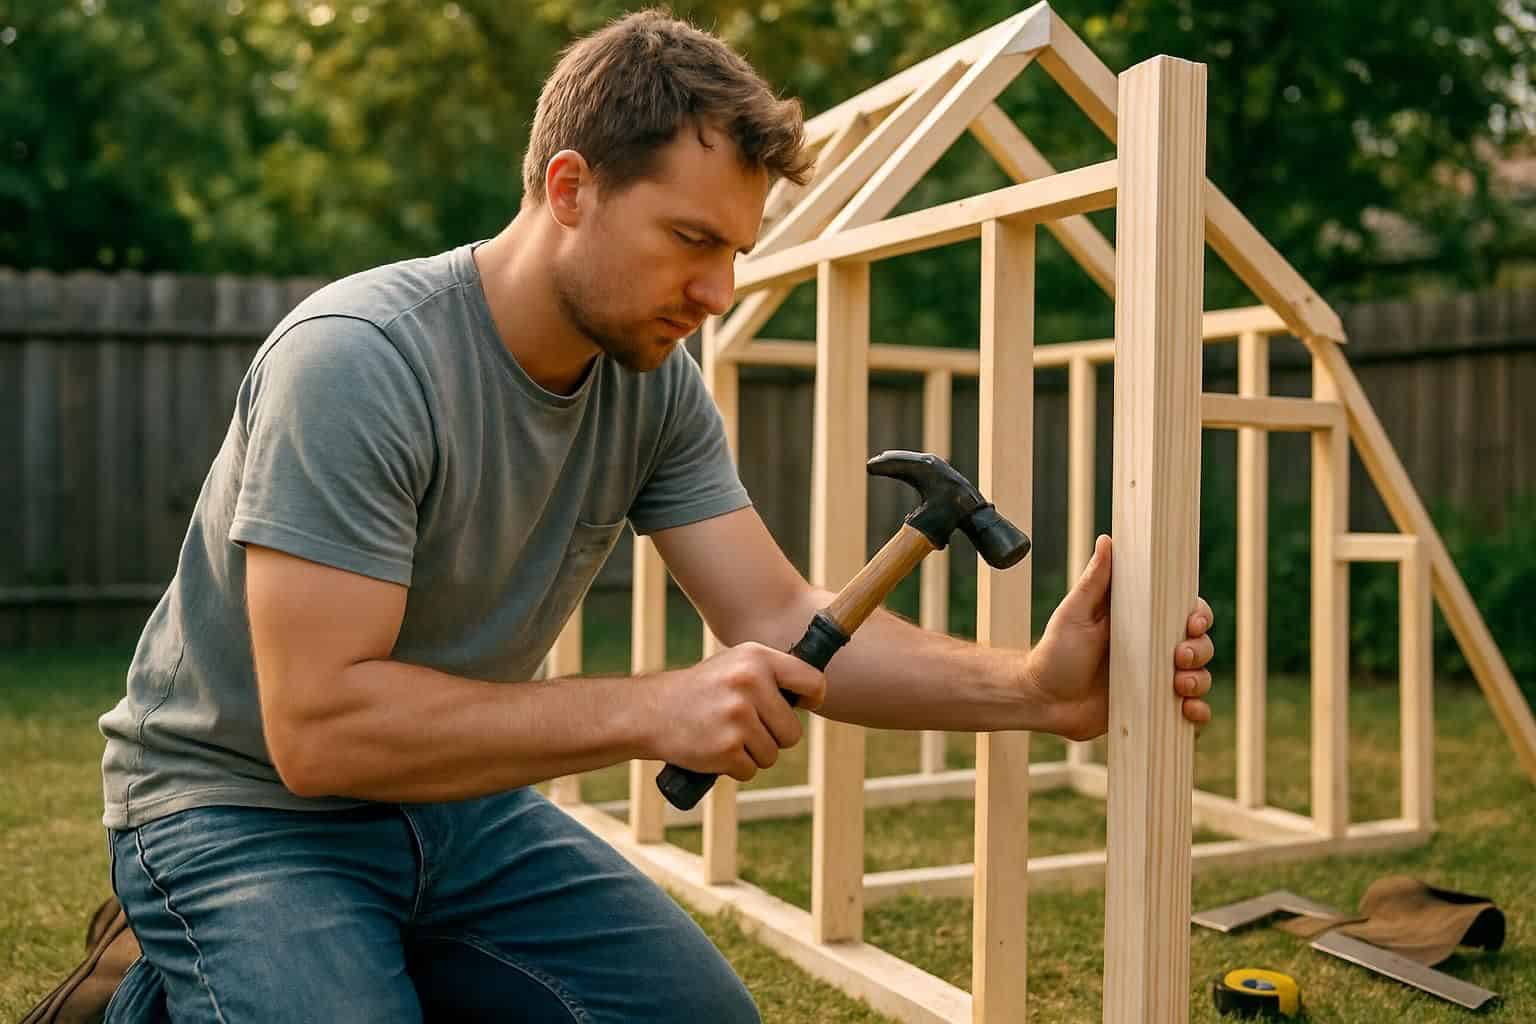
Building your tiny home’s frame marks the moment your dream starts taking shape. You’ll need to set up wall studs and roof trusses first, then fit windows and doors into the structure.
Walls and roof framing
Start your tiny house frame by placing studs every 16 inches. Frame the walls laying flat first, then lift them into position. After they’re upright, secure them tightly to your trailer—a must for safe travel.
Lay your sheathing horizontally along the studs to keep walls sturdy and straight.
For the roof, keep total height just below 13.5 feet. Staying under this number keeps your tiny home legal on the road.
Always check window fit carefully before the final install—you’ll save headaches and cash later. Each wall needs proper bracing for solid support against wind and road movement. If saving weight matters to you, steel studs work nicely—though they’re pricier than wood.
Spray foam insulation fits tiny spaces and performs better than batt insulation. Framing holds your entire tiny house together, so slow down and do it carefully.
Install windows and doors
Windows and doors need proper framing first—before you install them for good. Frame window spaces using cripples, and add headers wider than each rough opening. For large doorways, triple-layer LVL headers work best to provide enough strength.
Before final placement, always test fit windows and doors to be safe. After they’re set, cover the exterior with house wrap, then flash around each window. Good flashing helps water drain correctly, keeping things dry inside and avoiding leaks or damage.
This step has a real impact on your tiny home’s energy use. Check that every window and door opens, closes, and locks smoothly before continuing.
Add Utilities and Insulation
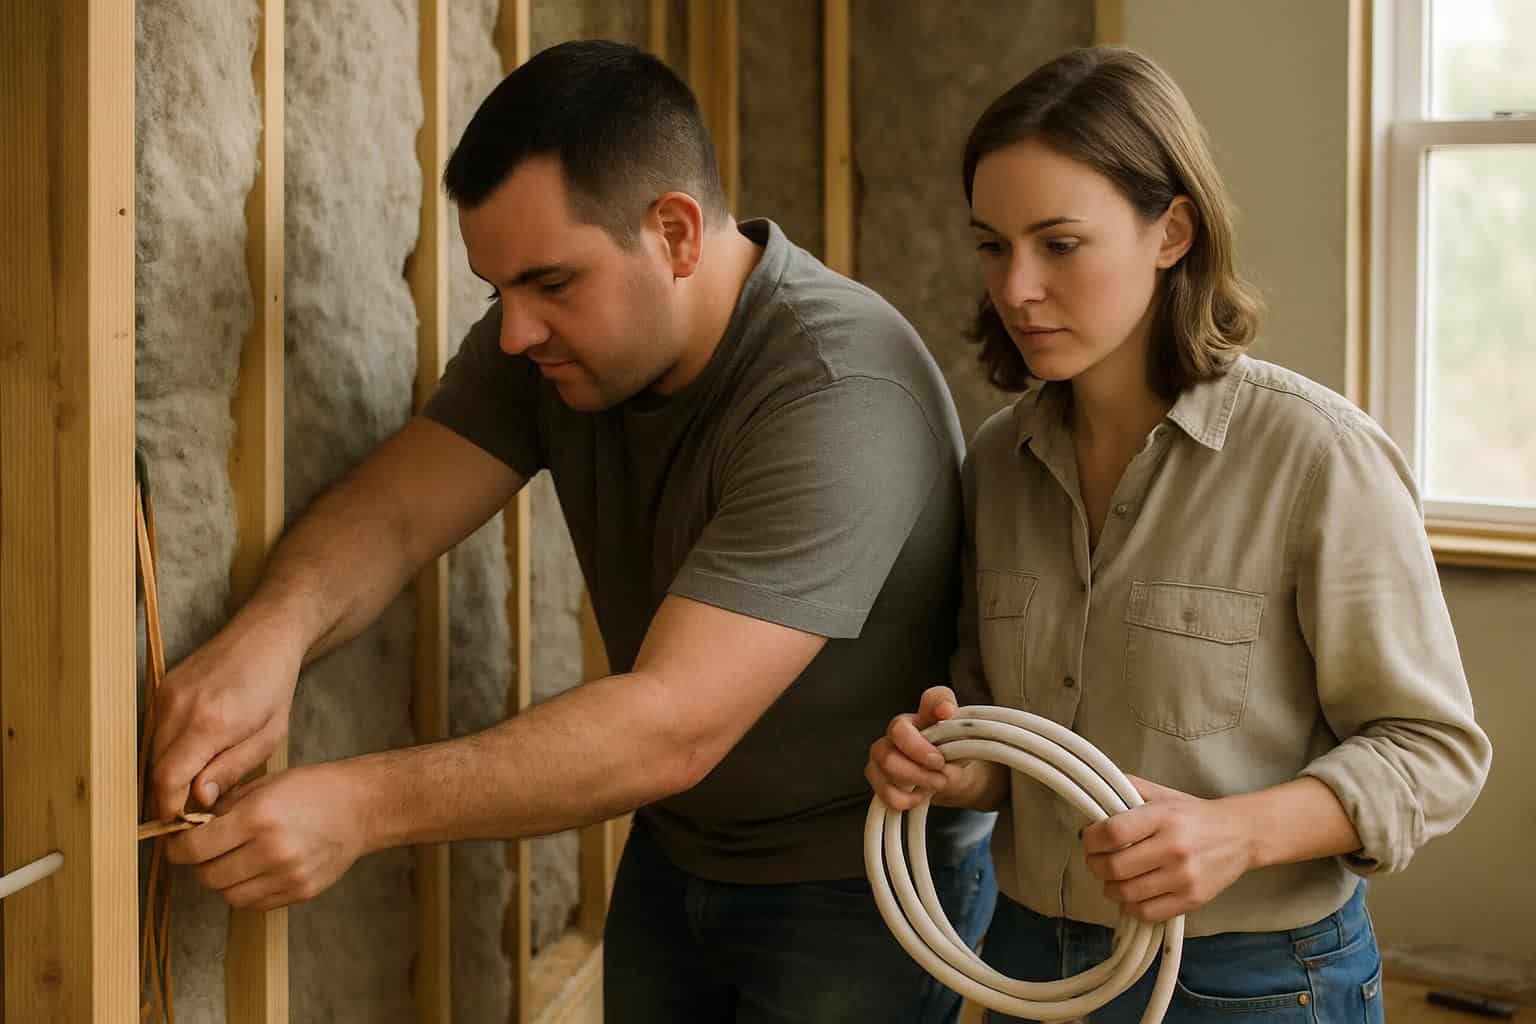
Proper utilities and insulation make your tiny home livable year-round. You’ll need to plan your electrical wiring, water pipes, and add thick insulation to keep energy costs low.
Electrical and plumbing rough-ins
Utility rough-ins happen before your walls get sealed up. To save time—pull Romex wire through conduit using a plastic grocery bag and a shop vac for suction. It’s a simple DIY trick that works well.
PVC and PEX pipes make up most of your plumbing, providing fresh water and draining waste safely. To pass inspection, cap pipe ends and pump air inside to check for leaks.
Early planning matters for outlets, light switches, and fixtures like faucets or showers. Your electrical system keeps everything running—from heaters to kitchen gear. Plumbing makes sure showers and sinks perform as expected.
Lots of women successfully handle these parts on their own—though hiring pros for gas lines and HVAC connections helps avoid expensive errors. Whether you build with steel or wood also determines how you route utilities inside your walls.
Insulate for energy efficiency
Once your plumbing and wiring are set, insulation becomes your next big priority. Good insulation keeps your tiny home warm and cozy—and trims down your energy bills. It matters even more for tiny homes, since every inch truly counts.
You’ll need solid coverage for walls, floors, and ceilings. Fiberglass batts fit nicely into standard frames, and rigid foam provides better insulation using less room. Many women opt for eco-friendly insulation, such as recycled denim cotton, to stay green.
And if your tiny home sits on wheels, insulating underneath is a must—no one enjoys icy floors on cold winter days. Adding a vapor barrier is helpful too, keeping moisture away so mold and rot can’t settle into your tiny home.
Install Interior Features
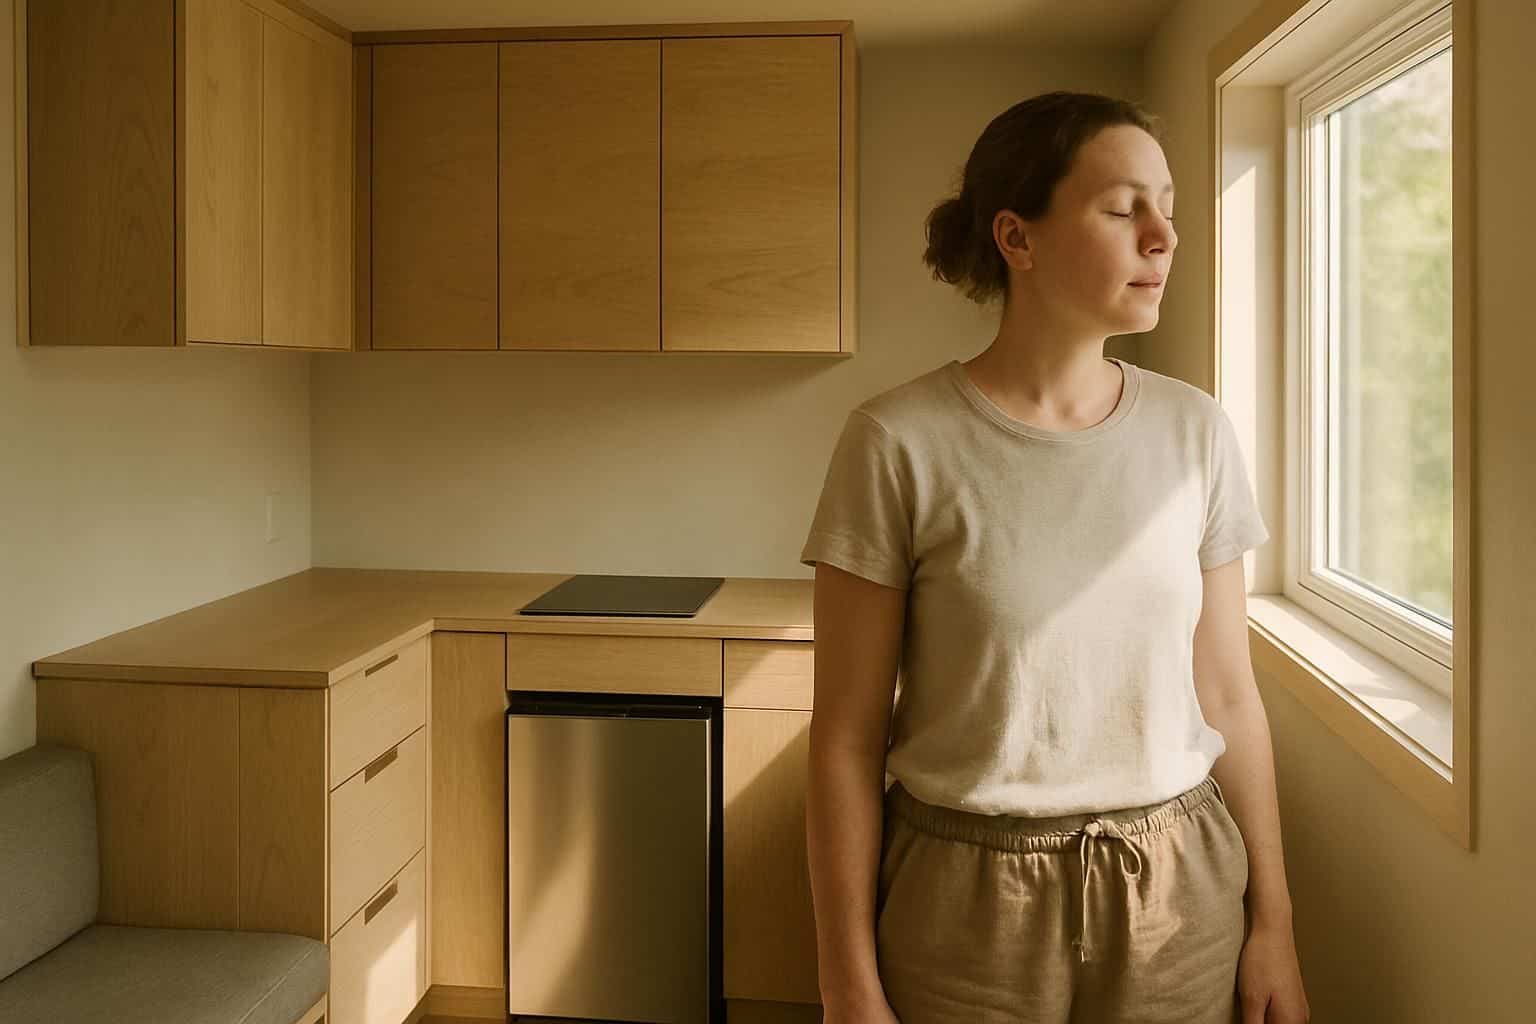
The inside of your tiny home needs smart storage and cozy touches to make it feel like home. Pick cabinets that fit in corners and under stairs, and choose small appliances that save space while still doing the job.
Flooring, cabinetry, and storage
Flooring lays the foundation—literally—for your tiny home’s style and feel. Want warmth and coziness? Choose wood floors. Vinyl works great if you prefer something easy to clean and durable.
Smart storage makes all the difference in small homes. Custom cabinets make every inch count, fitting your space exactly the way you need. Wall-mounted shelves and drawers tucked neatly below stairs can transform empty corners into handy storage spots.
Extend cabinets all the way to the ceiling—grab that extra vertical room! Good storage design helps your tiny home stay organized, neat, and relaxing.
Appliances and fixtures
Go for small, energy-saving appliances in your tiny home’s kitchen. Mini fridges, two-burner stoves, and combo washer-dryers make the best use of limited space. Choose appliances that do double-duty—like a toaster oven that can also air-fry.
Your tiny home runs fine on just 30 amps, so low-wattage items are ideal. LED bulbs use less power, last longer, and work great for off-grid setups.
In the bathroom, water-saving fixtures help a ton. Low-flow showerheads and faucets cut water use but still feel great. A composting toilet works well if you want to stay off-grid.
Solar setups with panels, batteries, and inverters can handle all your electric needs, perfect if you’re parked far from utility lines.
Small personal touches, like your favorite paint shades and decor, really help make your tiny space feel like home.
Final Touches and Finishes

The final touches make your tiny home feel like a real home, not just a small space. Paint the walls with your favorite colors and add personal items that show your style.
Paint and decor
Paint breathes life into your tiny home’s walls—and sets the tone for each room. Pick shades that reflect your style, but also consider space effects. Light colors open up small rooms, while darker tones add depth and warmth.
Don’t overlook ceilings… bold paint or patterned wallpaper there can add real charm. Peel-and-stick wallpaper gives you a quick, easy style refresh—plus it’s simple to change later.
Decor choices really count in tiny homes. Hanging framed artwork in narrow hallways instantly makes them feel inviting. Entryways shine with touches like a small mirror, slim console table, or compact seating to create a welcoming vibe.
Powder rooms offer a chance for brave style moves—playful wallpaper and stylish fixtures go a long way here. Multi-purpose decor helps too—ottomans with concealed storage or wall shelves that look great and keep things organized.
Add personal touches
Personalize your tiny home with smart and simple touches. Neutral colors make small spaces feel bigger, while colorful rugs and pillows add warmth and style. Green plants freshen up your place and give it a cozy, natural vibe.
Choose furniture that does double duty—maybe a coffee table with hidden storage or a sofa that folds into a comfy bed. Your kitchen and bathroom should fit your everyday routine, not just look great.
The aim is a living area that matches your style without piling up extra clutter. Items that serve multiple purposes save room and reflect your personality, too.
How Will Tiny Home Living Evolve in 2025?
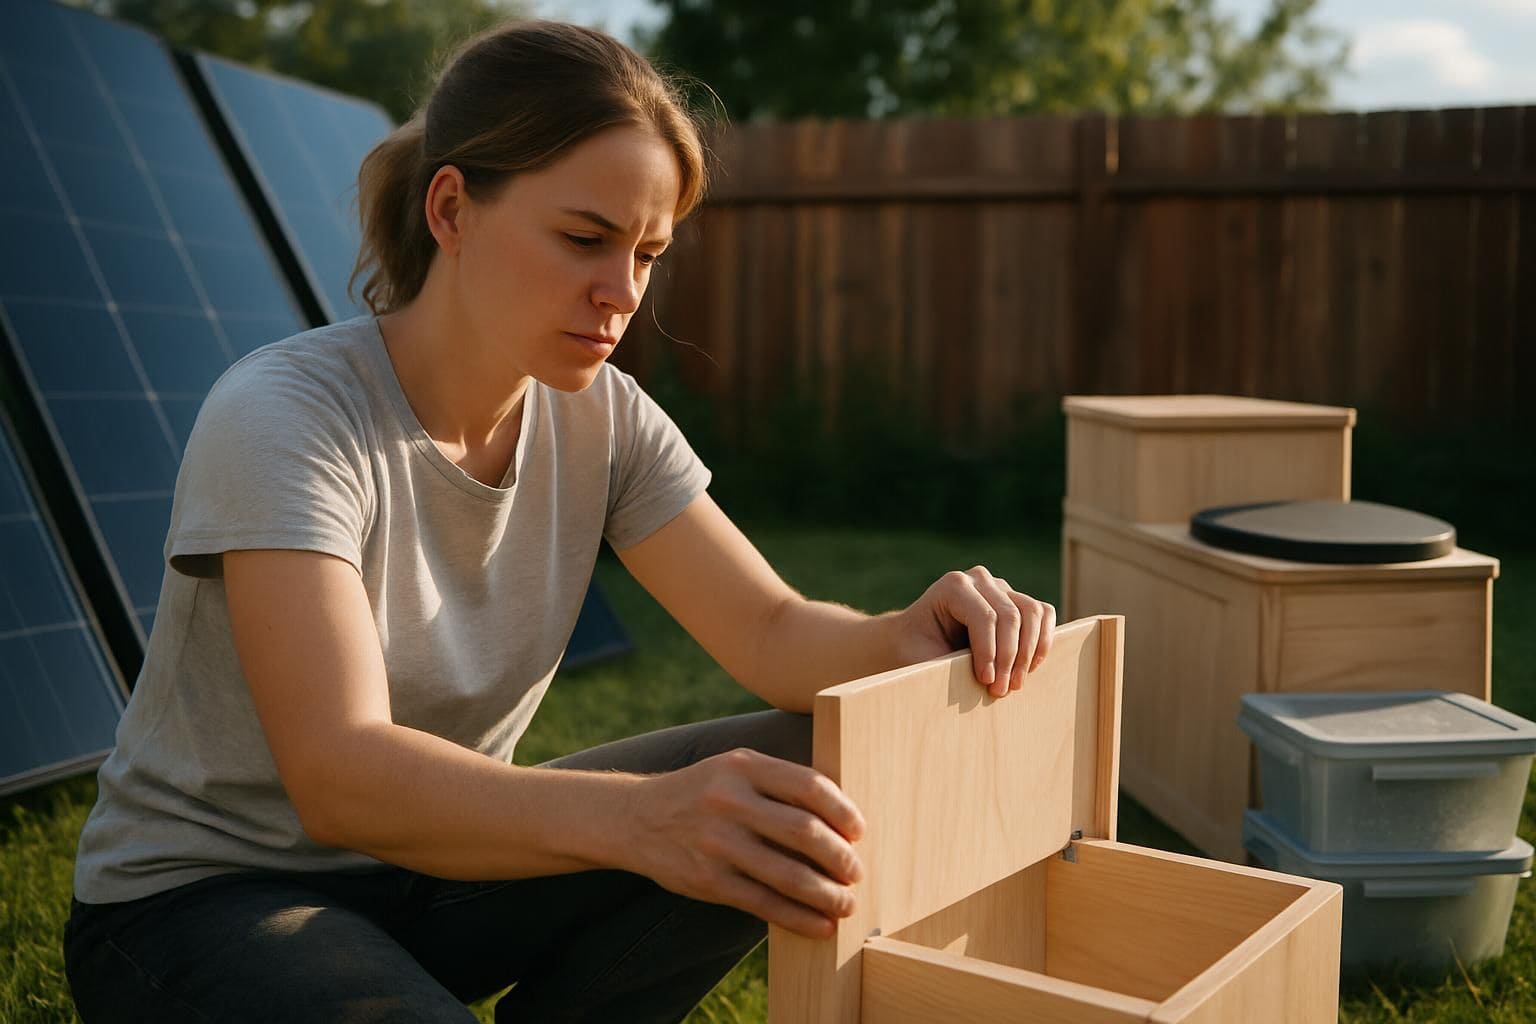
Tiny homes are going greener—and fast. By 2025, solar panels will be standard, not extra. Improved battery tech and composting toilets will help many tiny homes go completely off-grid.
Recycled materials will lower costs and protect the environment. Also, tiny home kits are getting easier to handle solo—great news for women wanting to build without spending on heavy equipment.
Expanded choices in wood and steel mean builders can better match their budgets and skill levels.
The market is shifting to custom designs for different life phases. Singles, new couples, or seniors—each group will have floor plans just for them. Smart storage built into counters and walls will maximize every inch.
Mortgages tailored just for tiny homes will simplify financing options. Zoning rules will relax in many cities as officials recognize the benefits of small dwellings. That means easier approval for women wanting to place tiny homes on small properties or backyard spaces.
People Also Ask
What’s the first step to build a tiny home?
Start by planning your home’s foundation—wood or steel. Wood bases are cheaper and simpler; steel ones last longer, especially if you plan to relocate your tiny home or live off-grid.
Can someone without construction experience build a tiny home?
Absolutely—you can try tiny house kits, which include step-by-step guides. Just stay open to learning new skills. You’ll likely rent equipment like wheel loaders, forklifts, or backhoes from rental shops, if needed.
How much money does building a tiny home usually cost?
Typical tiny homes cost between $20,000 and $100,000. Price depends on home size, features, and materials like siding, countertops, or cement blocks. Tiny home kits can keep costs down.
Do I need special financing for a tiny home?
Most people choose personal loans instead of typical home mortgages. Your options depend on your credit score and the loan-to-value ratio. Some lenders, like Rocket Mortgage, LLC, offer financing programs specifically for tiny homes.
What common errors do people make building tiny homes?
People often skip primer on wood surfaces or use the wrong staples. Poor insulation and neglecting sustainable living plans are also frequently overlooked by beginners. Research carefully before you start.
References
https://www.instructables.com/Energy-Efficient-Tiny-House-on-Wheels/
https://unitedtinyhomes.com/how-to-build-a-tiny-home-foundation/
https://www.zookcabins.com/regulations/tiny-home-regulations-in-georgia
https://www.tiffanythetinyhome.com/blog/2020/11/9/how-to-draw-a-tiny-house-floor-plan (2020-11-19)
http://www.tinyhousetinyfootprint.com/blogposts/2014/12/4/step-1-design-your-tiny-house (2014-12-22)
https://unitedtinyhomes.com/eco-friendly-tiny-house-materials/
https://thetinylife.com/tiny-house-tools/
https://www.tumbleweedhouses.com/how-to-build-a-tiny-home/ (2024-08-19)
https://craftedworkshop.com/blog/framing-the-walls-on-my-tiny-house-not-so-tiny-house-build-part-5 (2021-01-15)
https://homestead-honey.com/building-a-tiny-house-framing-windows-and-doors/ (2013-08-26)
https://craftedworkshop.com/blog/electrical-and-plumbing-rough-in-not-so-tiny-house-build-part-8
https://greatlakestinyhome.com/tiny-house-insulation/
https://www.wildabundance.net/blog/tiny-house-electrical/
https://www.realsimple.com/spaces-youre-forgetting-to-decorate-11752626
https://www.instructables.com/Design-and-Build-a-Tiny-House/
https://www.movableroots.com/post/2025-tiny-home-trends-sustainability-functionality-design-and-color (2025-02-22)
